Introduction
Voiding a sale transaction allows you to correct errors, process cancellations, or remove incorrect charges from your records. This option is only available for closed clients, meaning the transaction has already been completed. Once voided, the sale will be removed from the active records, ensuring that your financial data remains accurate. Follow these steps to void a sale transaction efficiently.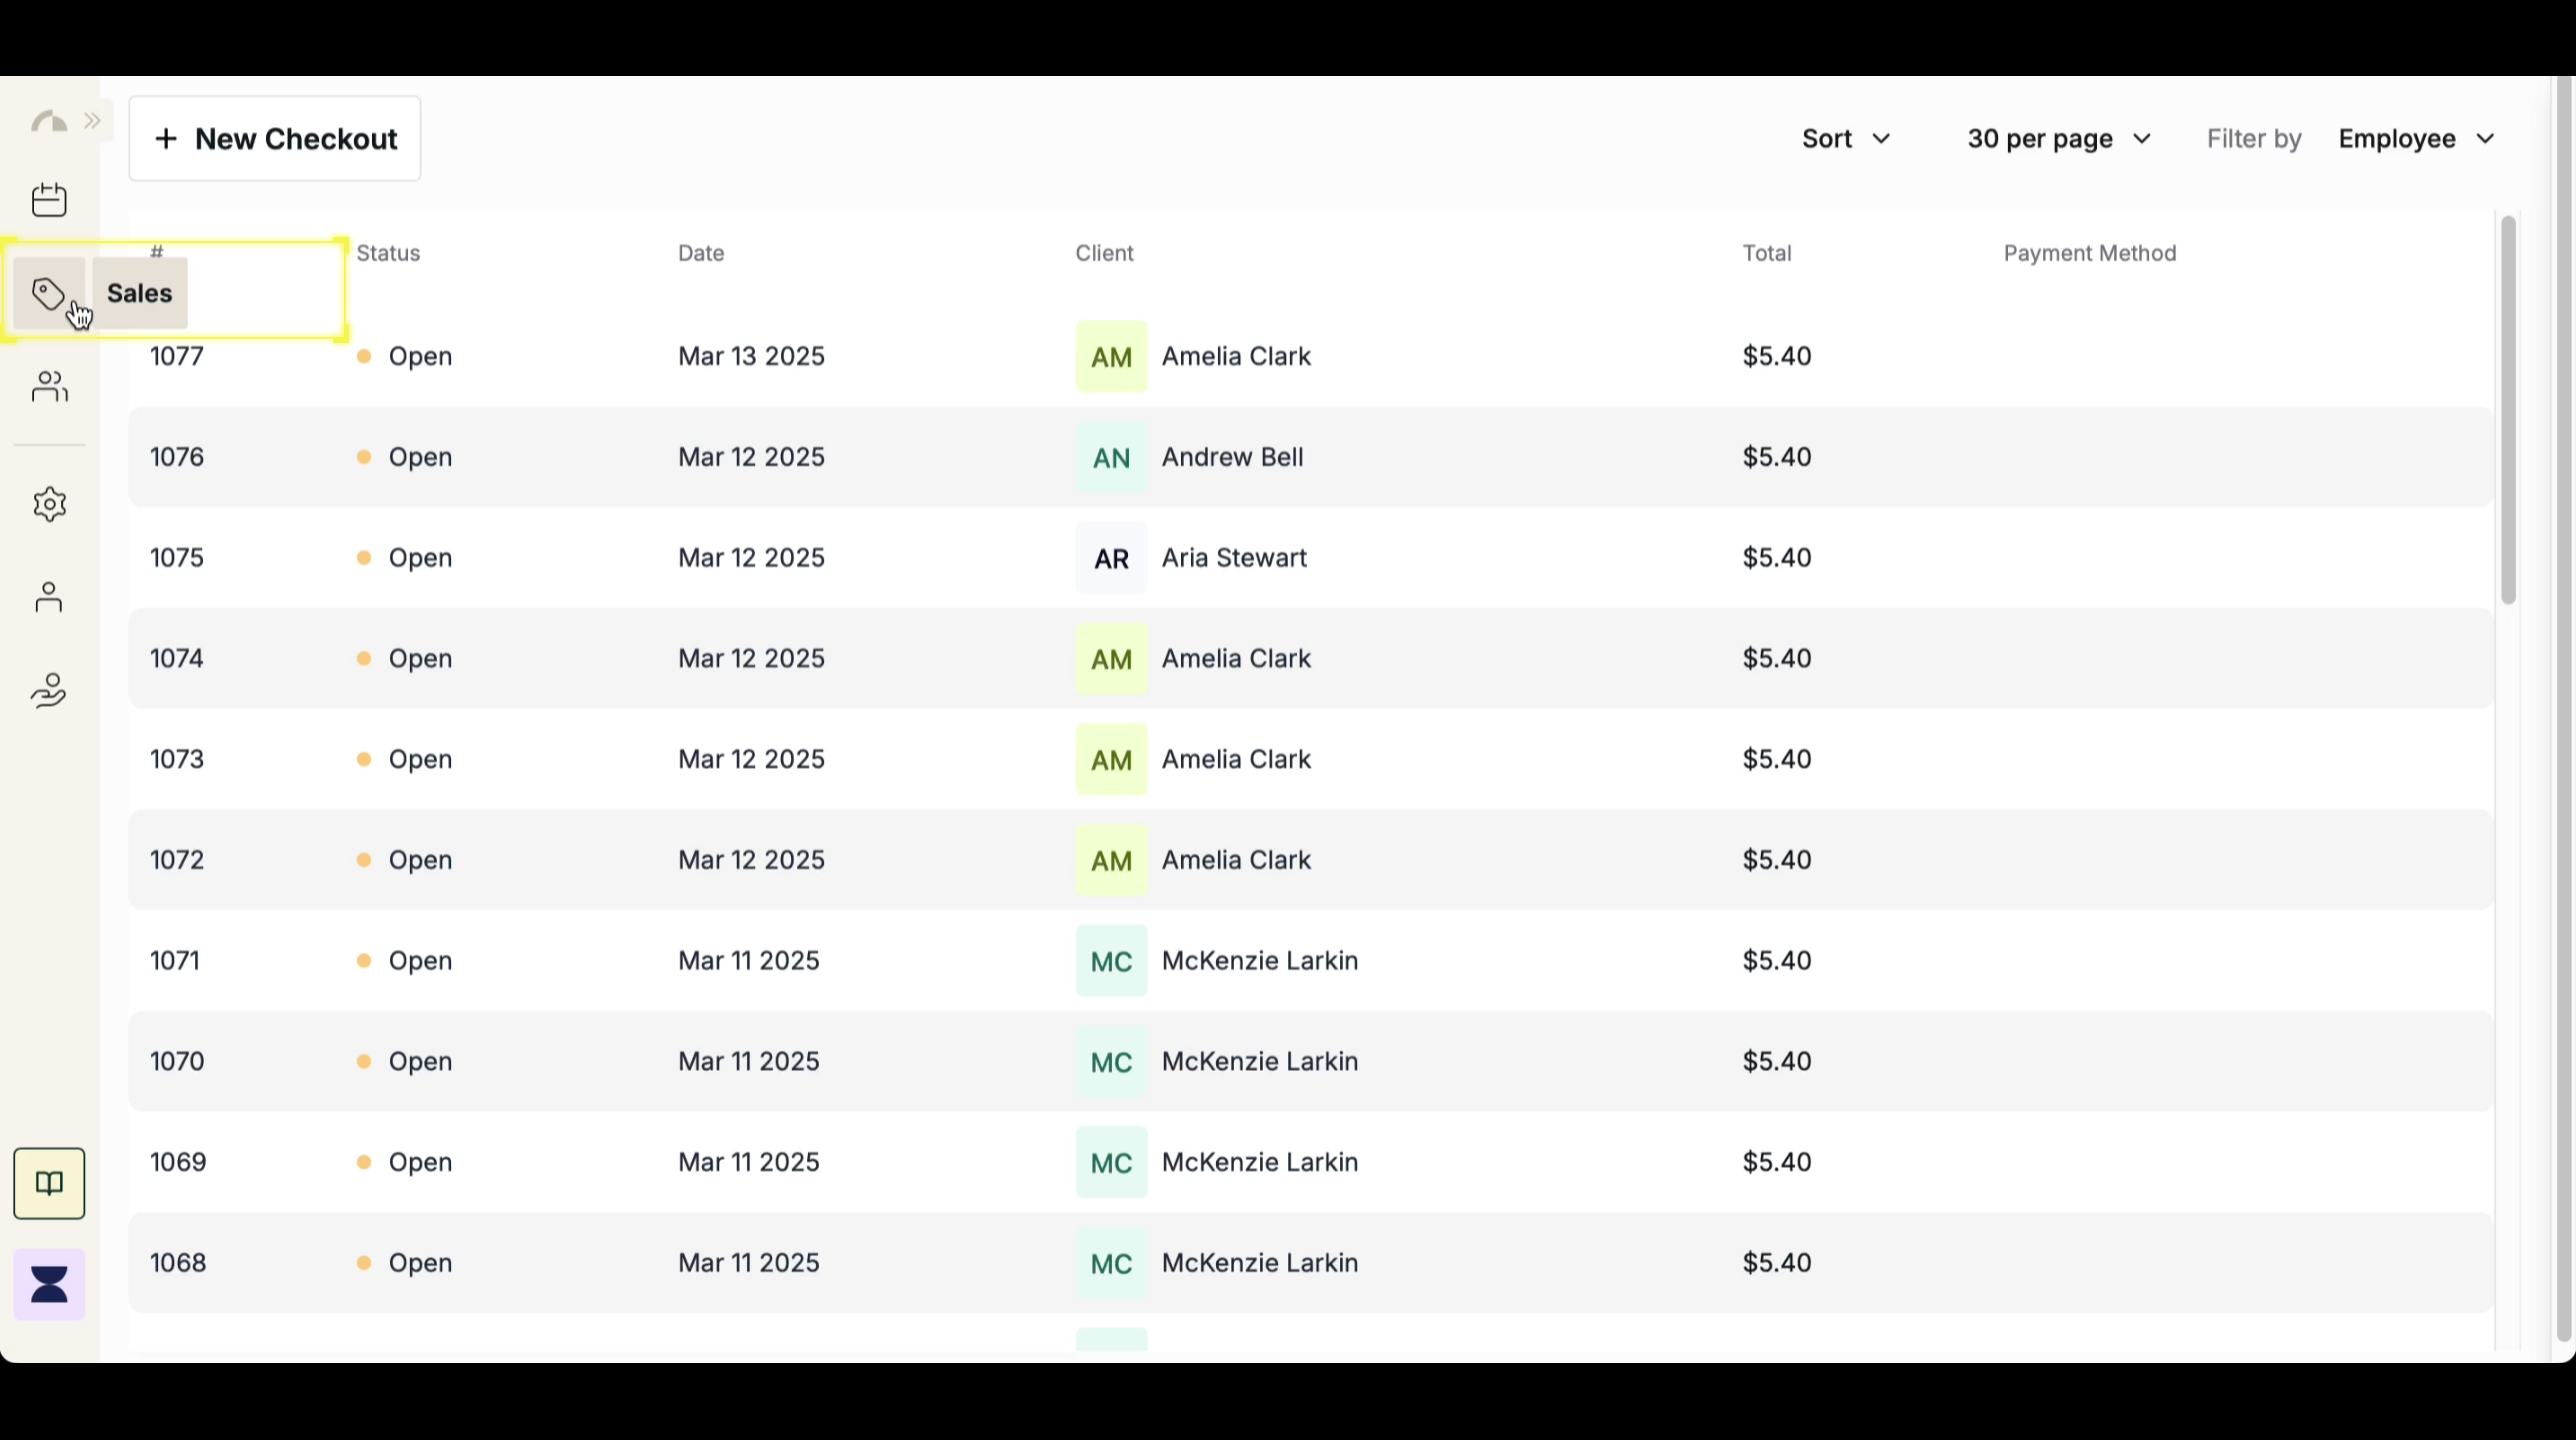
Step 2
Select a Closed Client
Locate the client whose sale transaction you need to void. Only closed transactions are eligible for voiding, so ensure the sale has been fully processed and marked as completed before proceeding.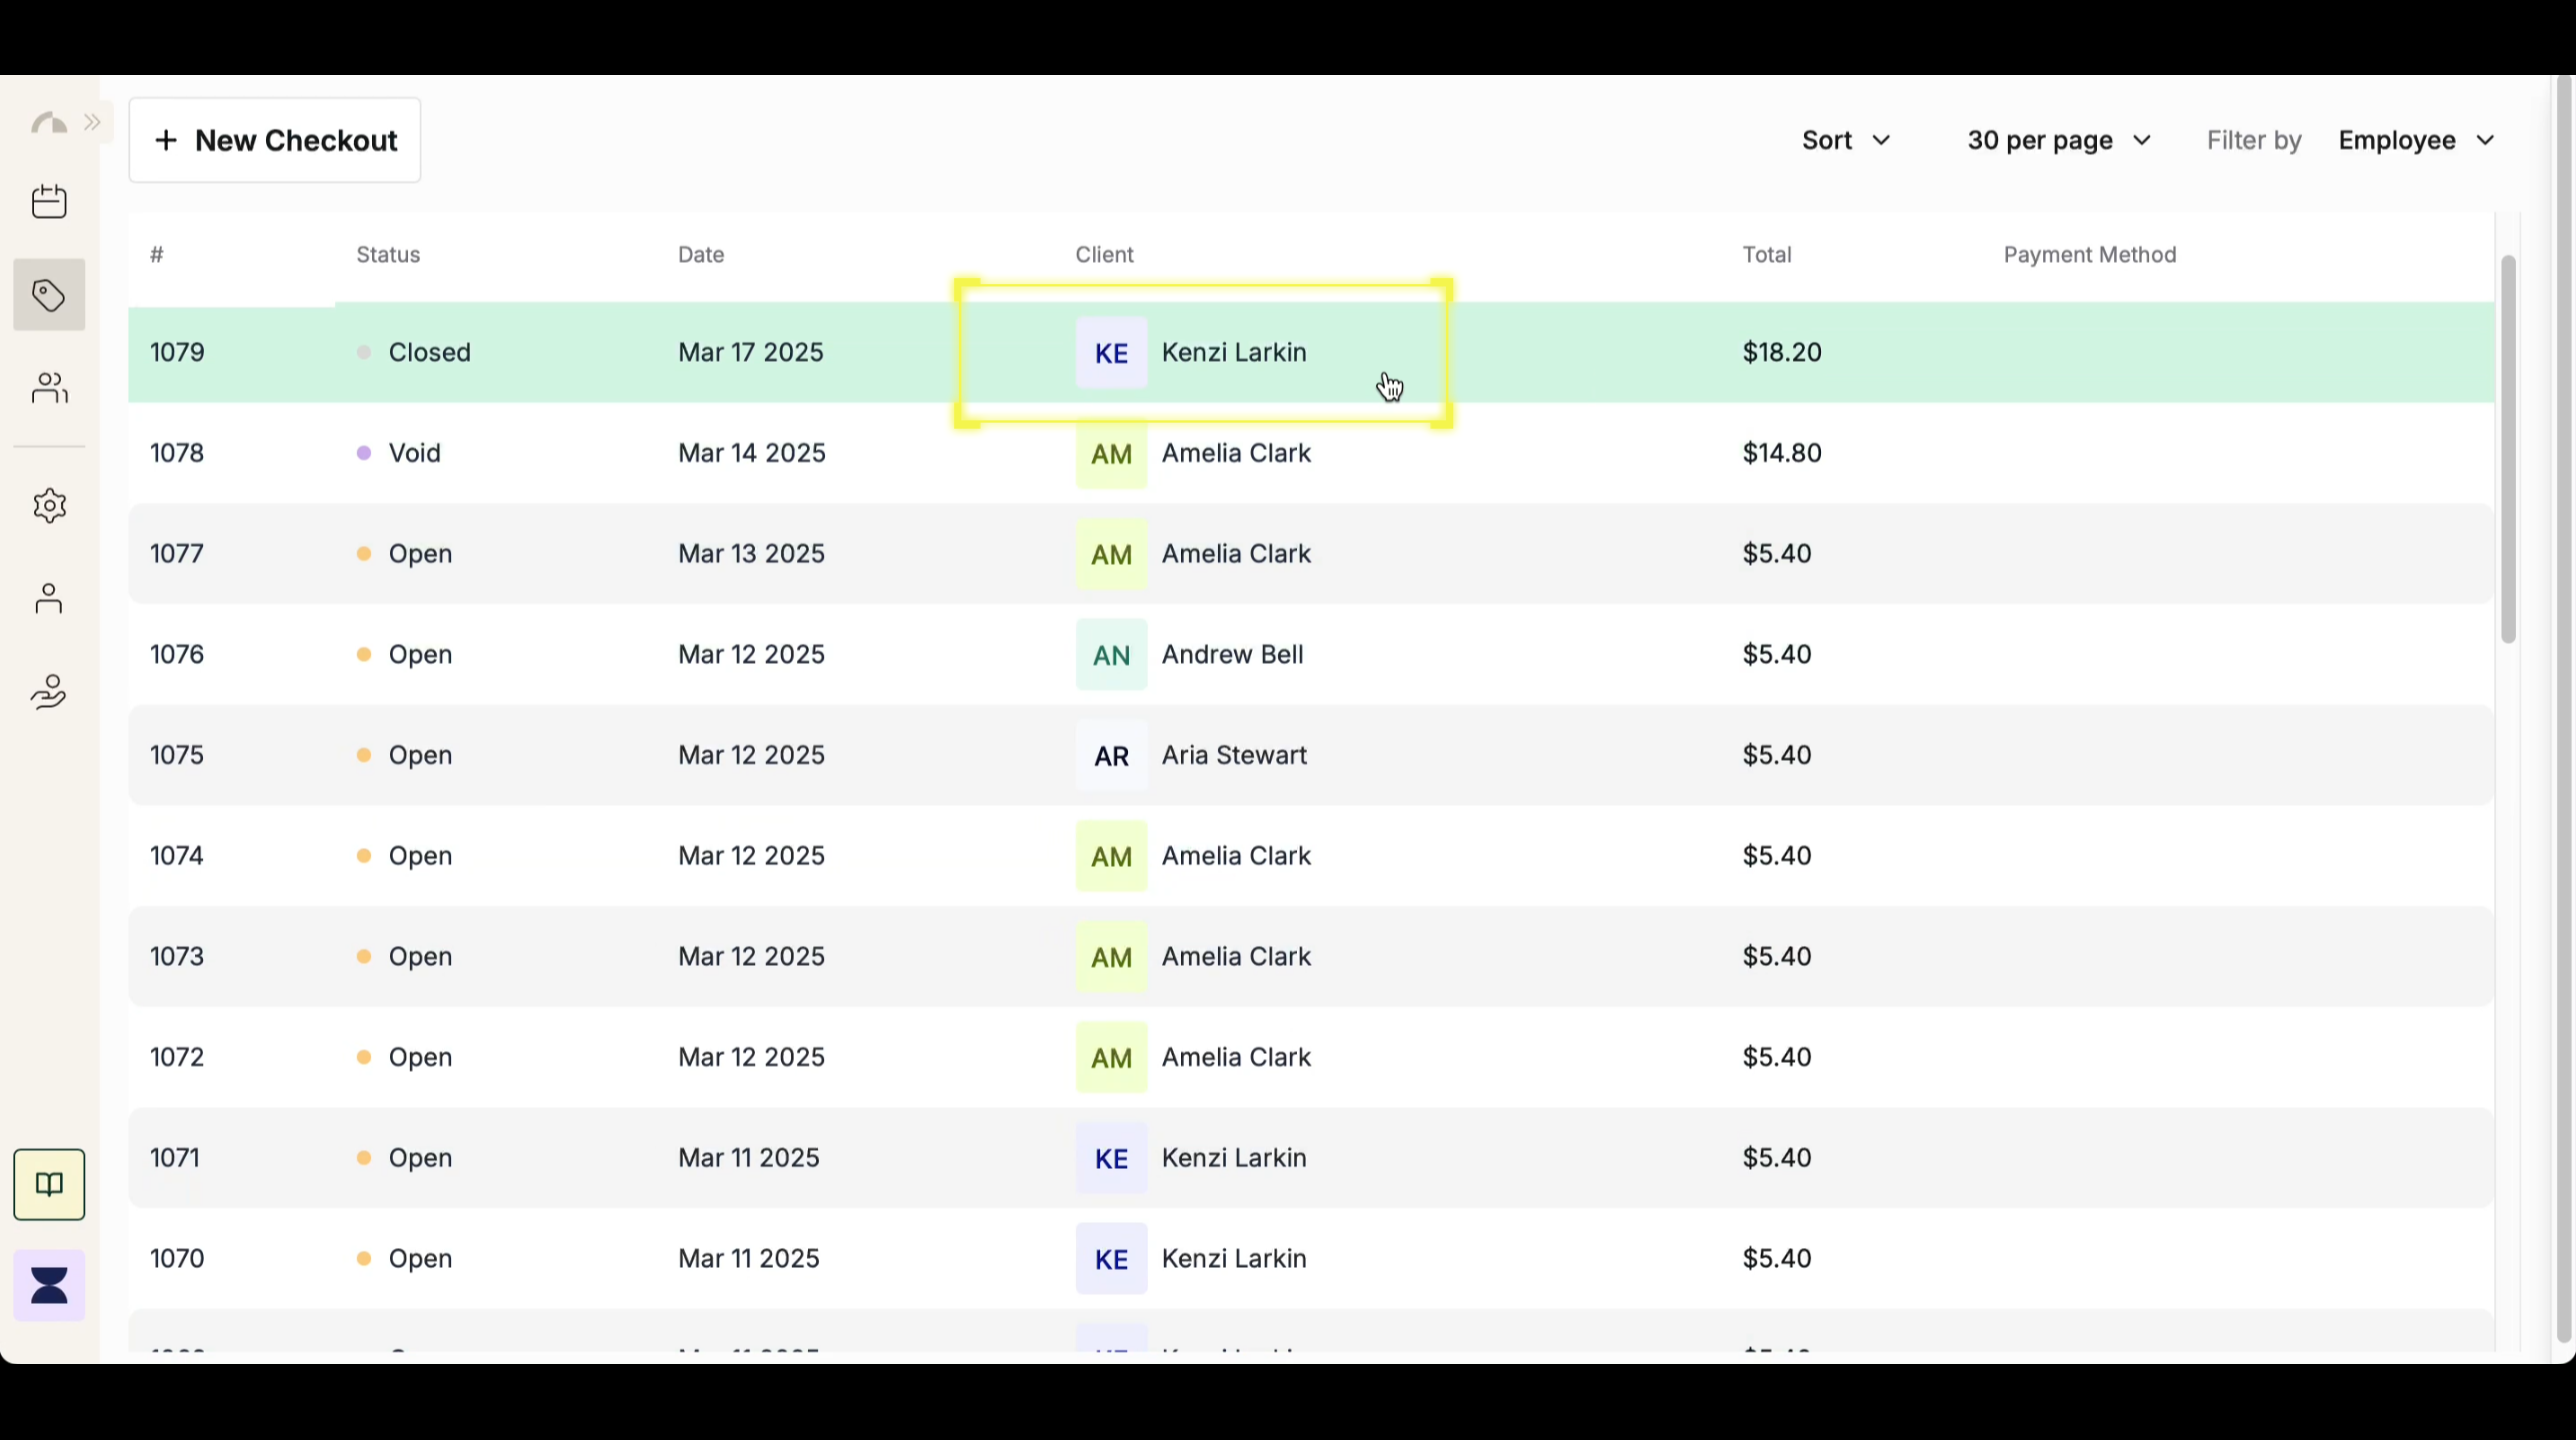
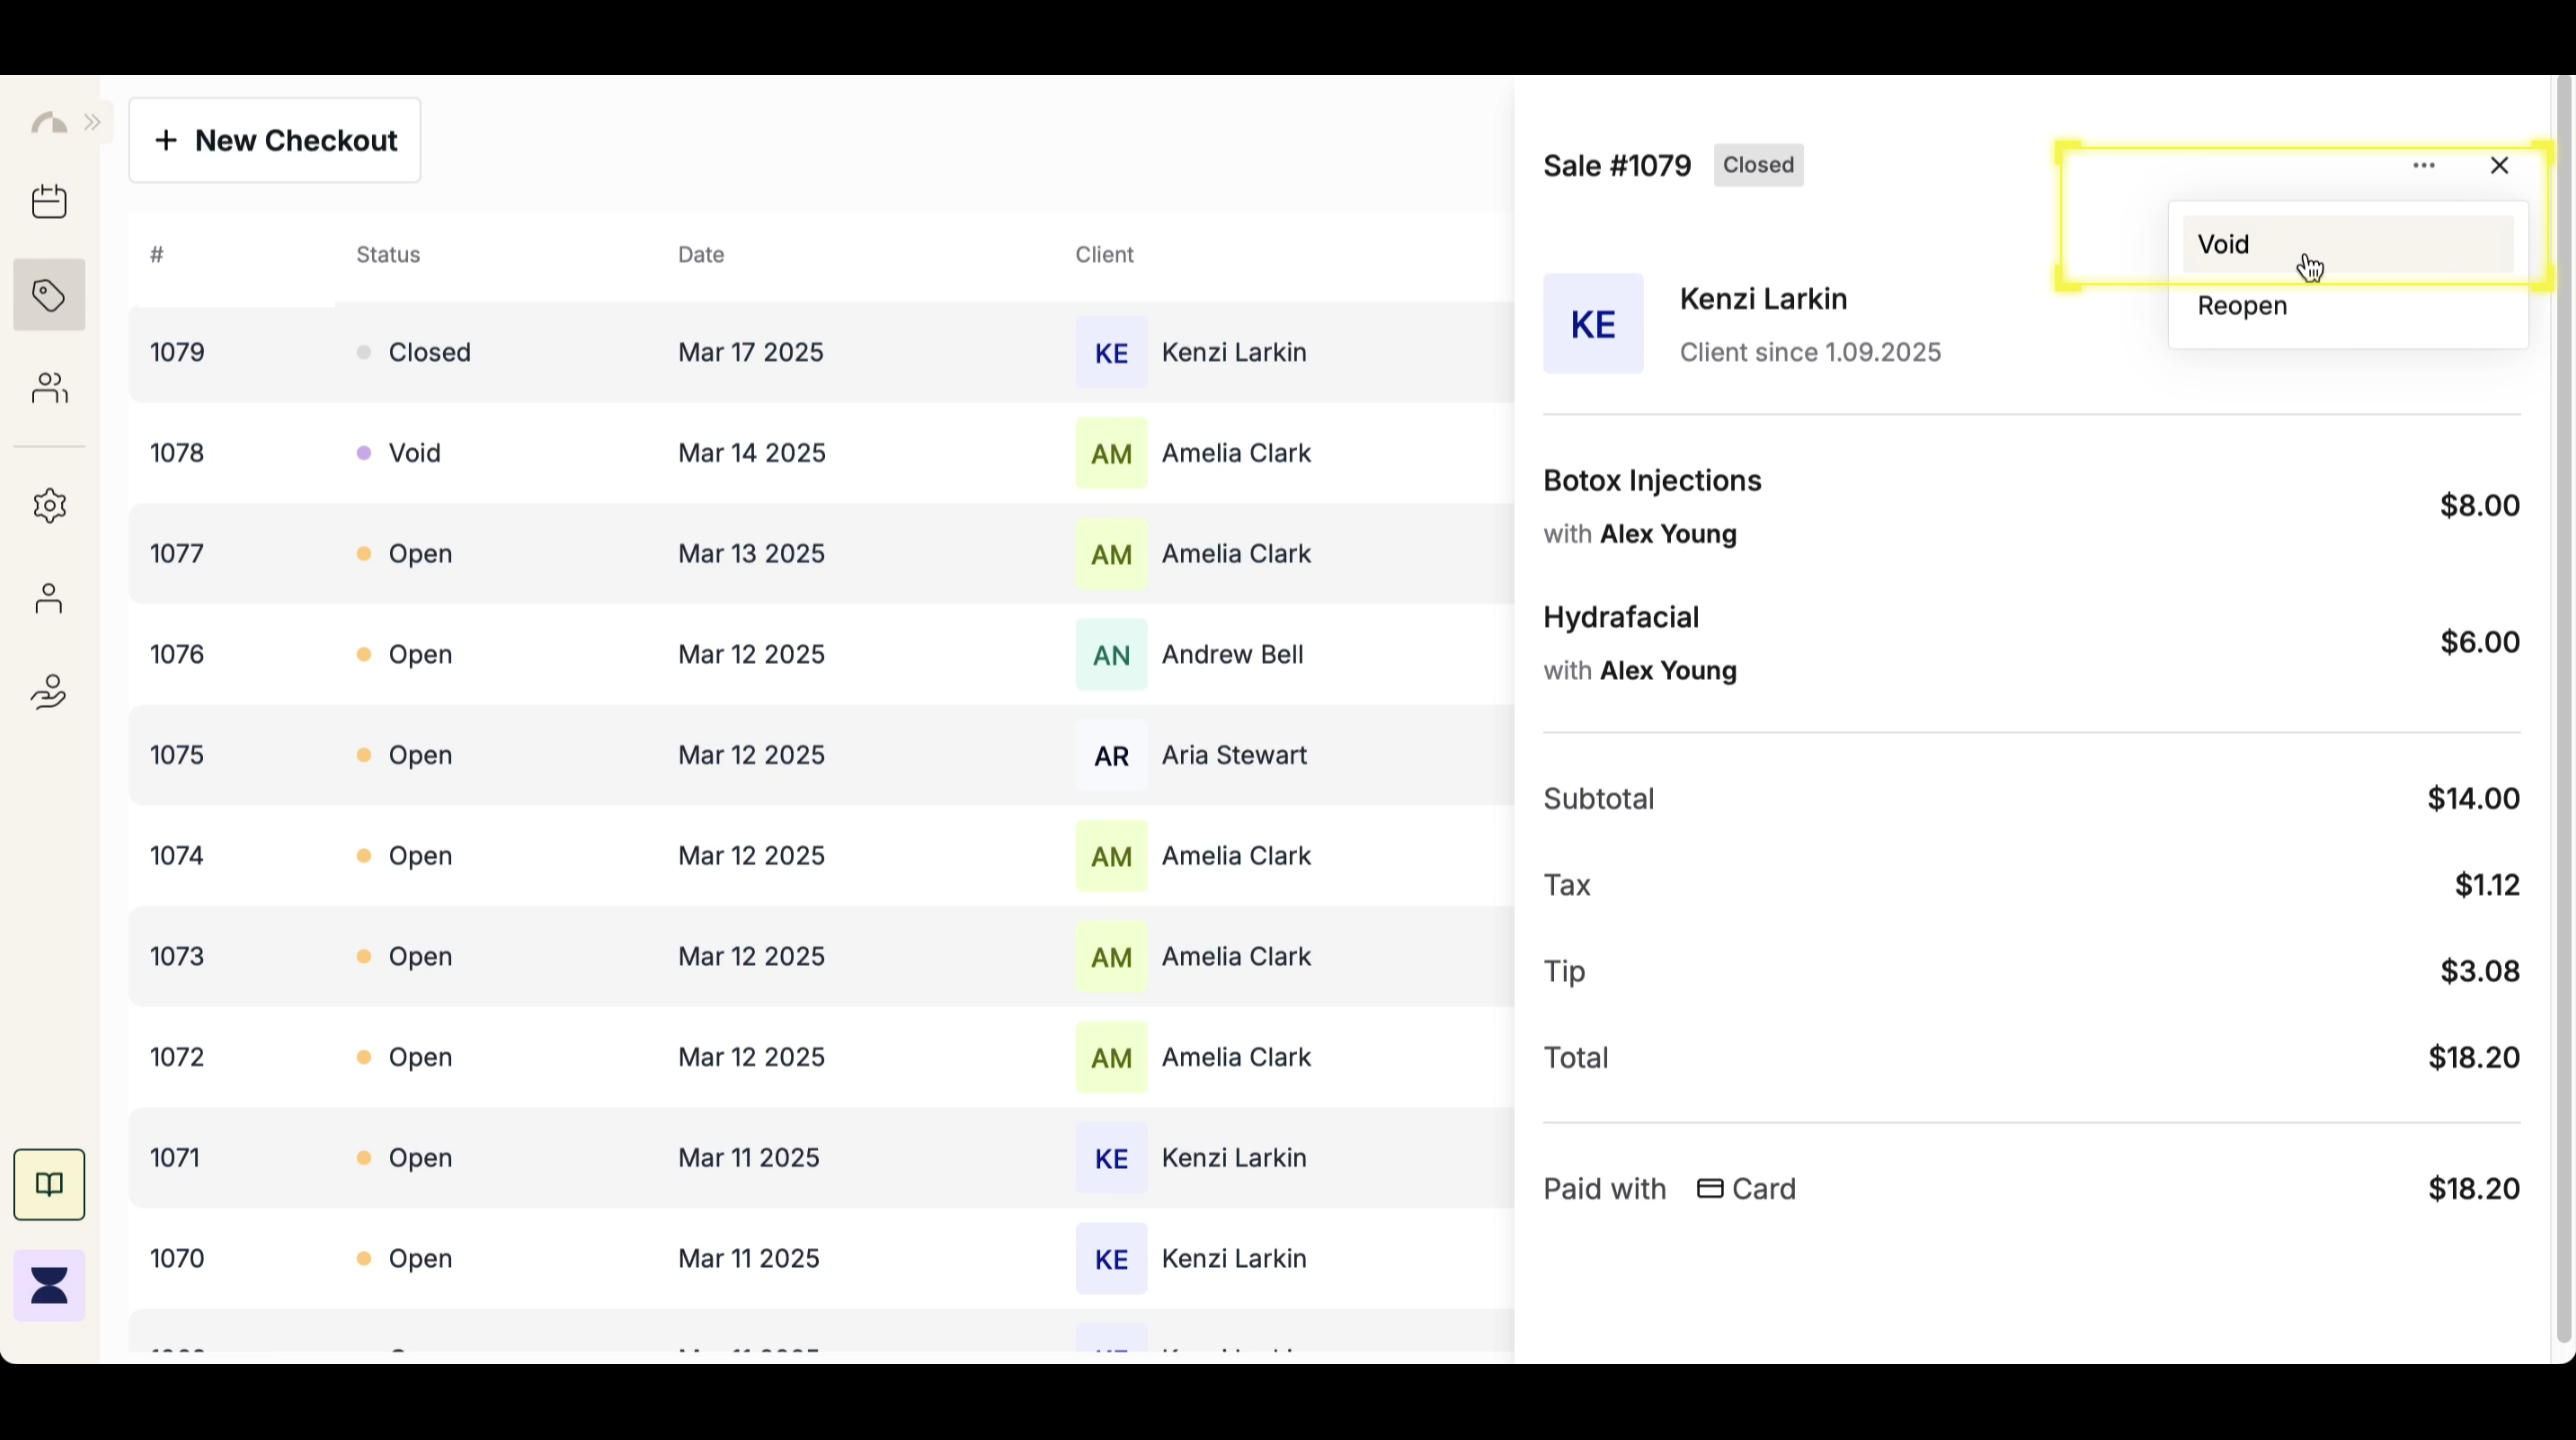
Step 3
Void the Transaction
Click the three-dot icon and select “Void” from the dropdown menu. After clicking “Void,” a notification will appear confirming that the transaction has been successfully voided.