Introduction
Waiver policies allow businesses to request customers to complete a waiver before their appointments. Once enabled, an email with instructions will be sent to clients after their first booking. Additionally, you can require a waiver for every booking to ensure compliance. Businesses can upload waiver documents in .PDF or .DOC format for clients to review and sign before confirming their appointment.
Step 2
Navigate to Business Policy
Within Settings, go to the Business Policy section to manage waiver requirements.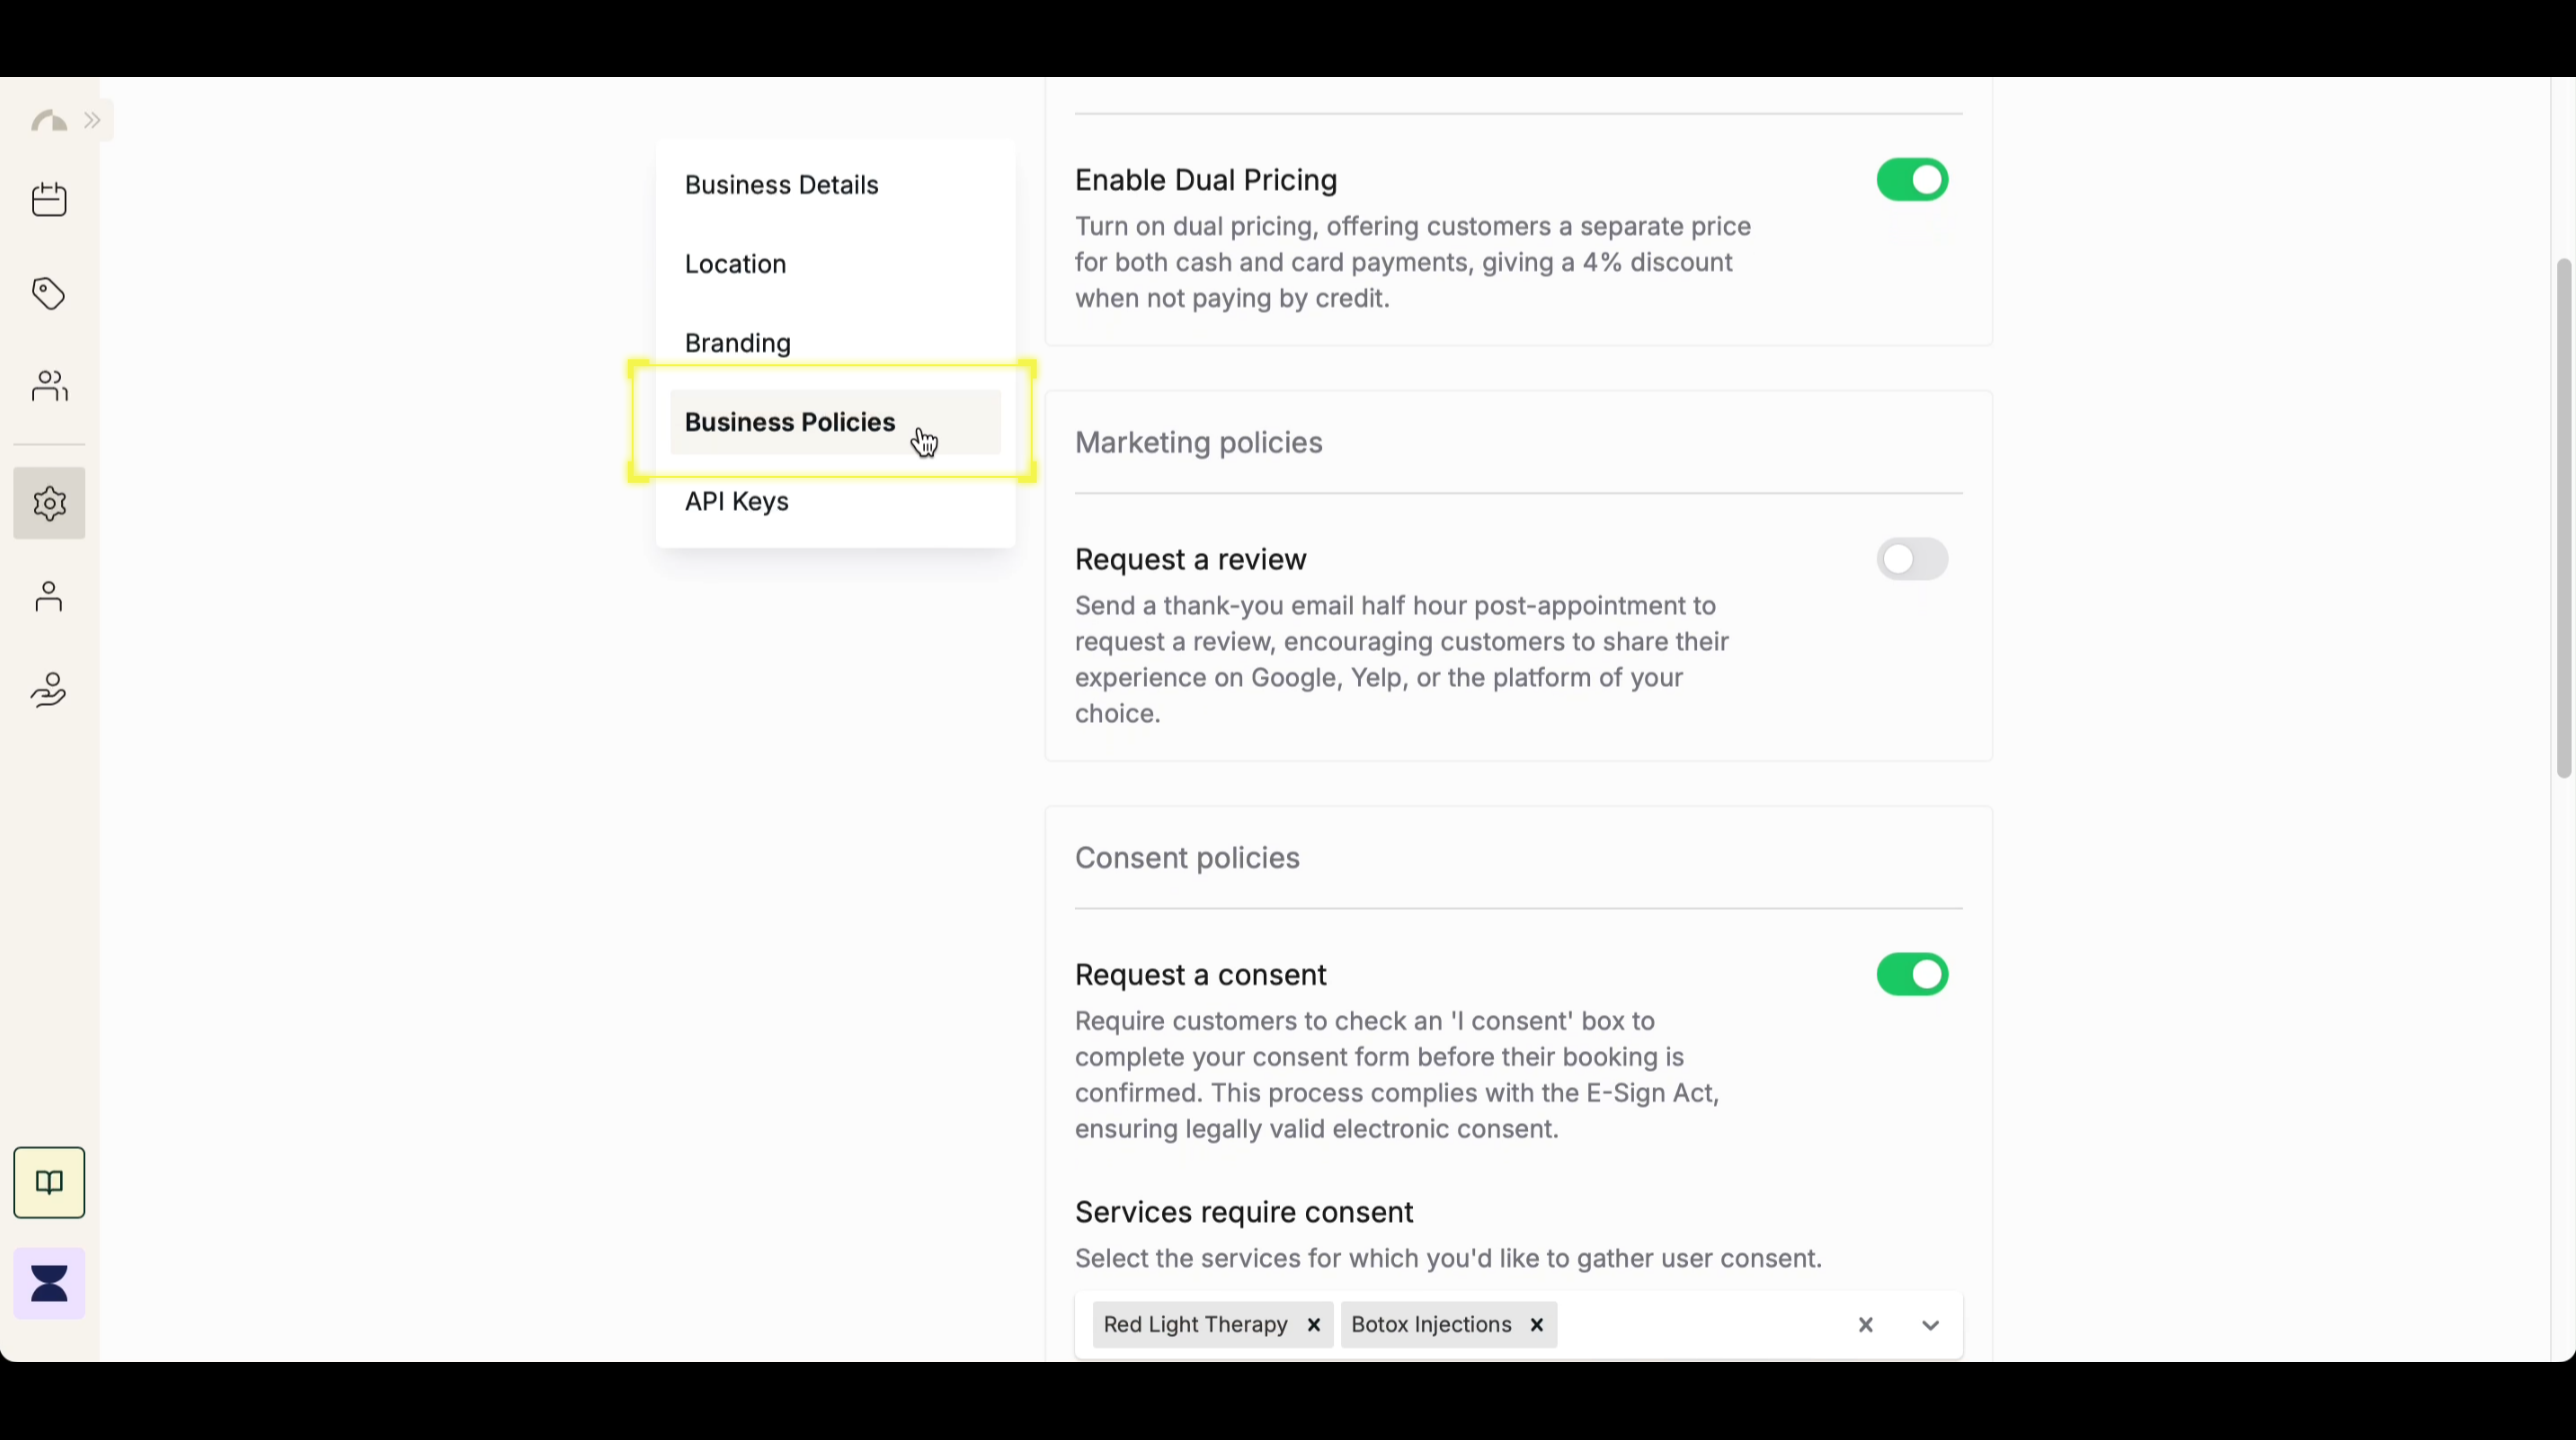
Step 3
Enable “Request a Waiver”
Under Waiver Policies, toggle on “Request a Waiver” to require clients to complete a waiver after their first booking. Once enabled, an automated email will be sent to clients with instructions on completing the waiver.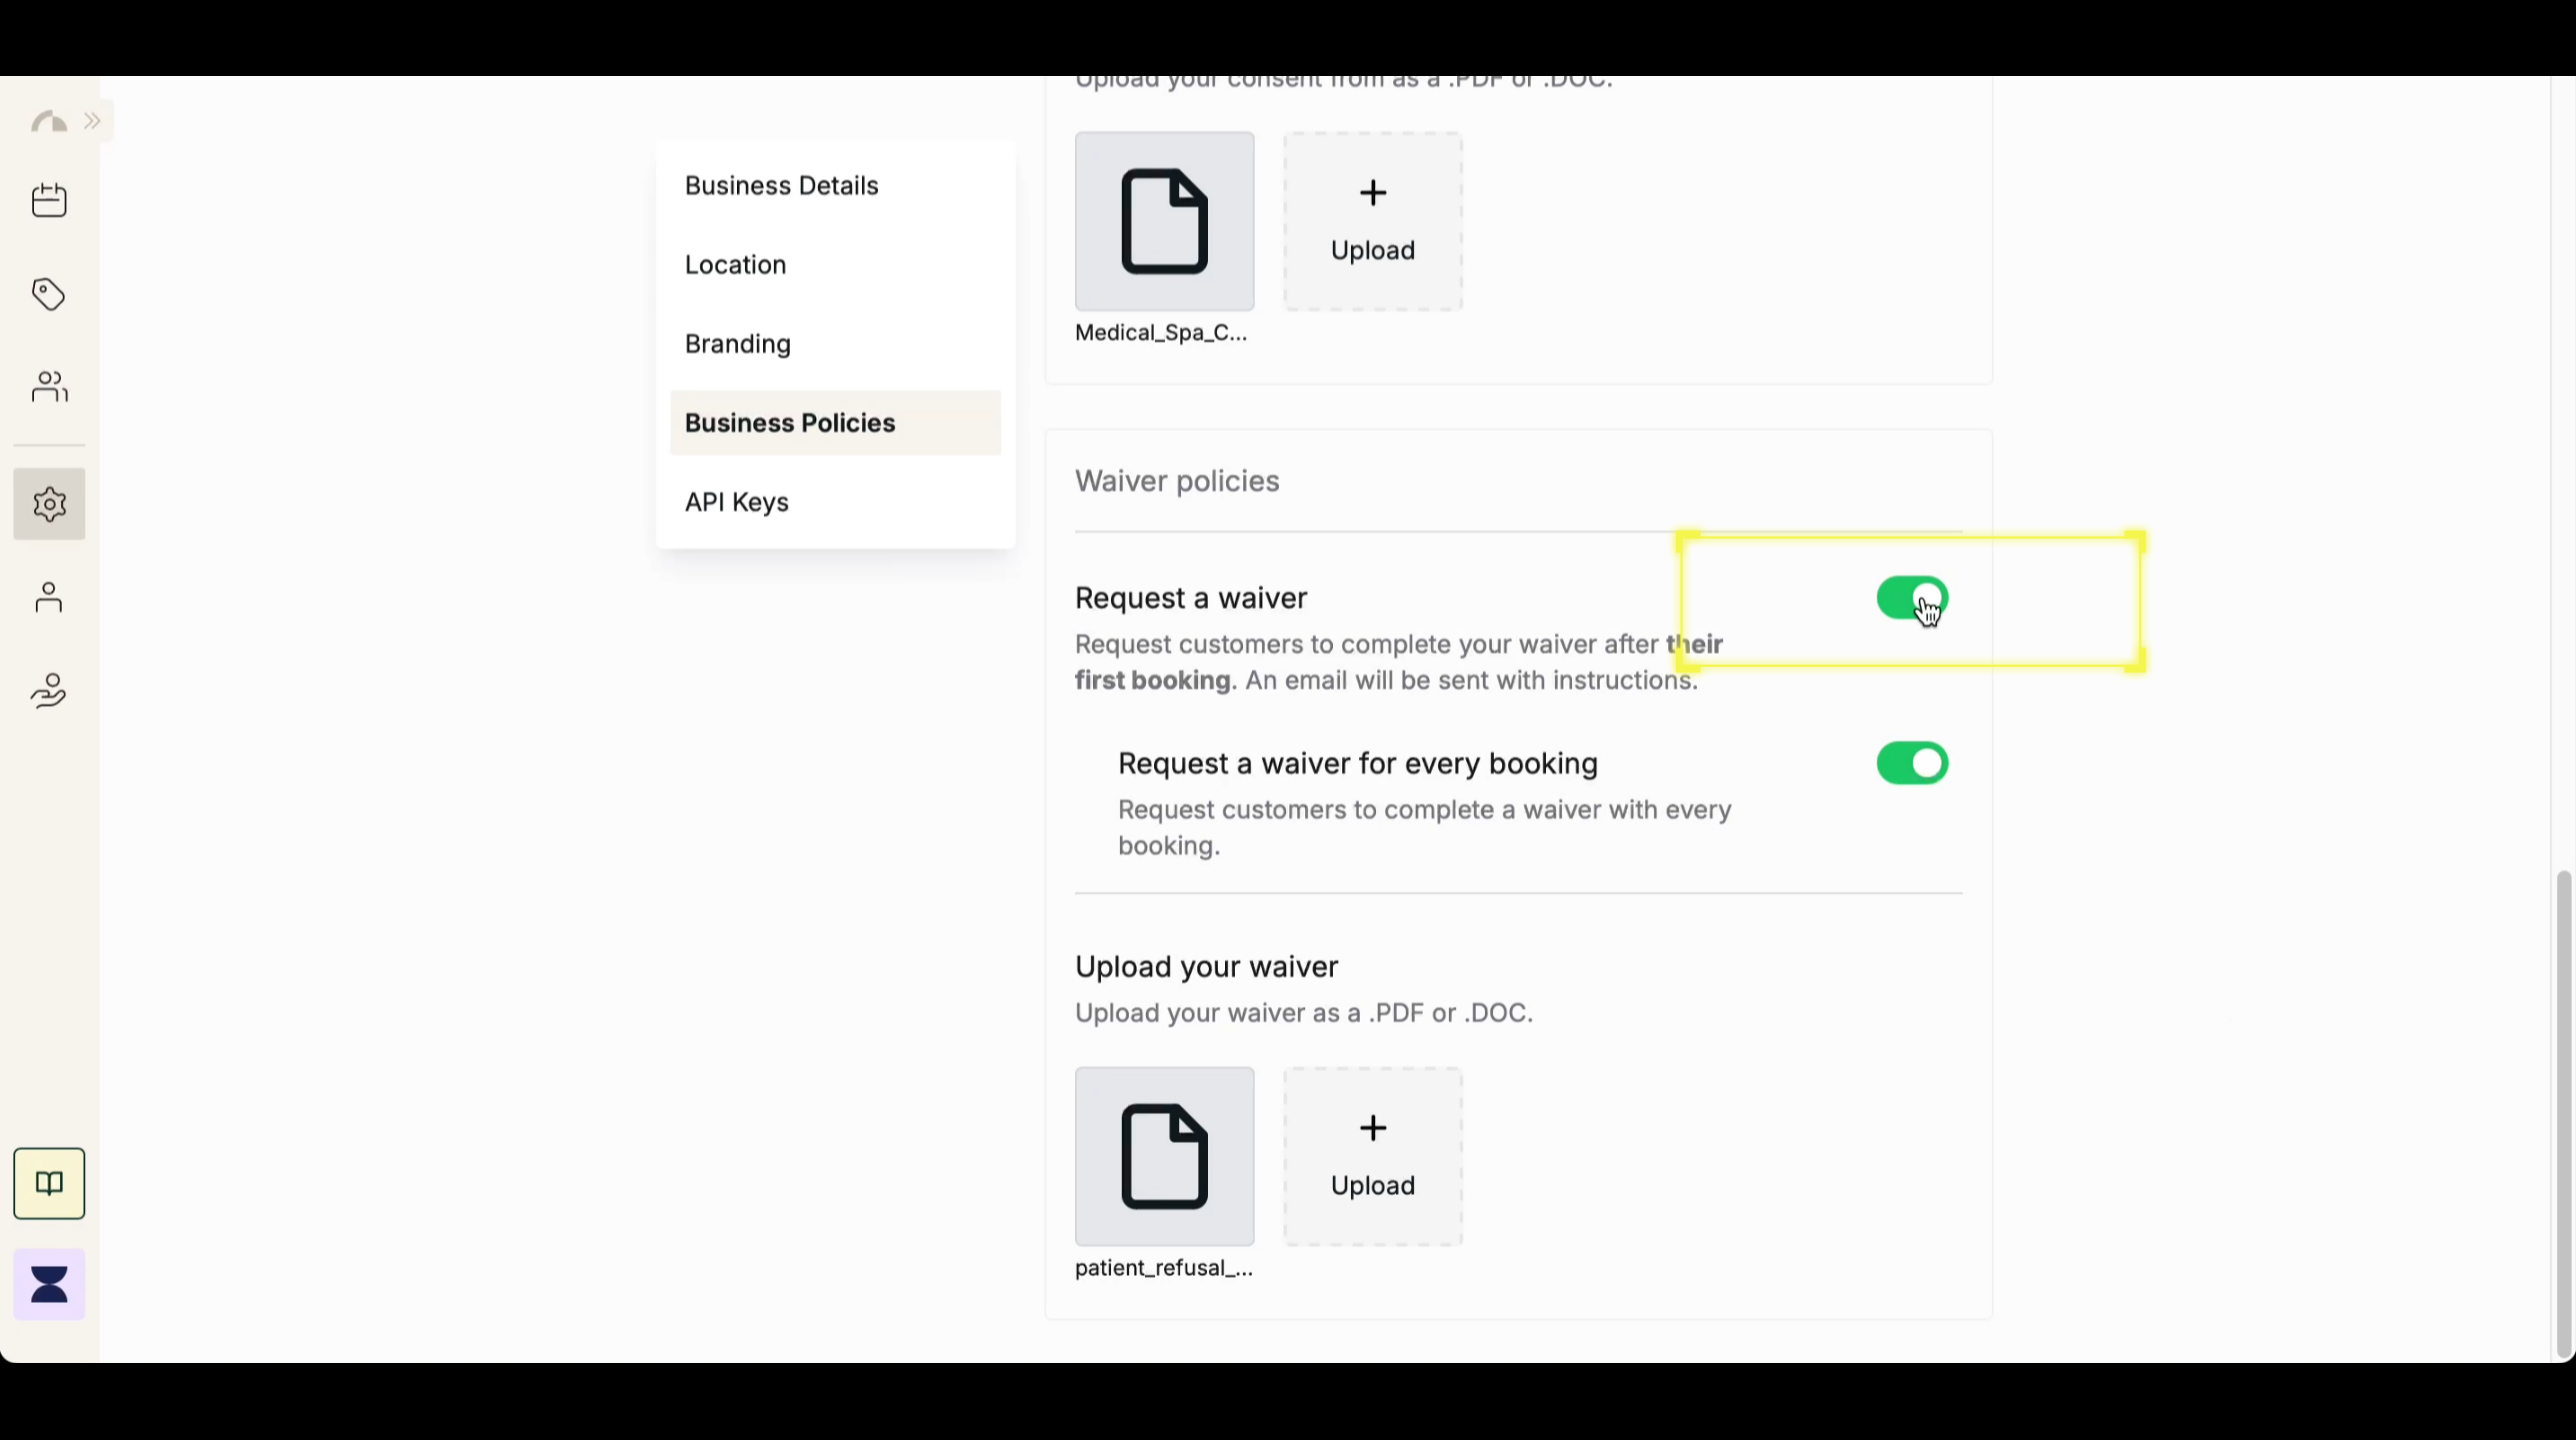
Step 4
(Optional) Enable “Request a Waiver for Every Booking”
If you want clients to complete a waiver each time they book, toggle on “Request a Waiver for Every Booking” to enforce this requirement for all appointments.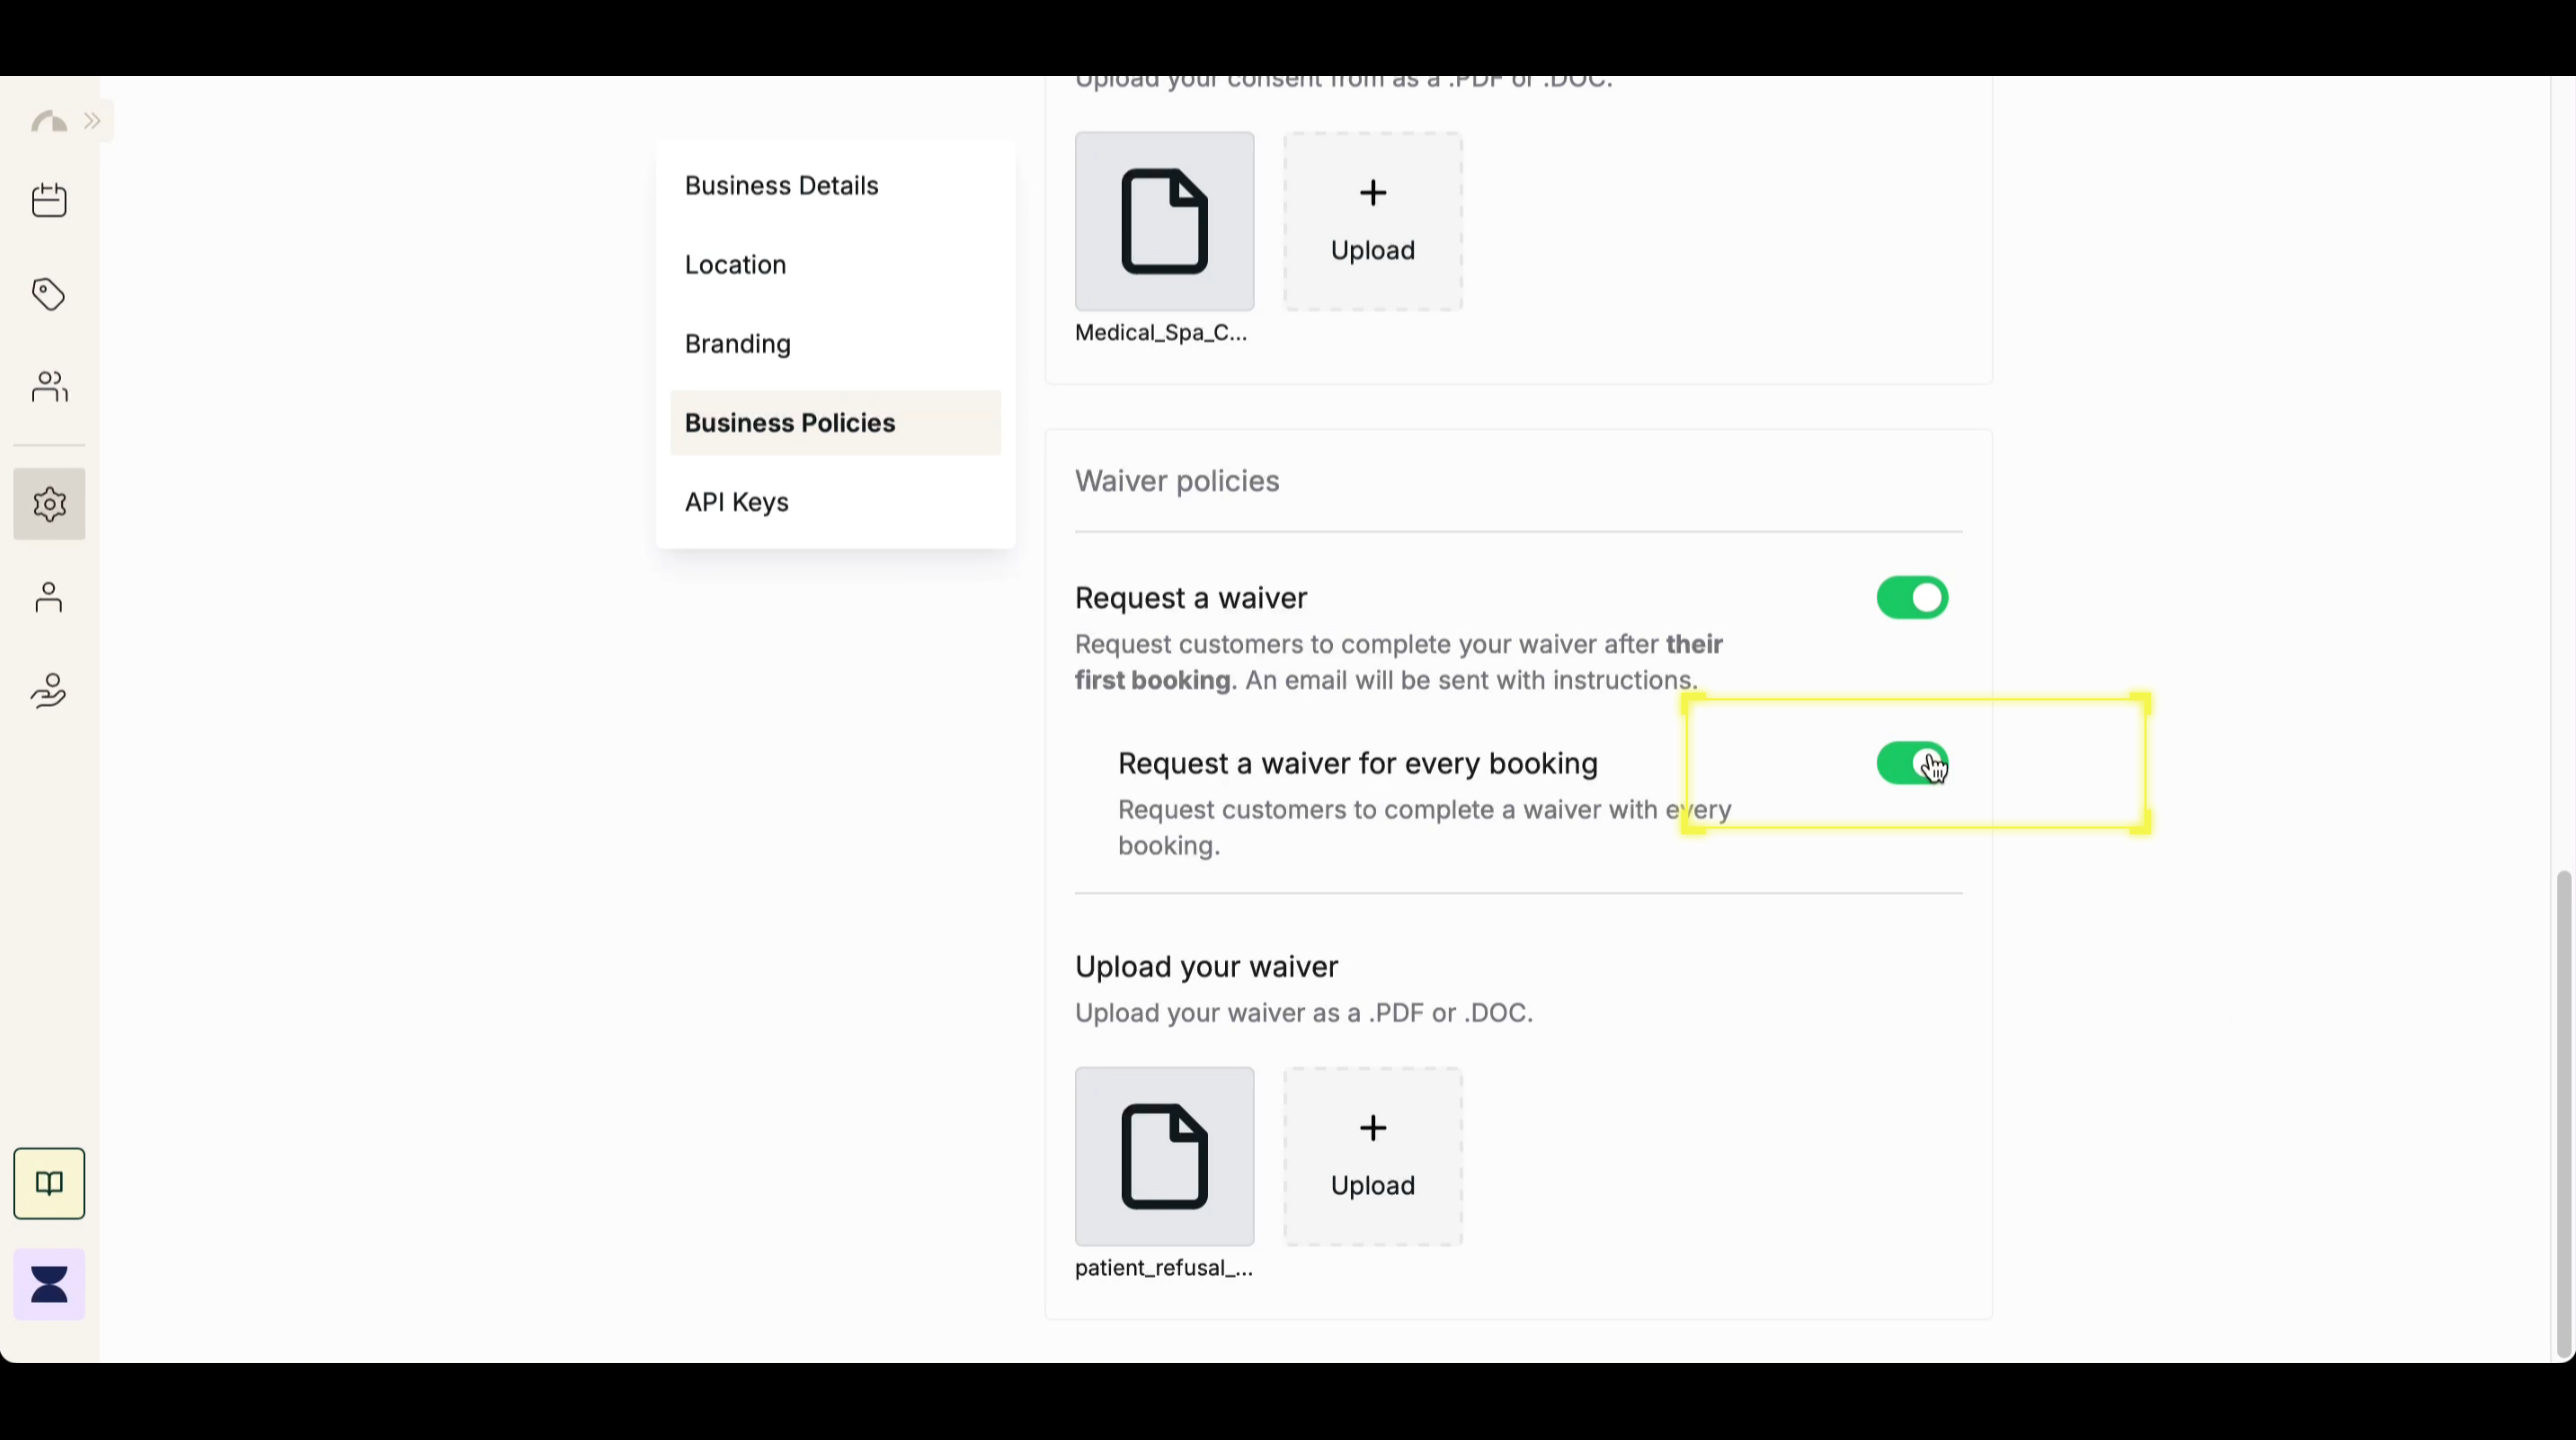
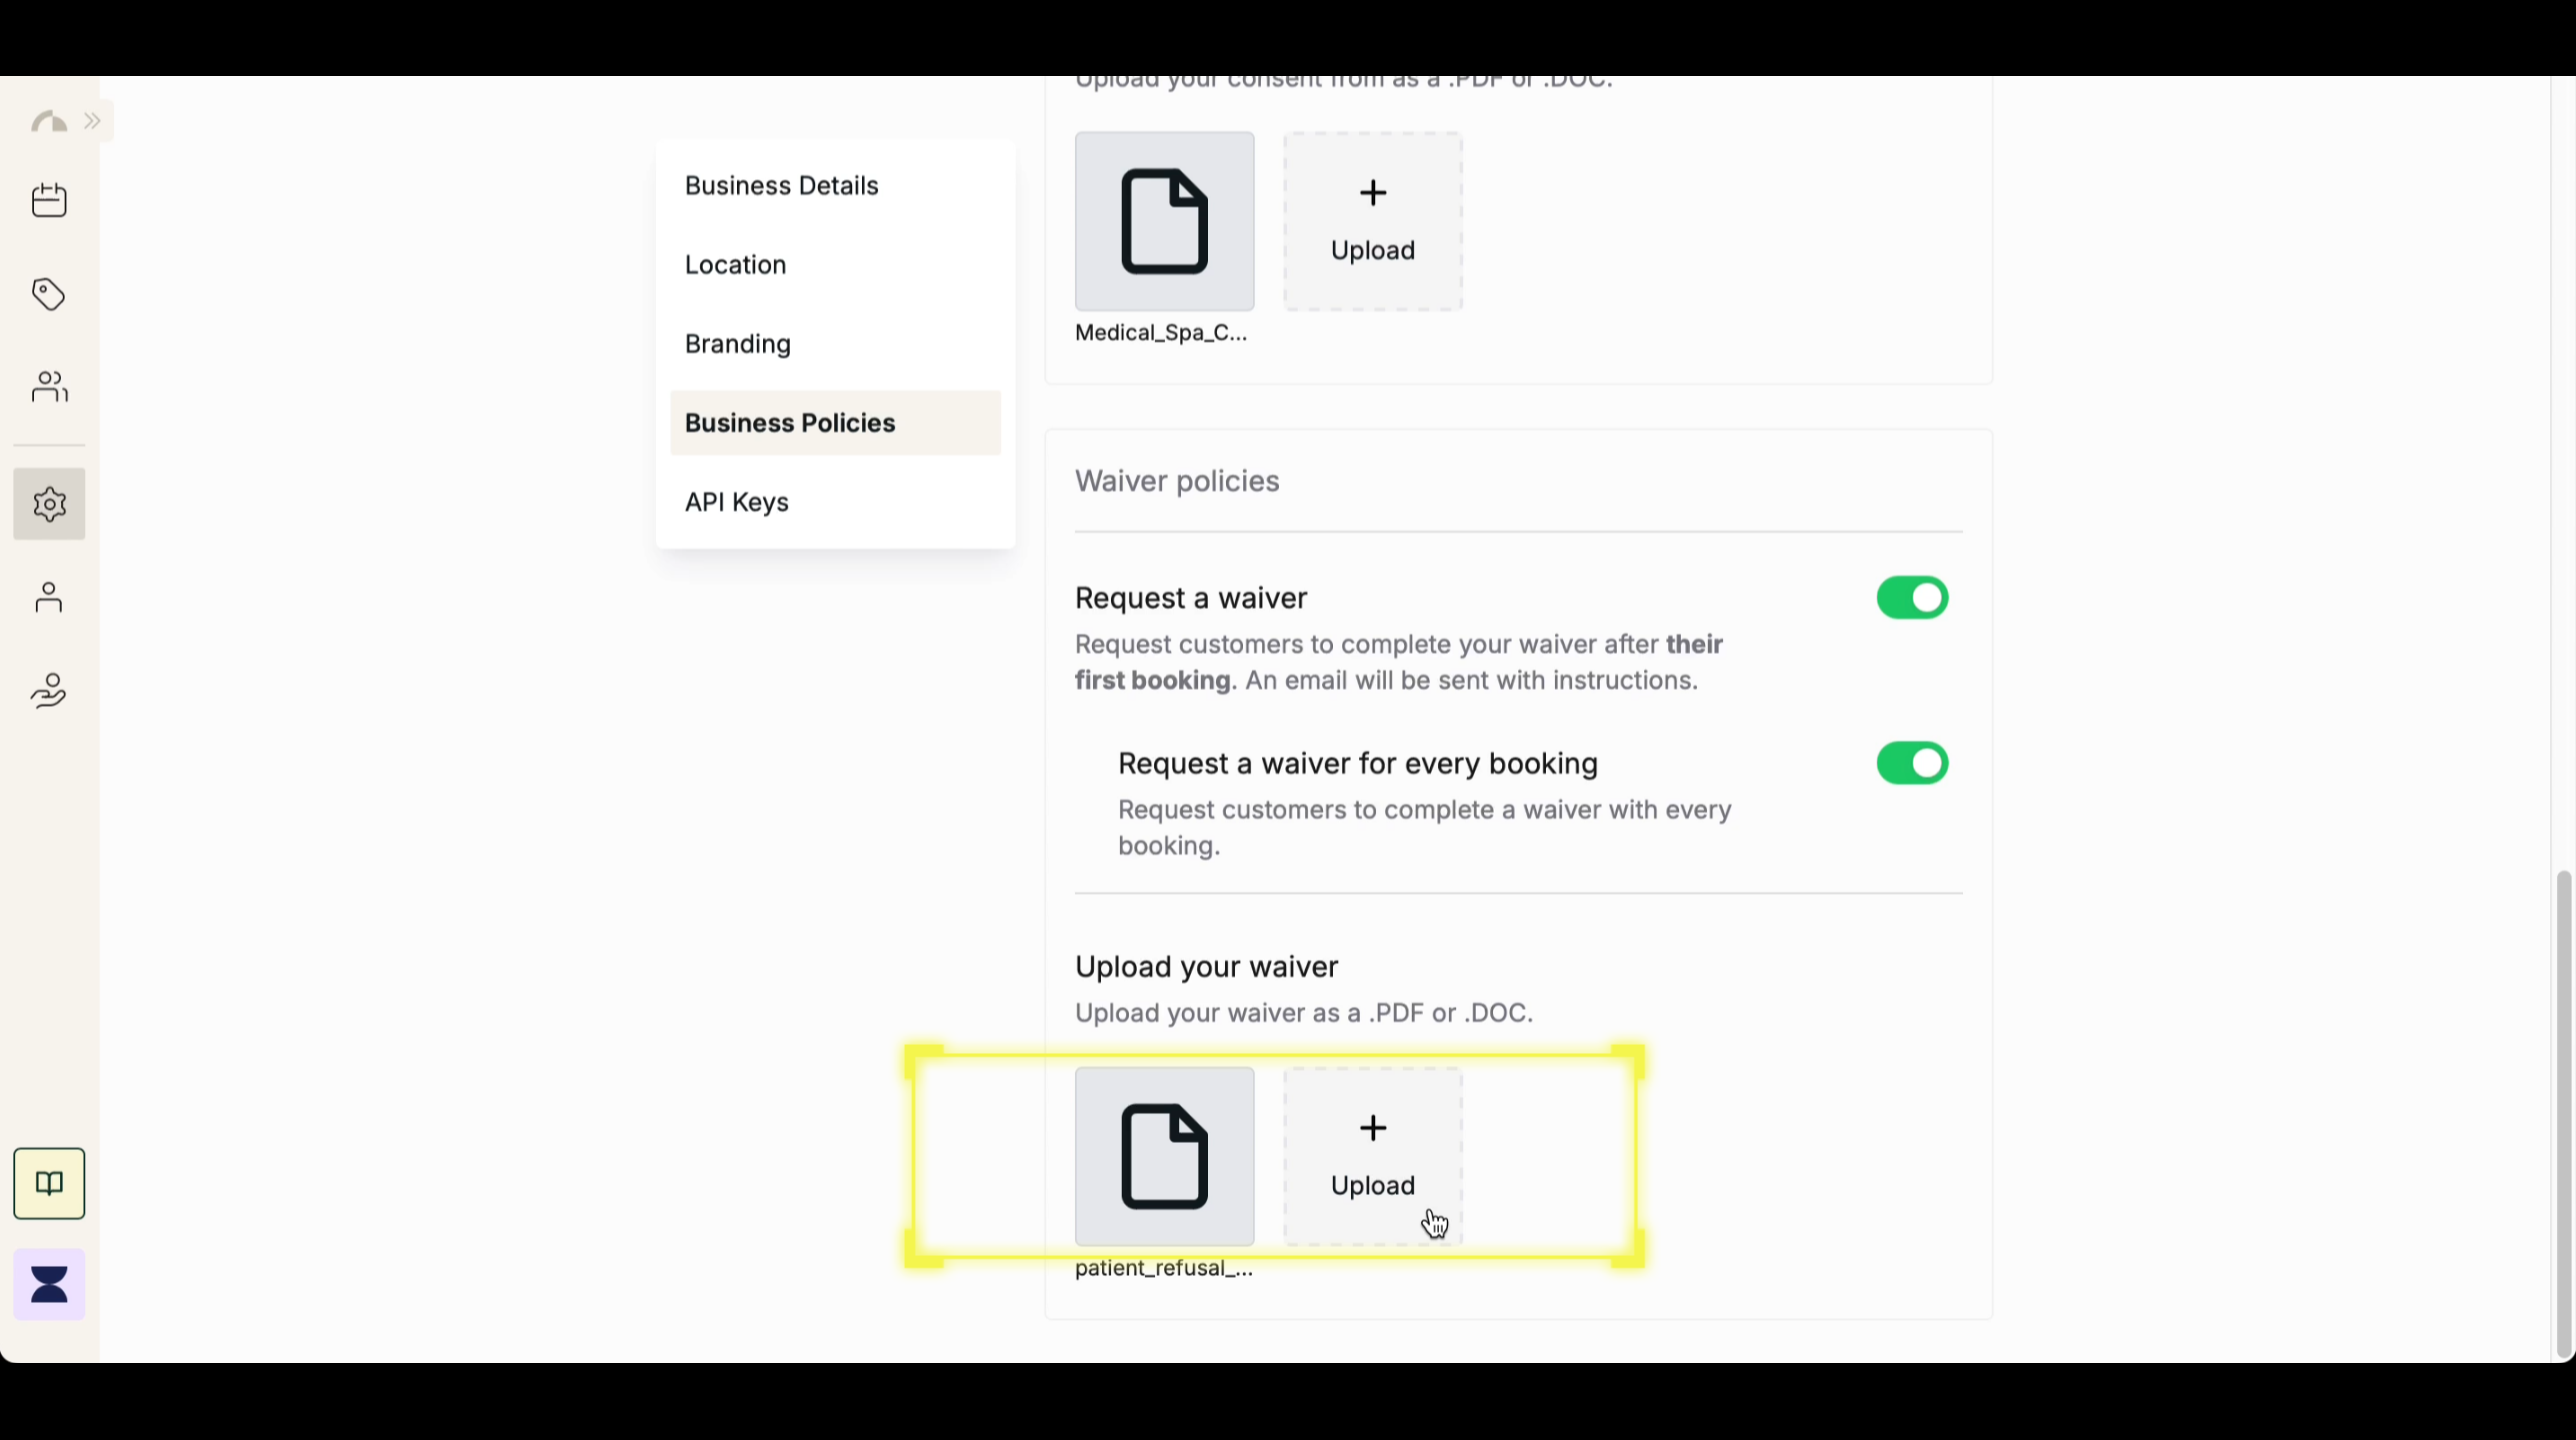
Step 5
Upload Your Waiver Document
Upload your waiver as a .PDF or .DOC file, allowing clients to review and acknowledge the terms electronically before proceeding with their booking.