Introduction
Processing a new checkout ensures that services are correctly recorded and payments are handled efficiently. Whether a client is paying immediately or choosing an alternative payment method, creating a checkout allows you to track transactions and manage sales seamlessly. By following these steps, you can assign a client, select the services provided, and proceed with a payment method that best suits the client’s preference.Step 1
Navigate to Sales
Click “Sales” in the side menu to access the checkout system. Here, you can view all completed transactions, track pending payments, and generate new checkouts for clients. The sales section helps you manage revenue streams, ensuring that all services are properly documented and payments are recorded accurately.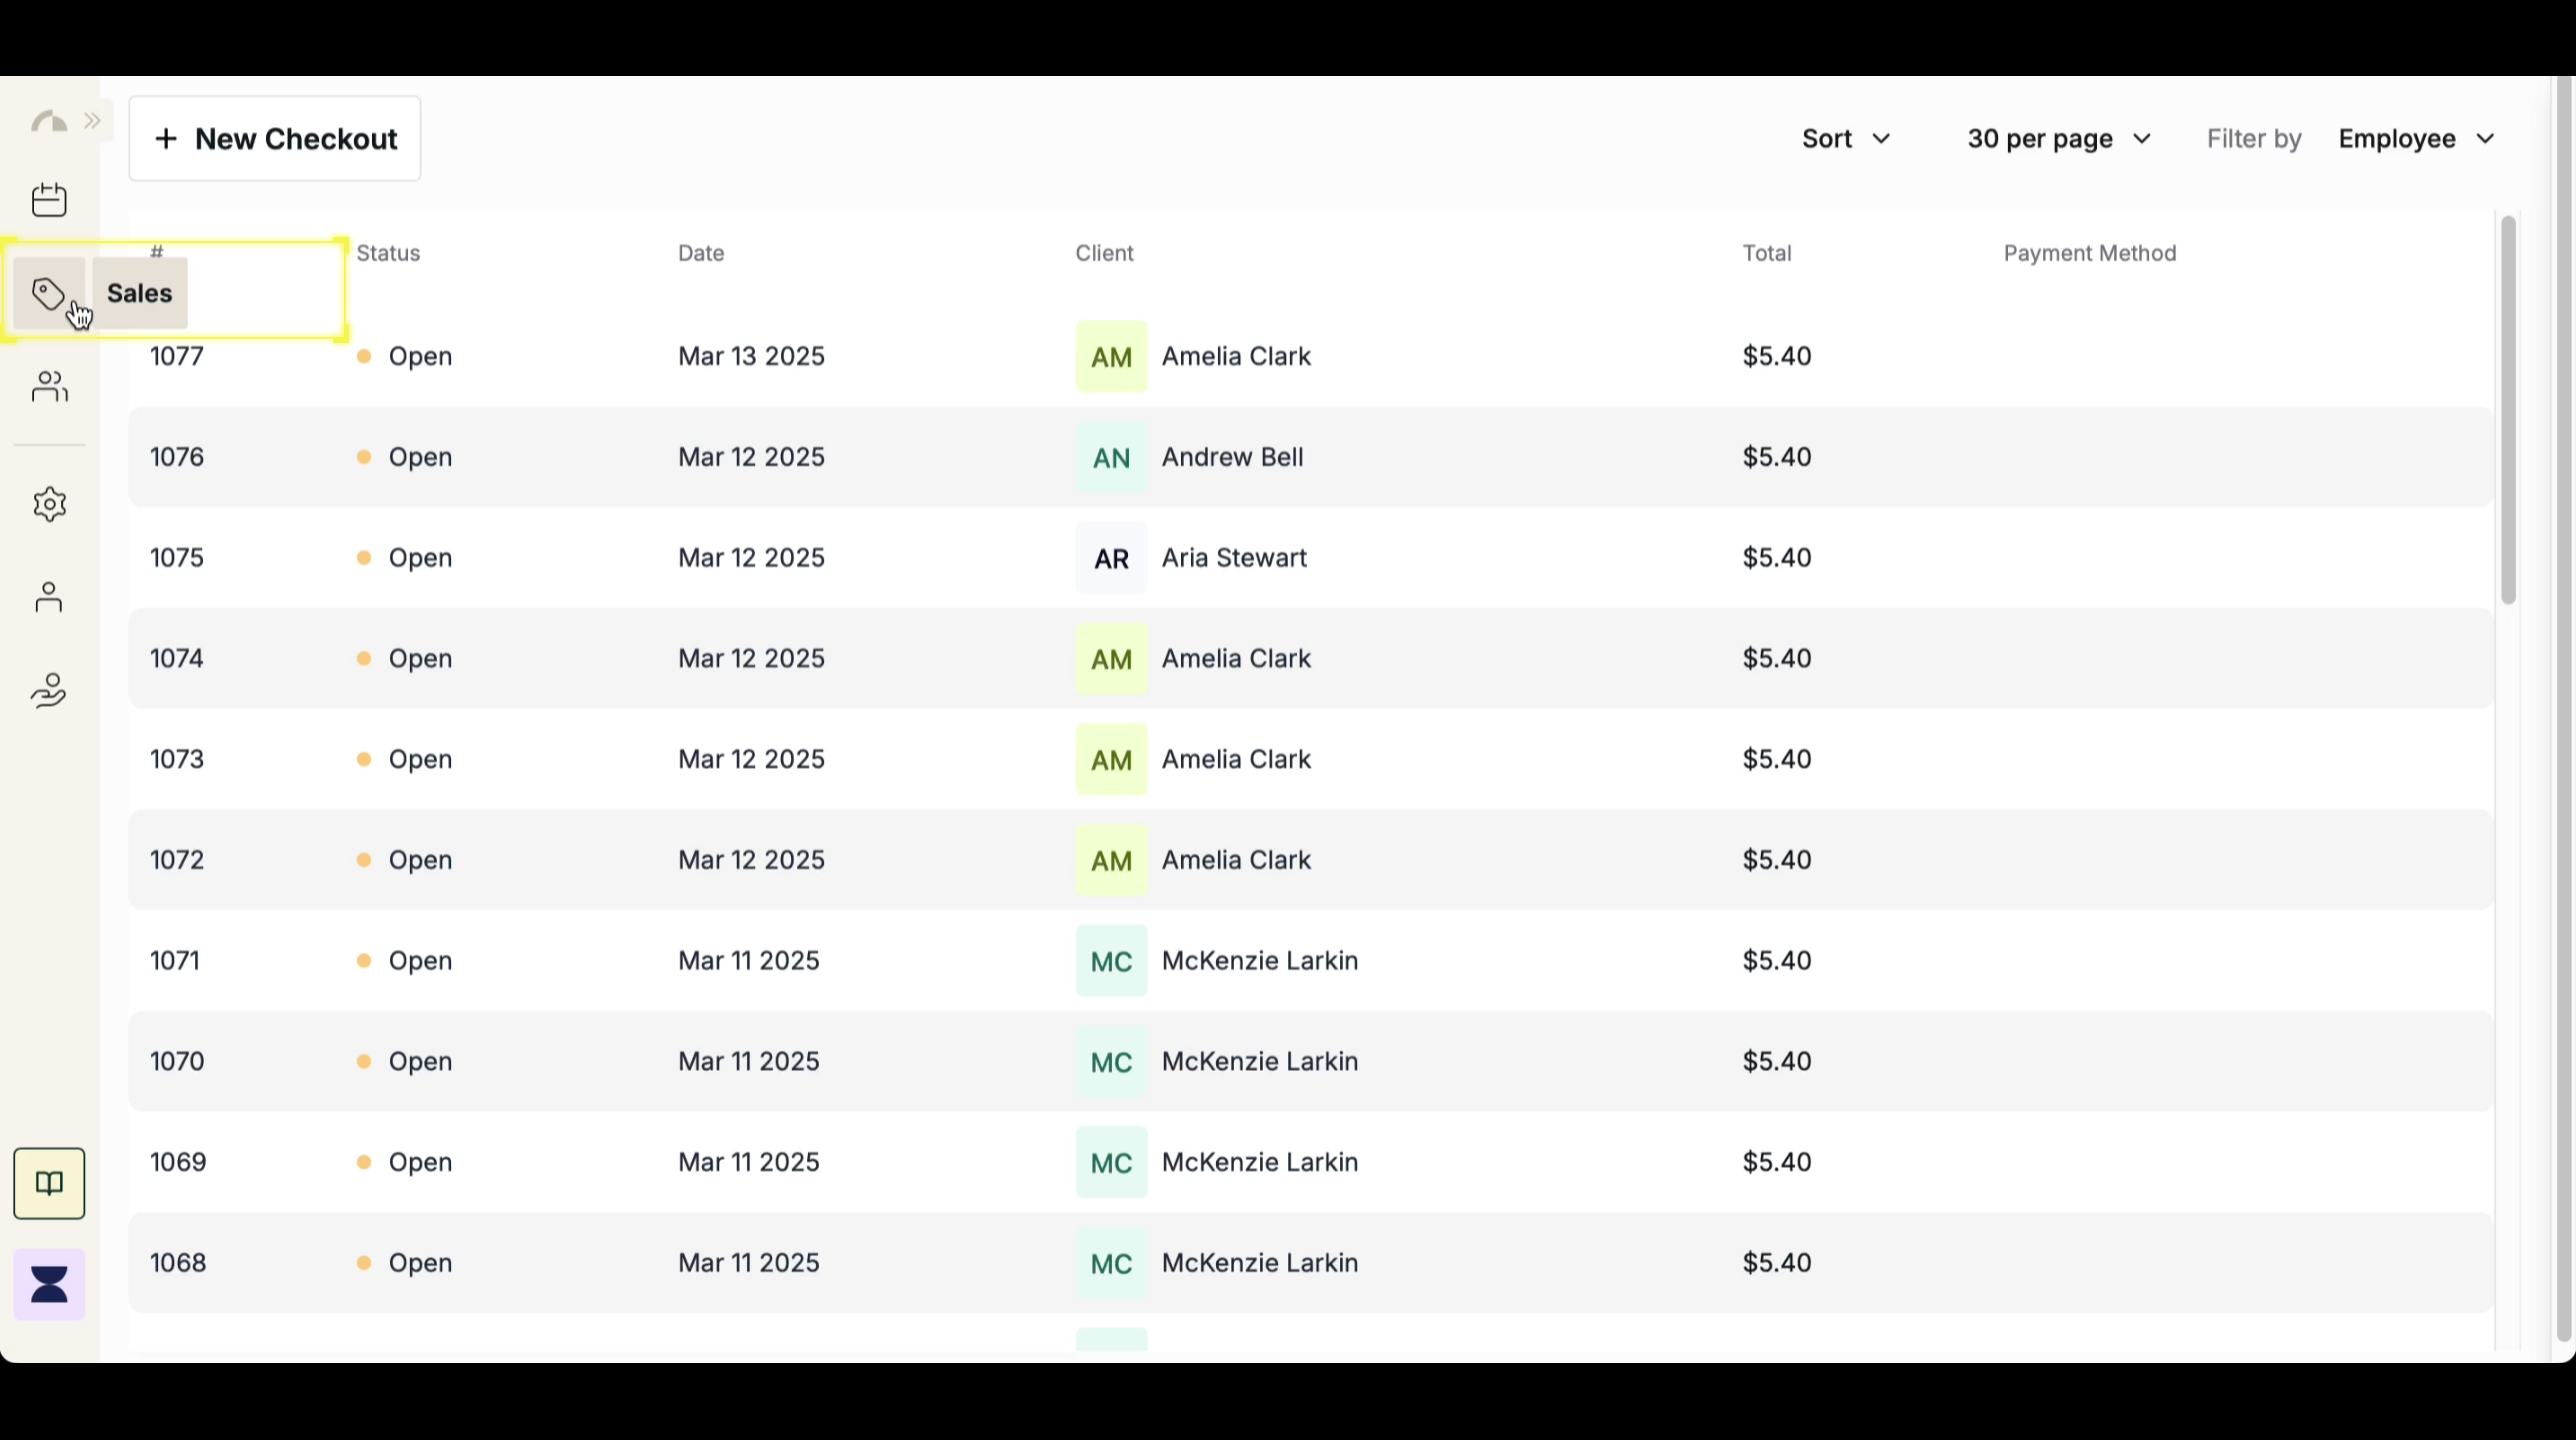
Step 2
Create a New Checkout
Click “+ New Checkout” to begin the transaction process. This will open the checkout form where you can enter the necessary details for the sale. Ensuring that all checkouts are created through this process helps keep sales records organized and prevents any missing transactions in your reports.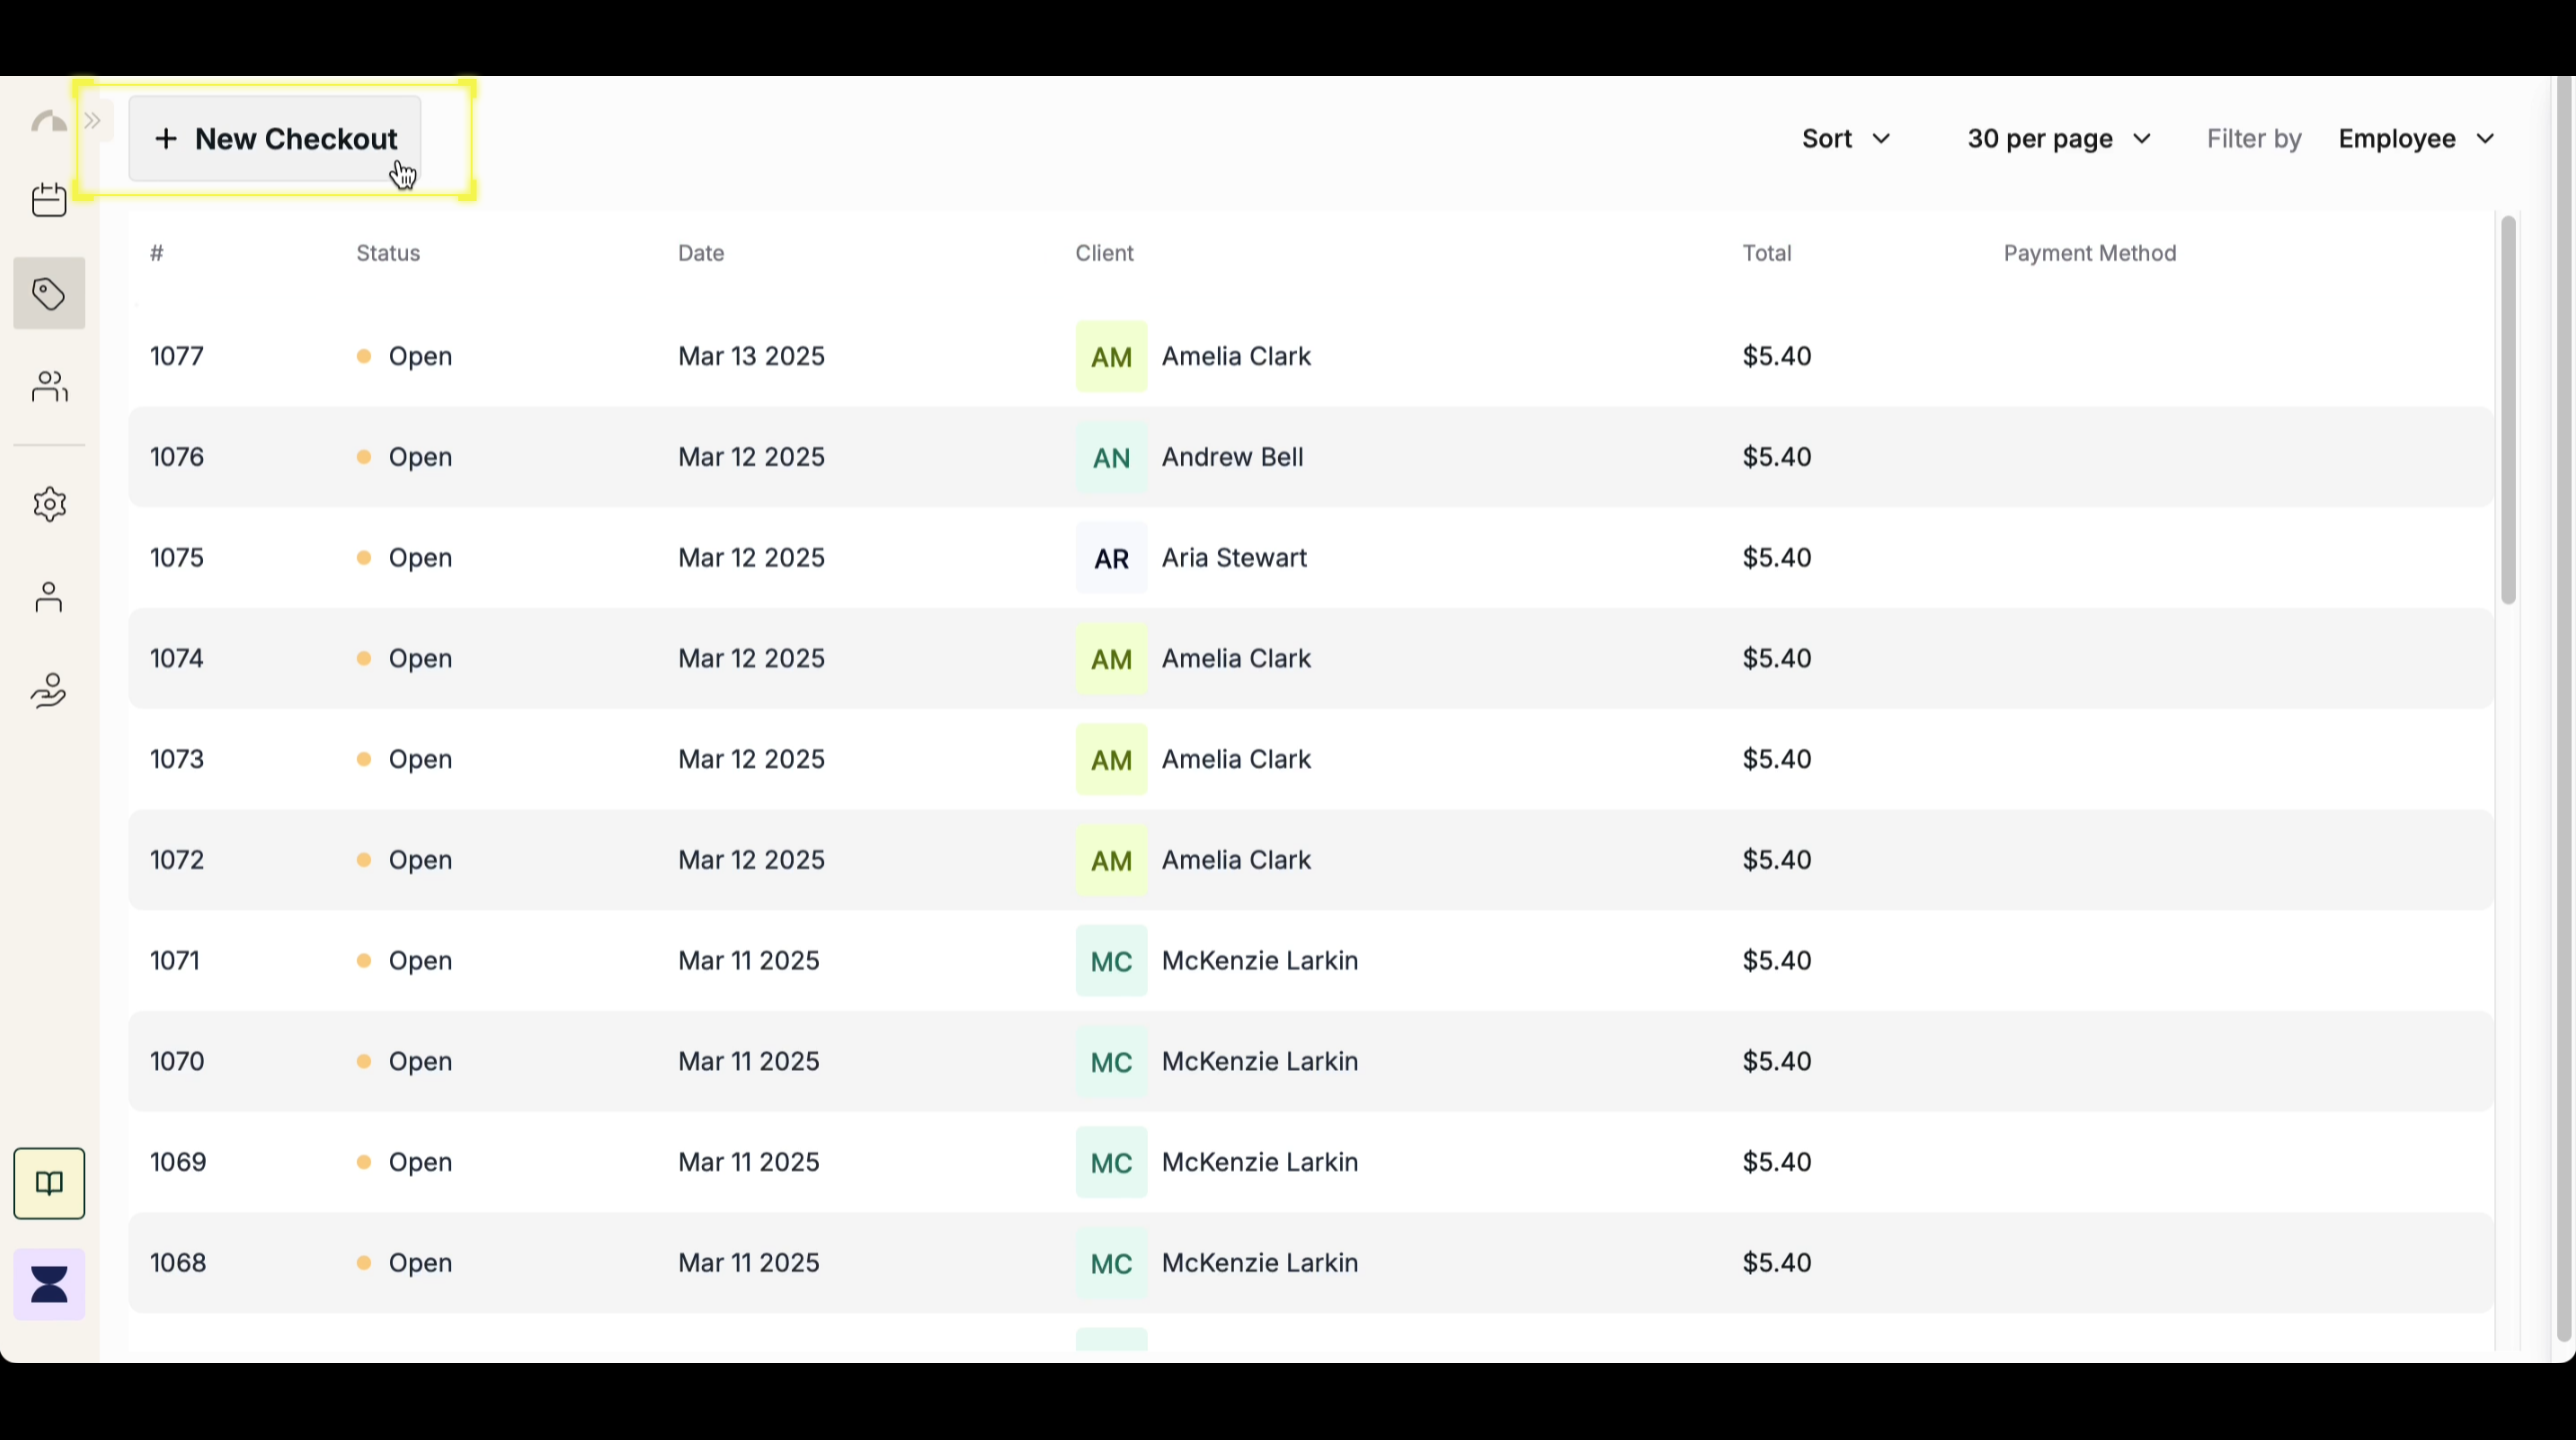
Step 3
Assign a Client and Service
Search for an existing client in the system or create a new client profile if they are booking a service for the first time. Associating the checkout with a client ensures that their purchase history is recorded for future reference.Once the client is selected, choose the service(s) being purchased. The checkout will automatically calculate the price based on the service’s set rate. If multiple services are being purchased, you can add them all under the same checkout to streamline the payment process.
Step 4
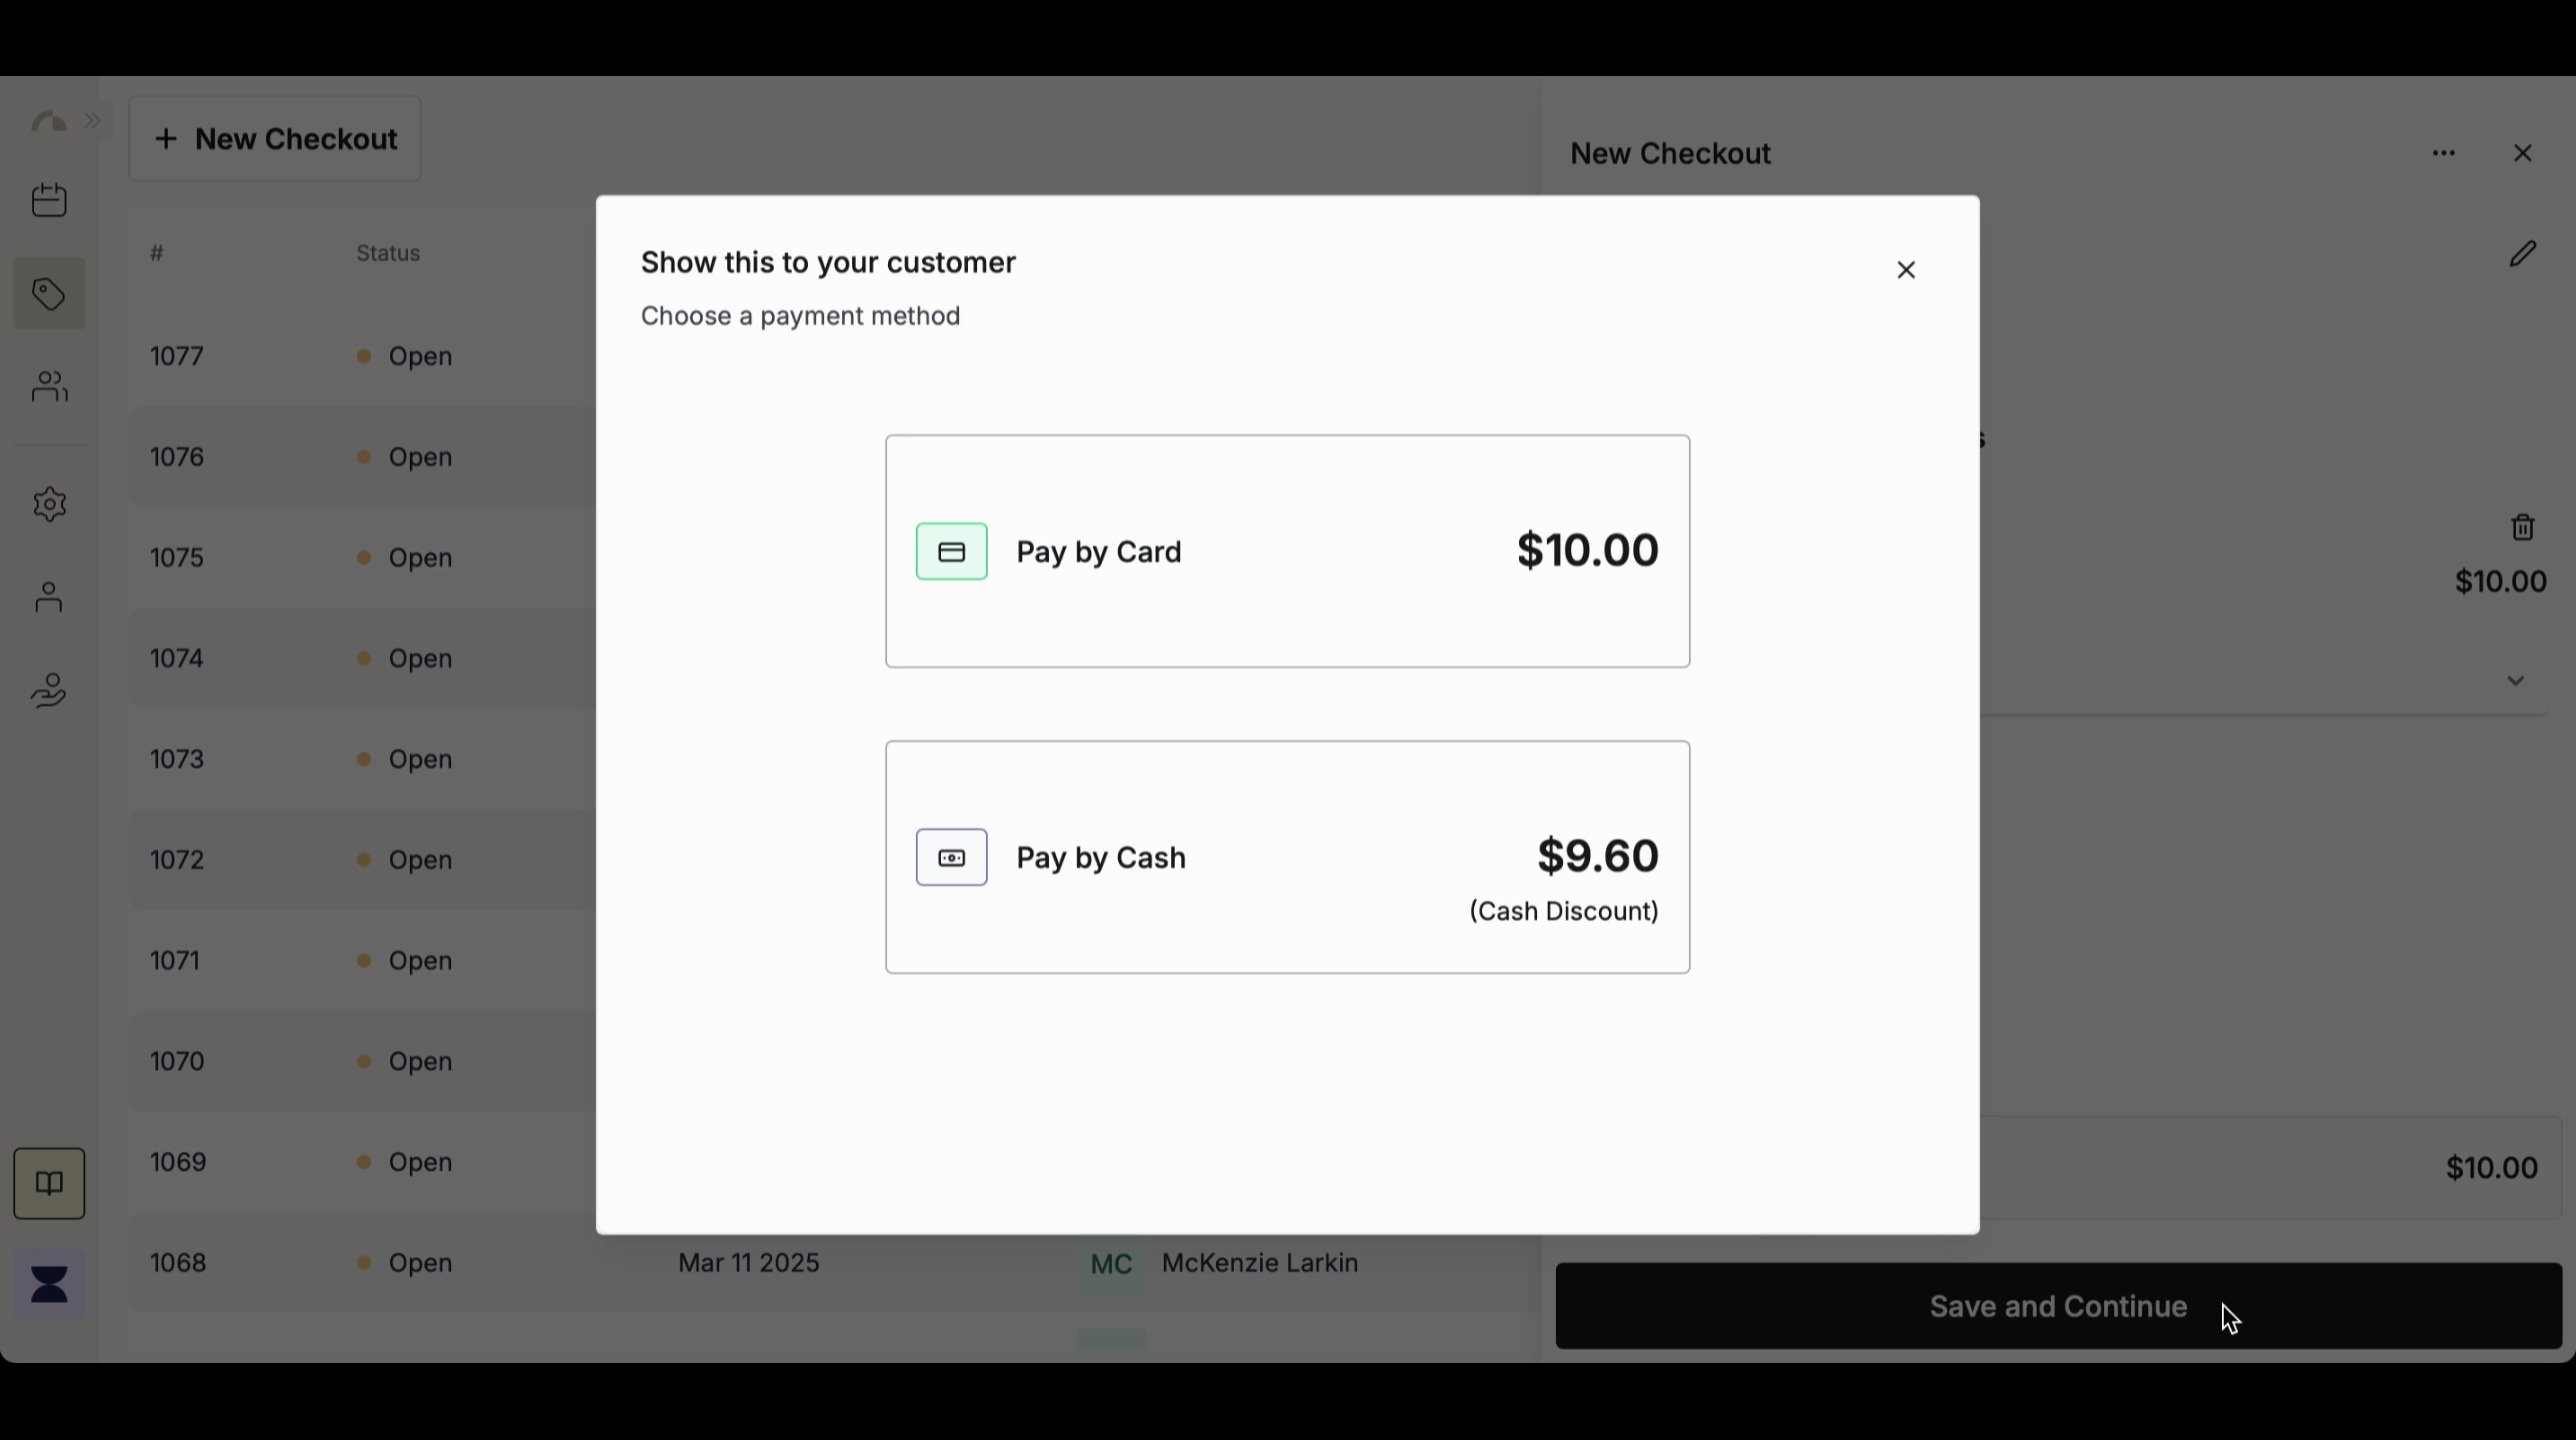
Choose a Payment Method
After confirming the client and service details, proceed by selecting a payment method. The system supports multiple payment options, allowing flexibility based on the client’s preference. You can choose from:- Paying by Cash – Process a cash payment immediately and record the transaction in the system.
- Paying by Card – Select a card-based payment option, including QR payments, app-based payments, payment links, or manually recorded card transactions.