Introduction
Exporting your client list from Vagaro allows you to bring your customer data—like names, contact details, and notes—into a new system quickly. Below are step-by-step instructions for both mobile (phone) and desktop/tablet/pay desk devices.On the Phone (iPhone/Android)
Running this report on a phone will list all customers who match your search criteria. Each customer profile is displayed as a separate card. You can tap a customer’s card to view their full profile or send them an email—if an email address is on file.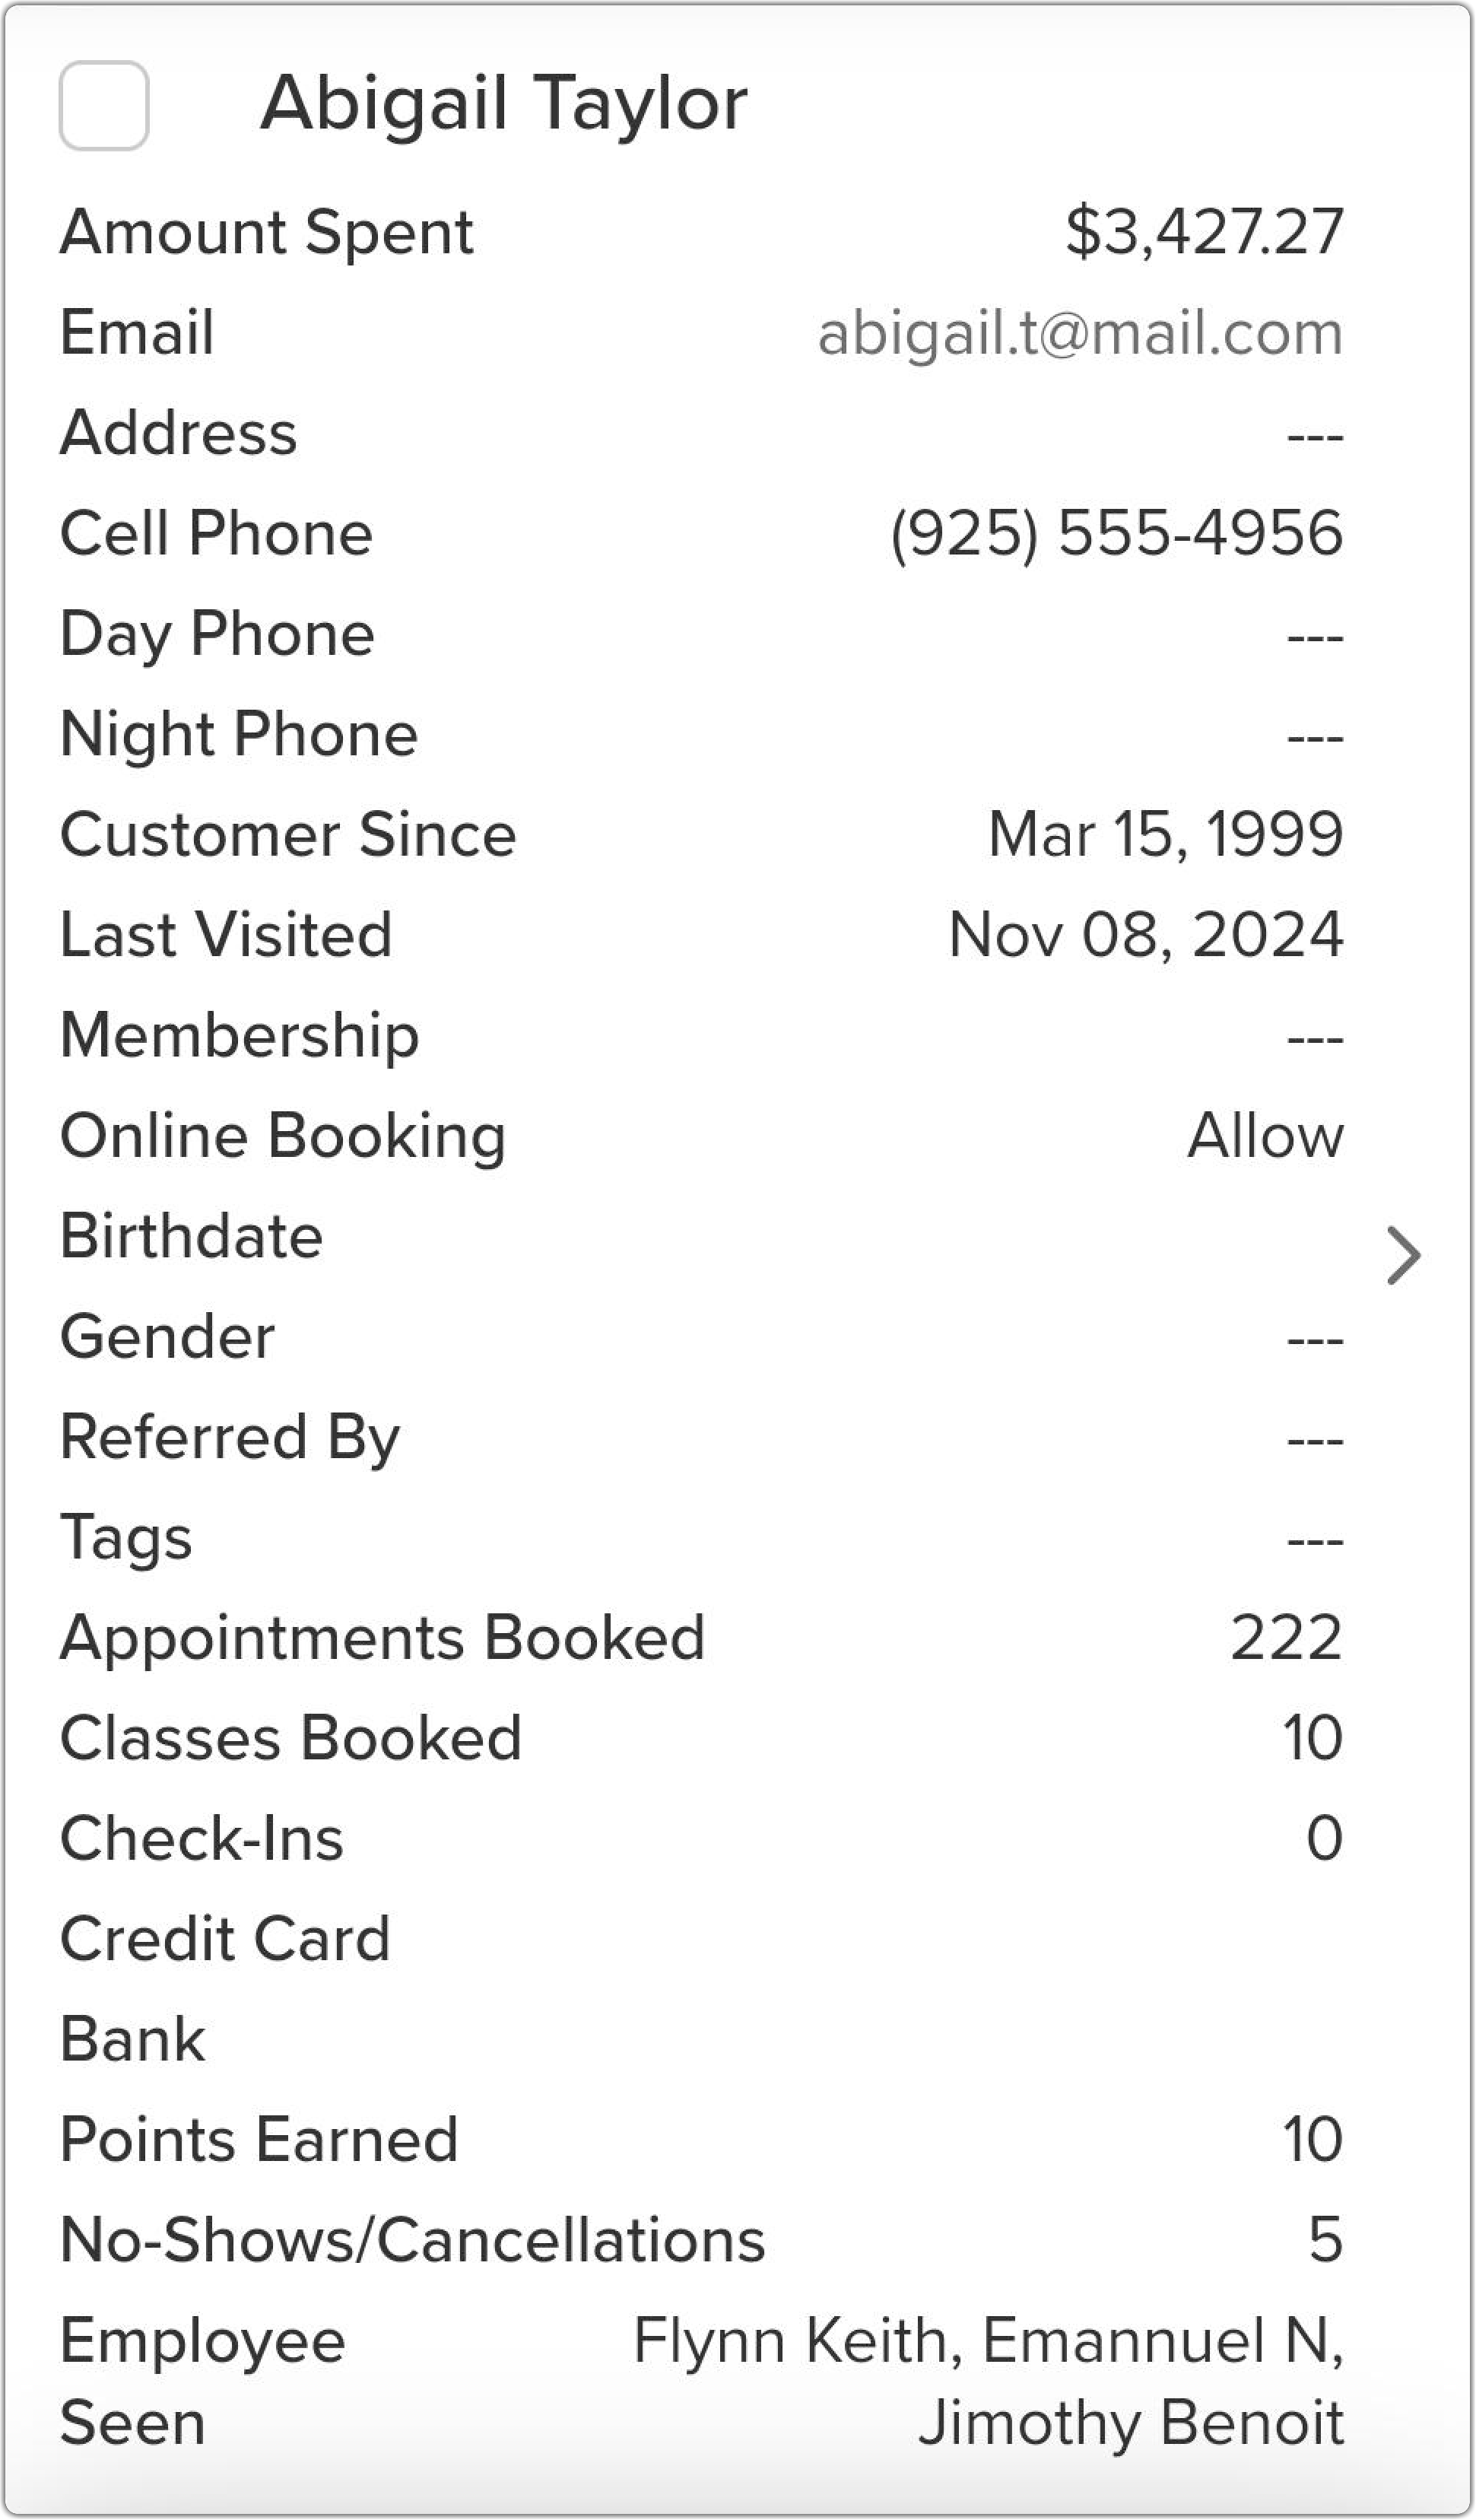
Step 1
Navigate to Customer Reports
Go to More → Reports → Customers → Customers.Step 2
(Optional) Apply Filters
Tap the Filters icon in the top-right corner to narrow down your report, then tap Run Report. You can filter by:
- Email / Address / Ref. By / Tag – Enter full or partial emails, mailing addresses, referrer names, or tags.
- Name – Search by first or last name (e.g., “Smith”).
- Phone Number – Enter area code or full number.
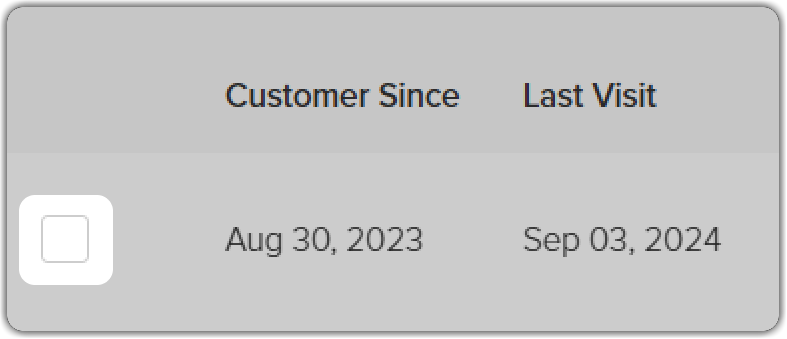
- Customer Since / Last Visit – Search by customer longevity or recent visits using date filters.
- Customer Notes – Search for specific text inside profile notes.
- Services & Add-Ons – Filter based on what clients have purchased or attended.
- Email or Phone on File – Search based on contact info format (e.g., Gmail or 415 area code).
- Employee – Filter based on staff who served the client.
- Membership – Filter by current client memberships.
- Online Booking Status – Show clients based on online booking permission.
- Date Range / Birth Month / Gender – Filter by time, birth month, or gender ID.
- Card or Bank Info – See who has a payment method on file.
- Booking / Points / Spend Range – Minimum/maximum appointments, points earned, or money spent.
- No-Shows / Age Range – Filter by missed visits or client age.
Step 3
Select Clients to Export
Check the box next to each client you want to export or tap Select All Customers to include everyone.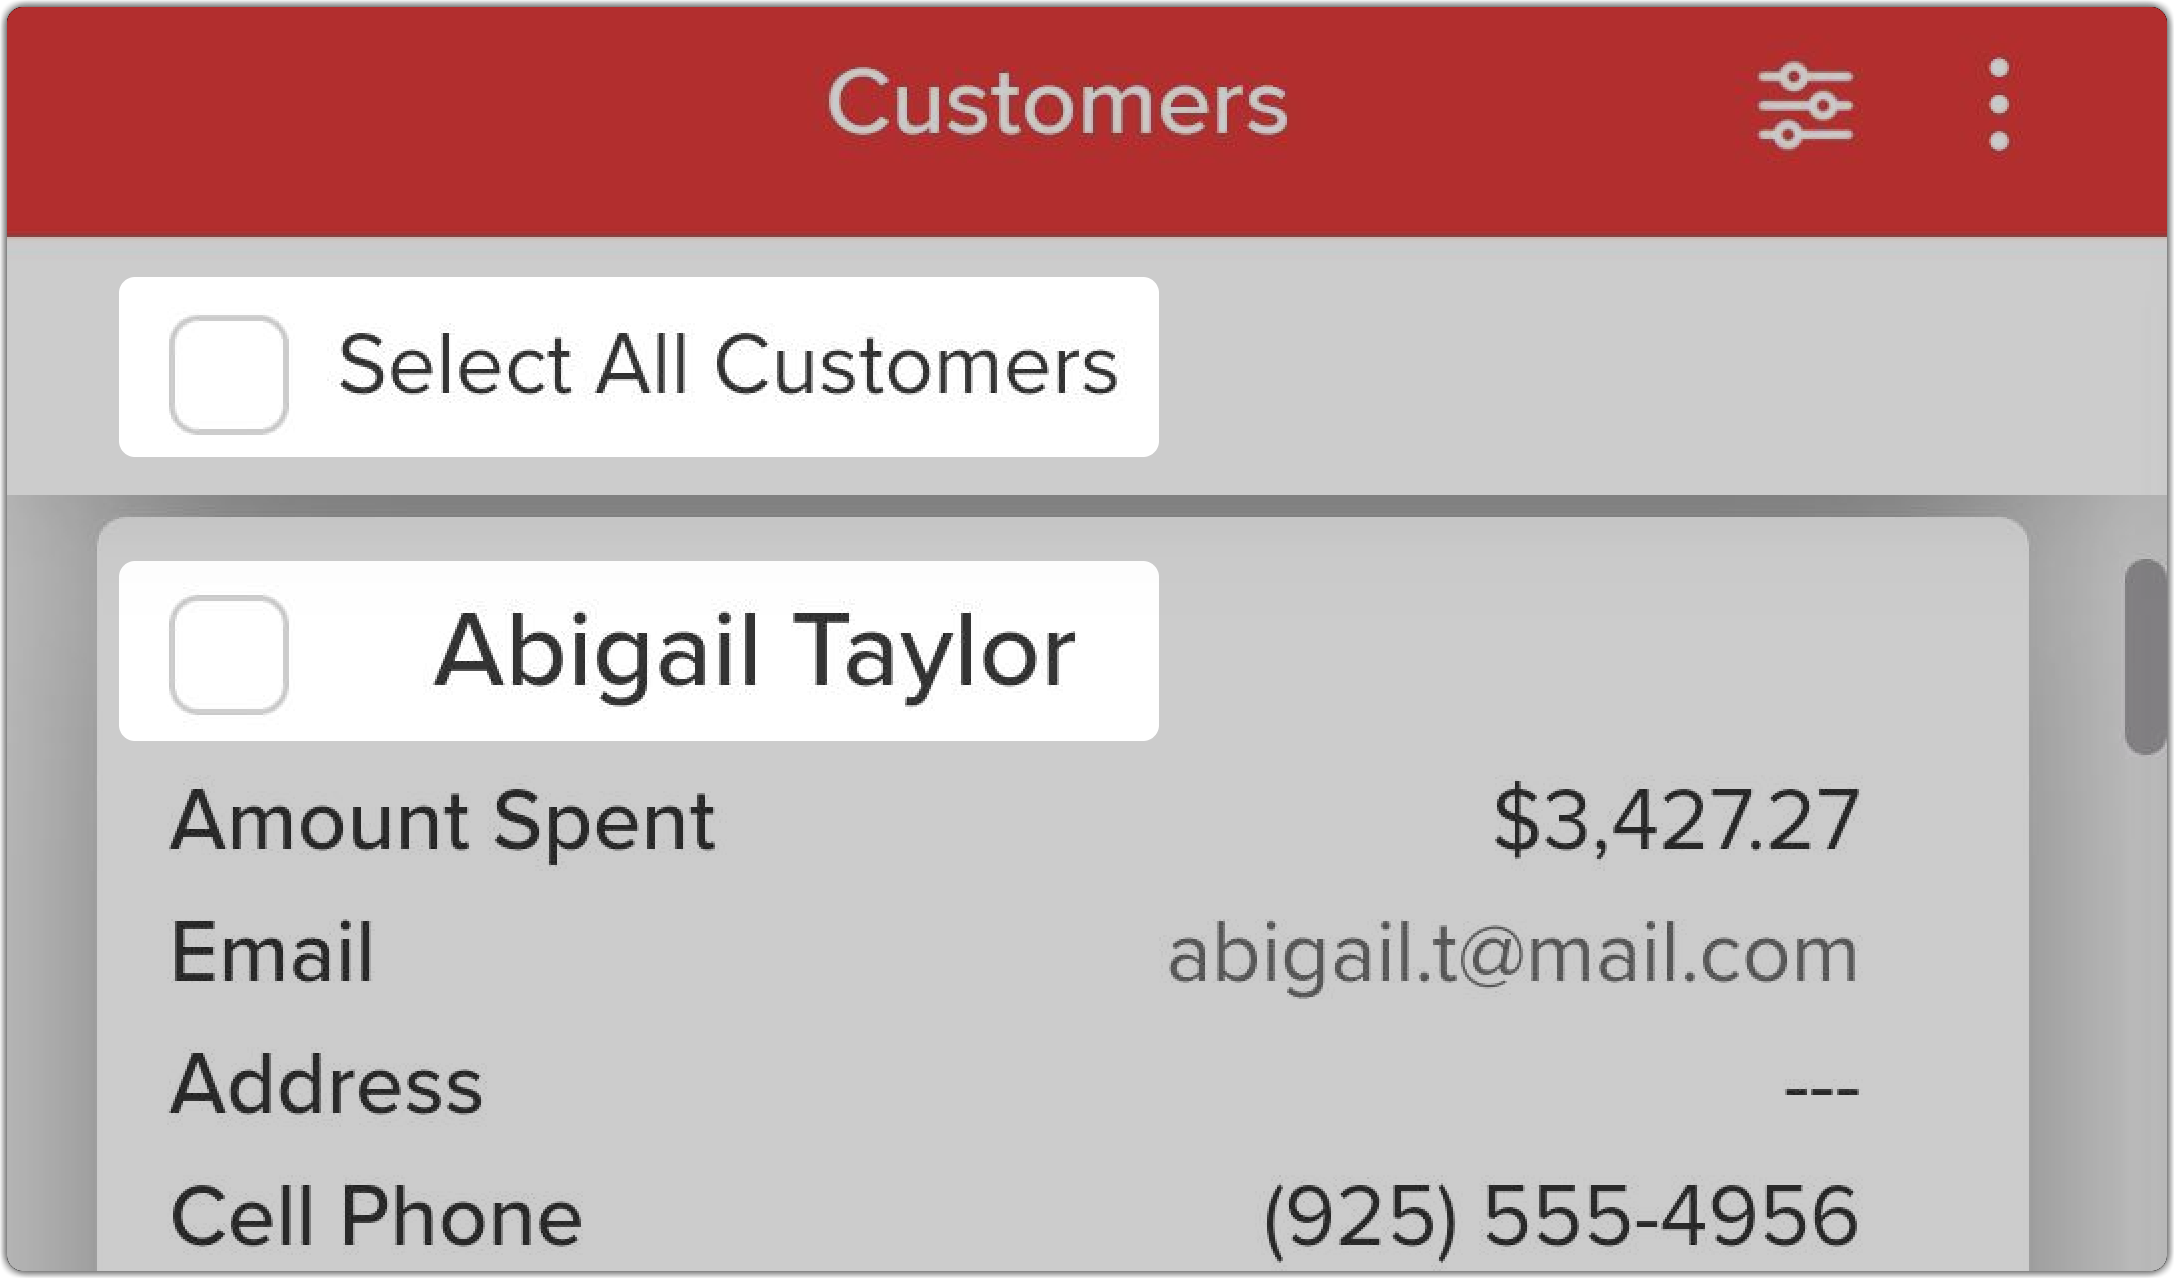
Step 4
Export Your List
Tap the Action (⋮) menu in the top-right corner, then choose:- Export PDF
- Export Excel (recommended for importing)
Step 5
Additional Actions
After generating the report, you can also:- View or Email a Customer – Tap a customer’s card for quick actions.
- Bookmark the Report – Use Star/Unstar to save the report for later.
- Undo Delete – Restore deleted profiles.
- Merge – Combine duplicates into a single profile.
- Delete – Permanently remove selected profiles.
On the Web, Tablet, Pay Desk, or PayPro
Running this report on the web, tablet, Pay Desk, or PayPro will display all customers who match your search criteria. Each customer profile is listed on a separate card, and selecting a customer’s card will open their full customer profile.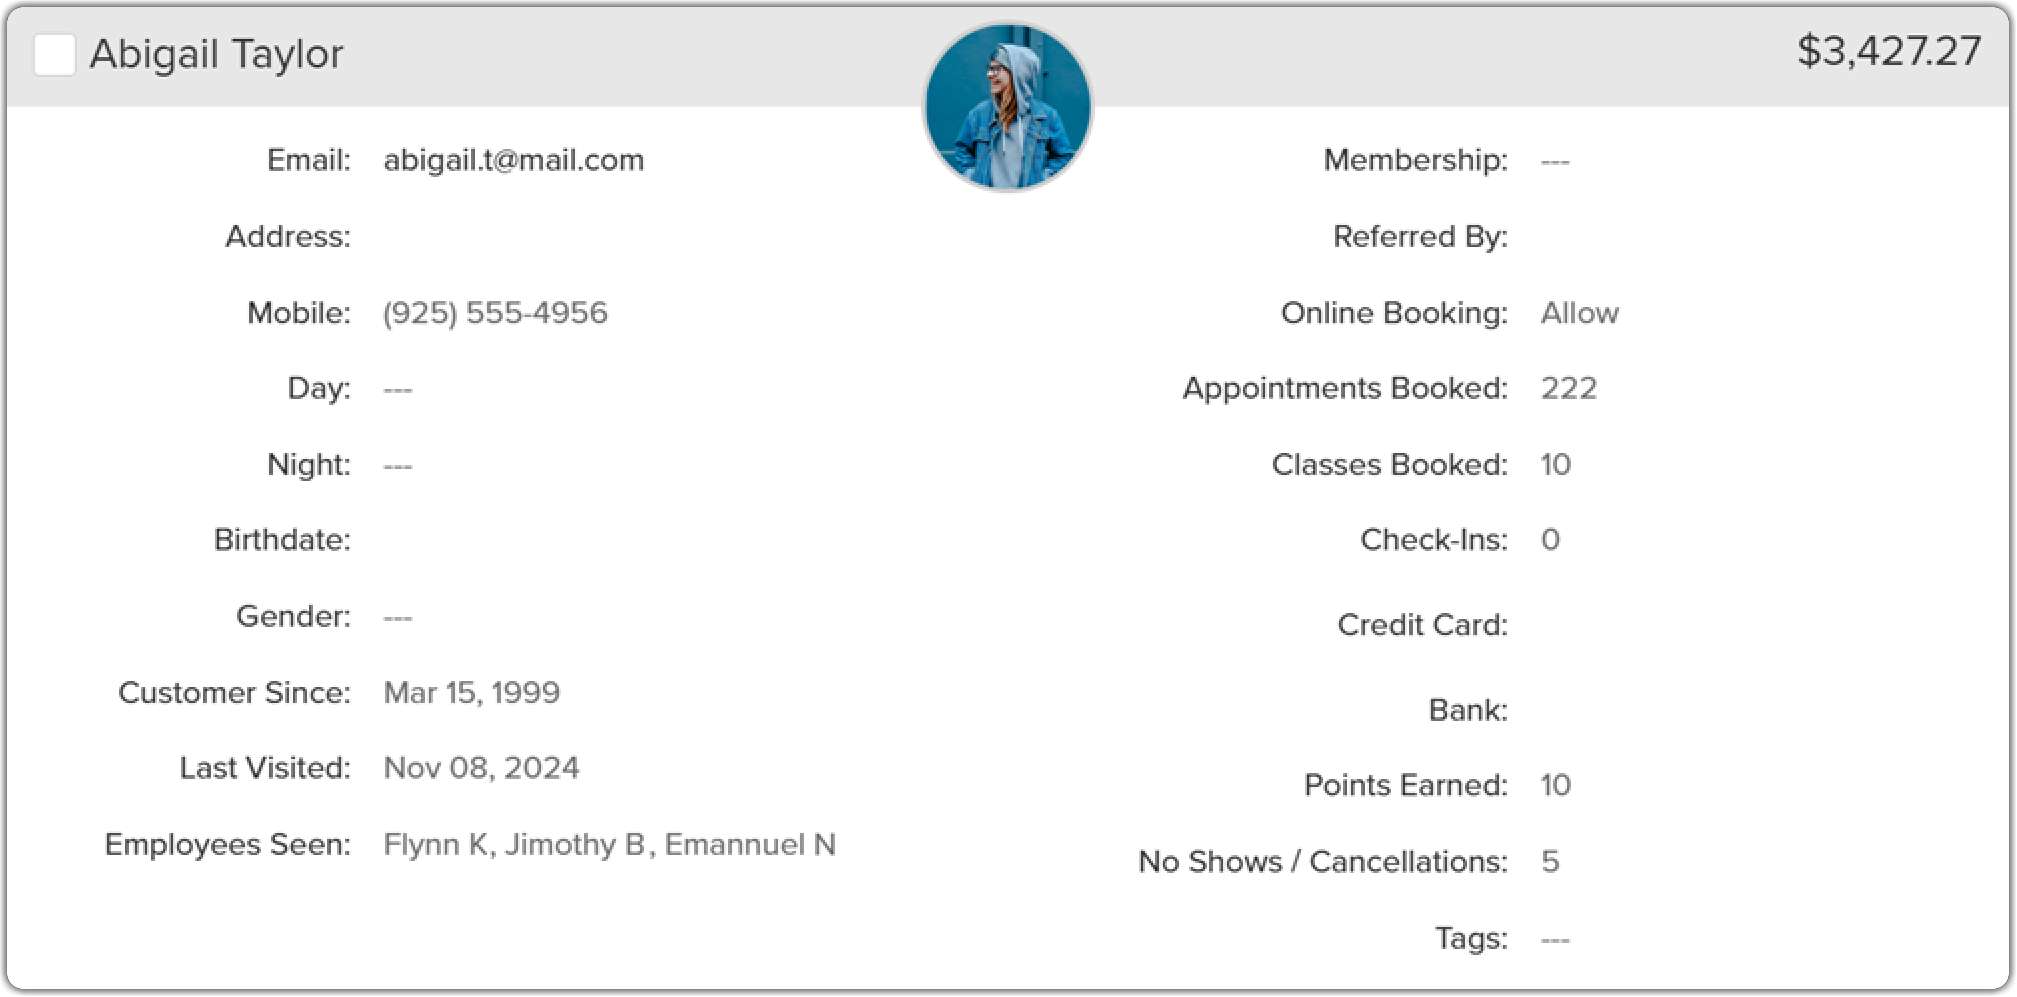
Step 1
Navigate to Customer Reports
Go to Reports → Customers → Customers from the top navigation bar.Step 2
(Optional) Apply Filters
Click the Filter icon in the top-right corner to refine your customer list, then select Run Report. Available filters include:
- Mail / Address / Ref. By / Gen. Tag – Search by email, mailing address, referral source, or tags.
- Name – Enter a full or partial name (e.g., “Smith”).
- Phone – Search by full number or area code.
Advanced Range Filters
- Customer Since / Last Visit – Filter by first visit or recent activity (Before, After, or Between selected dates).
- Customer Notes – Filter by keywords in profile notes.
- Services, Classes, and Add-Ons – View clients who purchased specific offerings.
- Phone or Email on Profile – Narrow by domain (e.g., Gmail) or phone format.
- Service Provider – Filter based on staff members who served the clients.
- Membership – See which clients have active memberships.
- Online Booking Status – Filter by booking permissions (Allow, Require Acceptance, Block).
- Date Range / Birth Month / Gender – Filter by appointment dates, birth month, or gender identity.
- Card or Bank on File – Identify clients with stored payment methods.
- Booking Range – Number of appointments scheduled.
- Points Earned – Loyalty points earned.
- Amount Paid – Total spend per customer.
- No-Show / Cancellation Range – Missed or canceled appointments.
- Age Range – Client age brackets.
Step 3
Choose Your View (Optional)
- Card View – View customer profiles as individual cards.
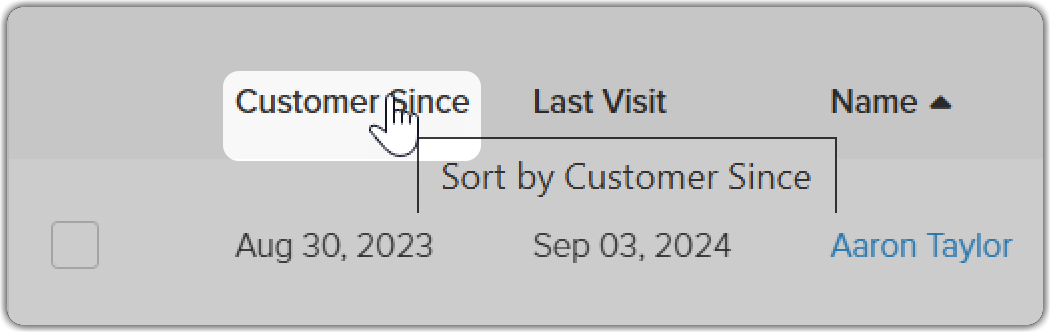
- Grid View – View customers in a sortable table.
Use column headers to sort by name, visit history, or other data points.
Step 4
Select Clients to Export
Check individual boxes next to customer names or click Select All Customers to export the entire list.