Introduction
Processing card payments provides a fast, secure, and efficient way to complete transactions. Clients created through the Merchant Portal or Booking Portal are automatically labeled as open transactions, allowing for seamless tracking of pending and completed payments. By following these steps, you can navigate the sales section, select a client, and process the transaction using their preferred card payment method.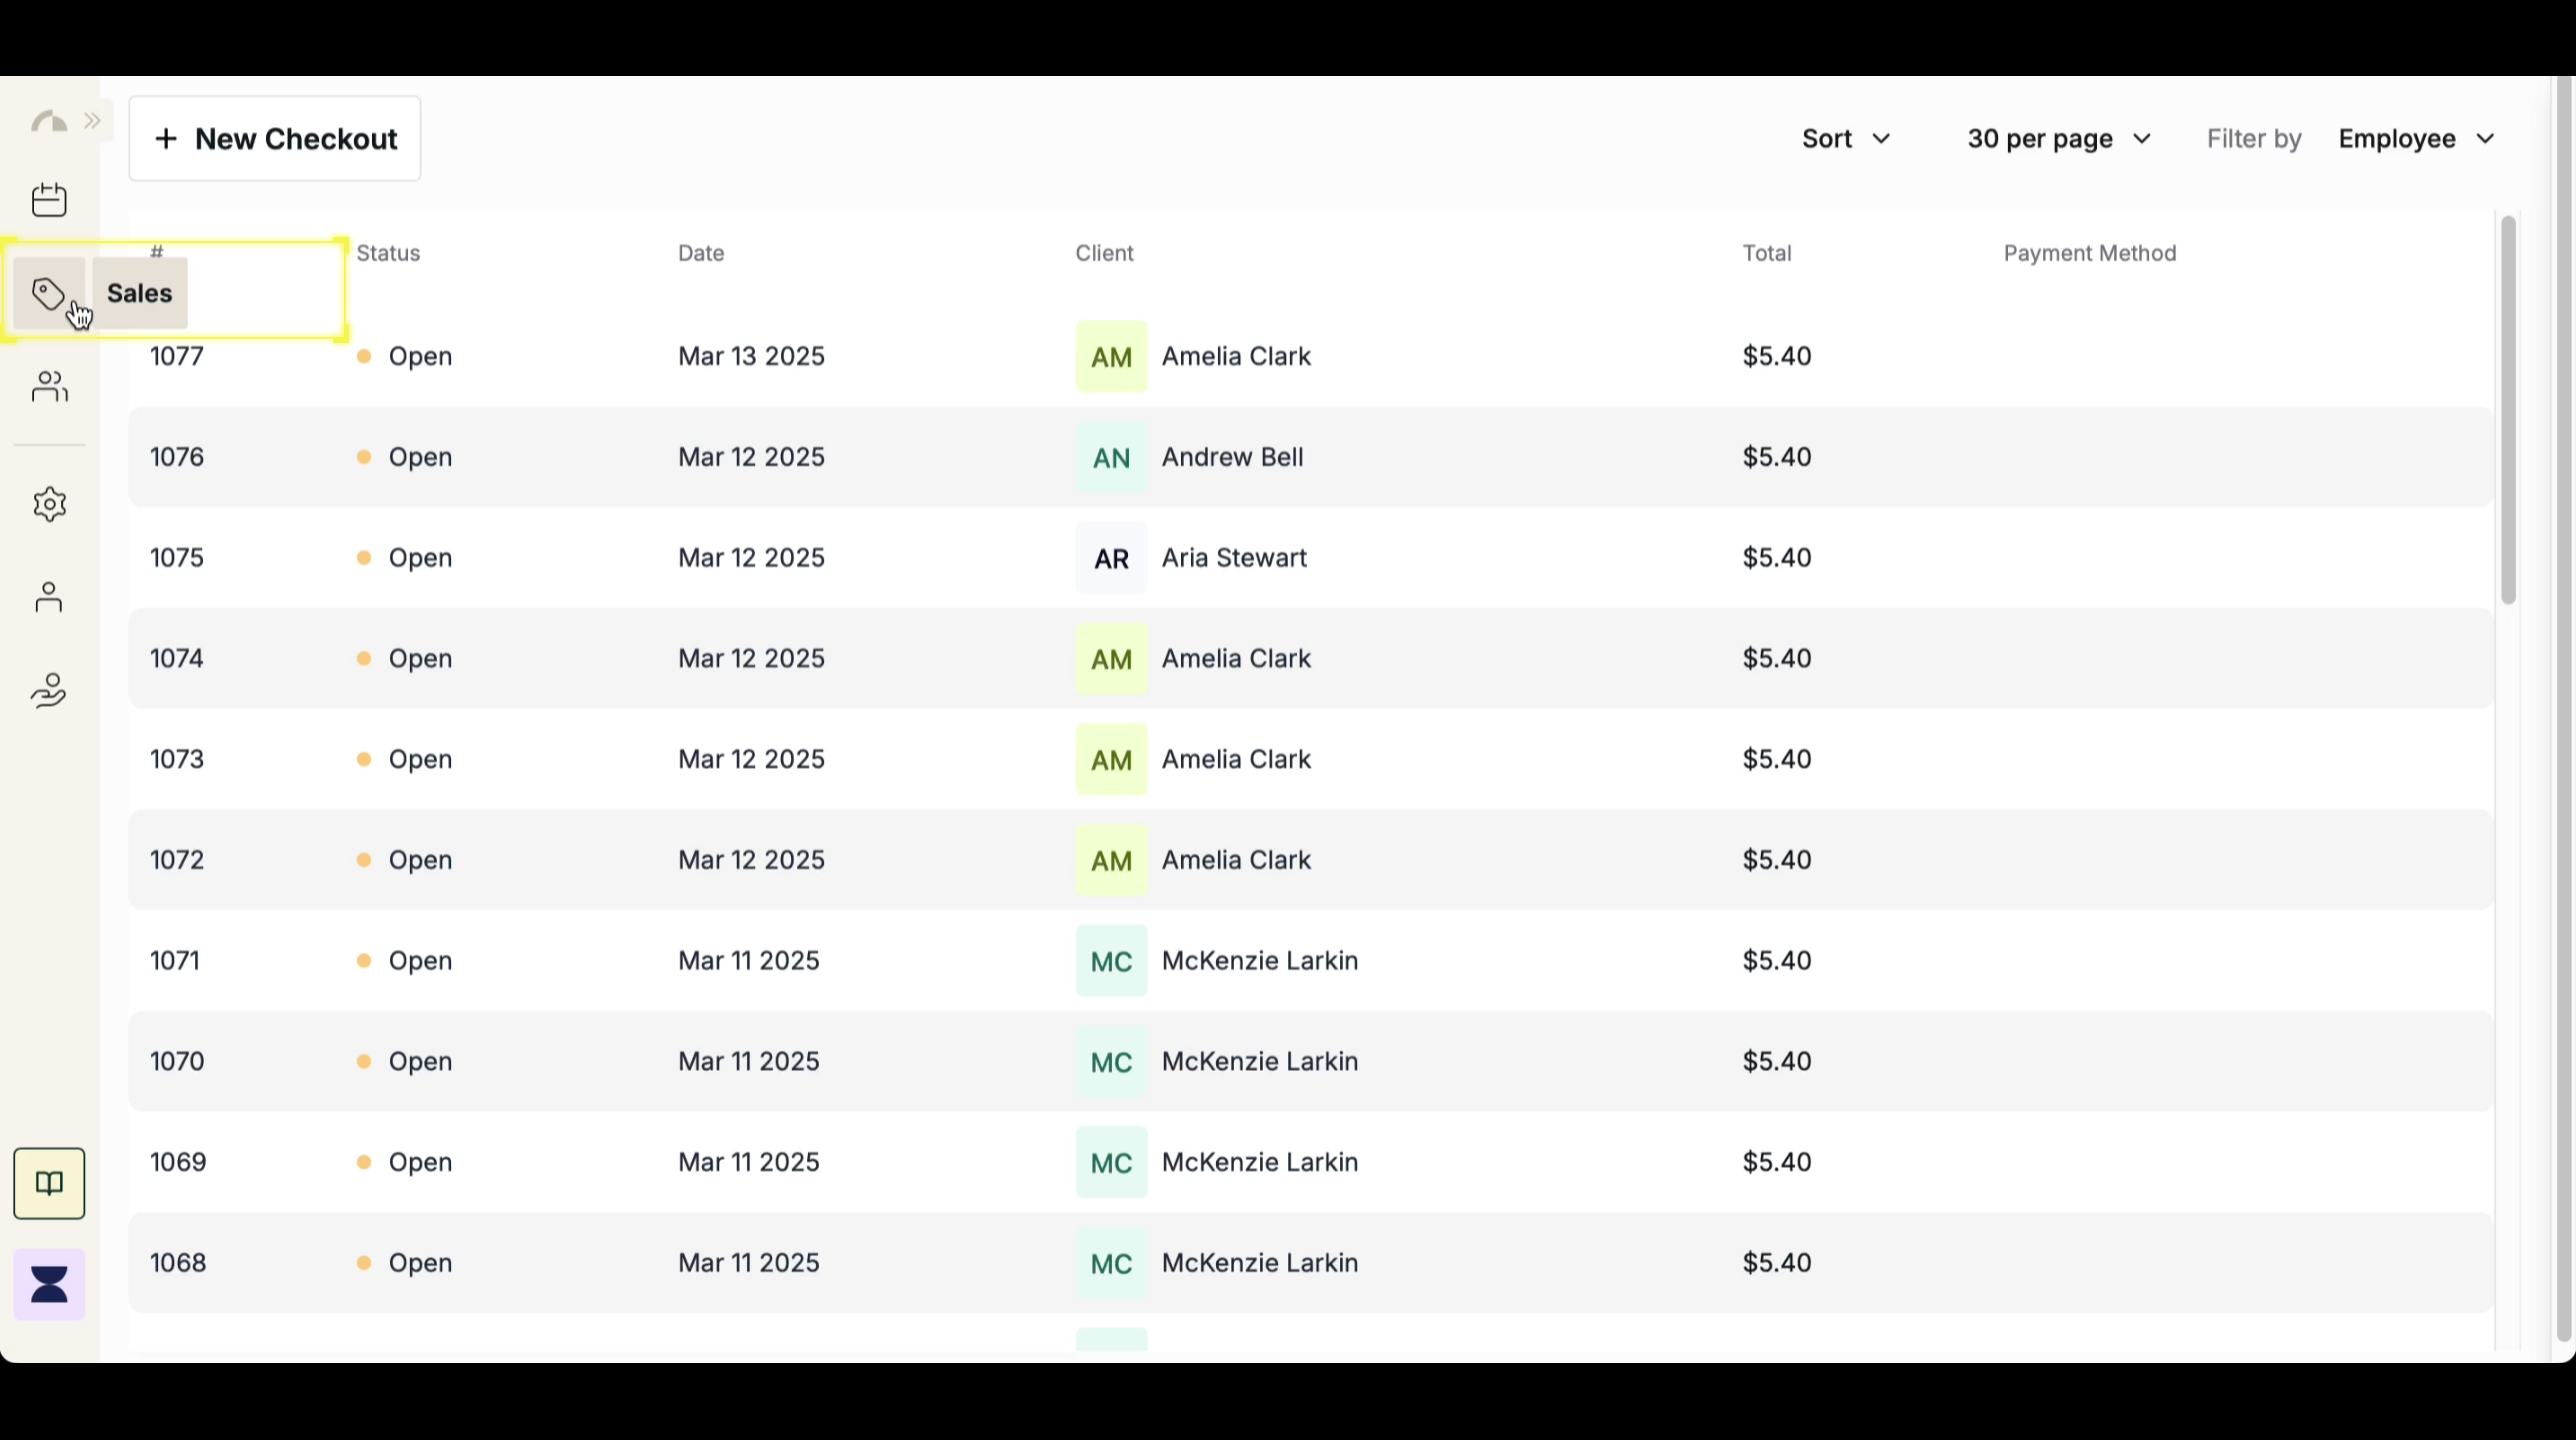
Step 2
Select a Client
Search for the client associated with the transaction. If the client was created through the Merchant Portal or Booking Portal, they will be automatically added and labeled as an open transaction until payment is completed.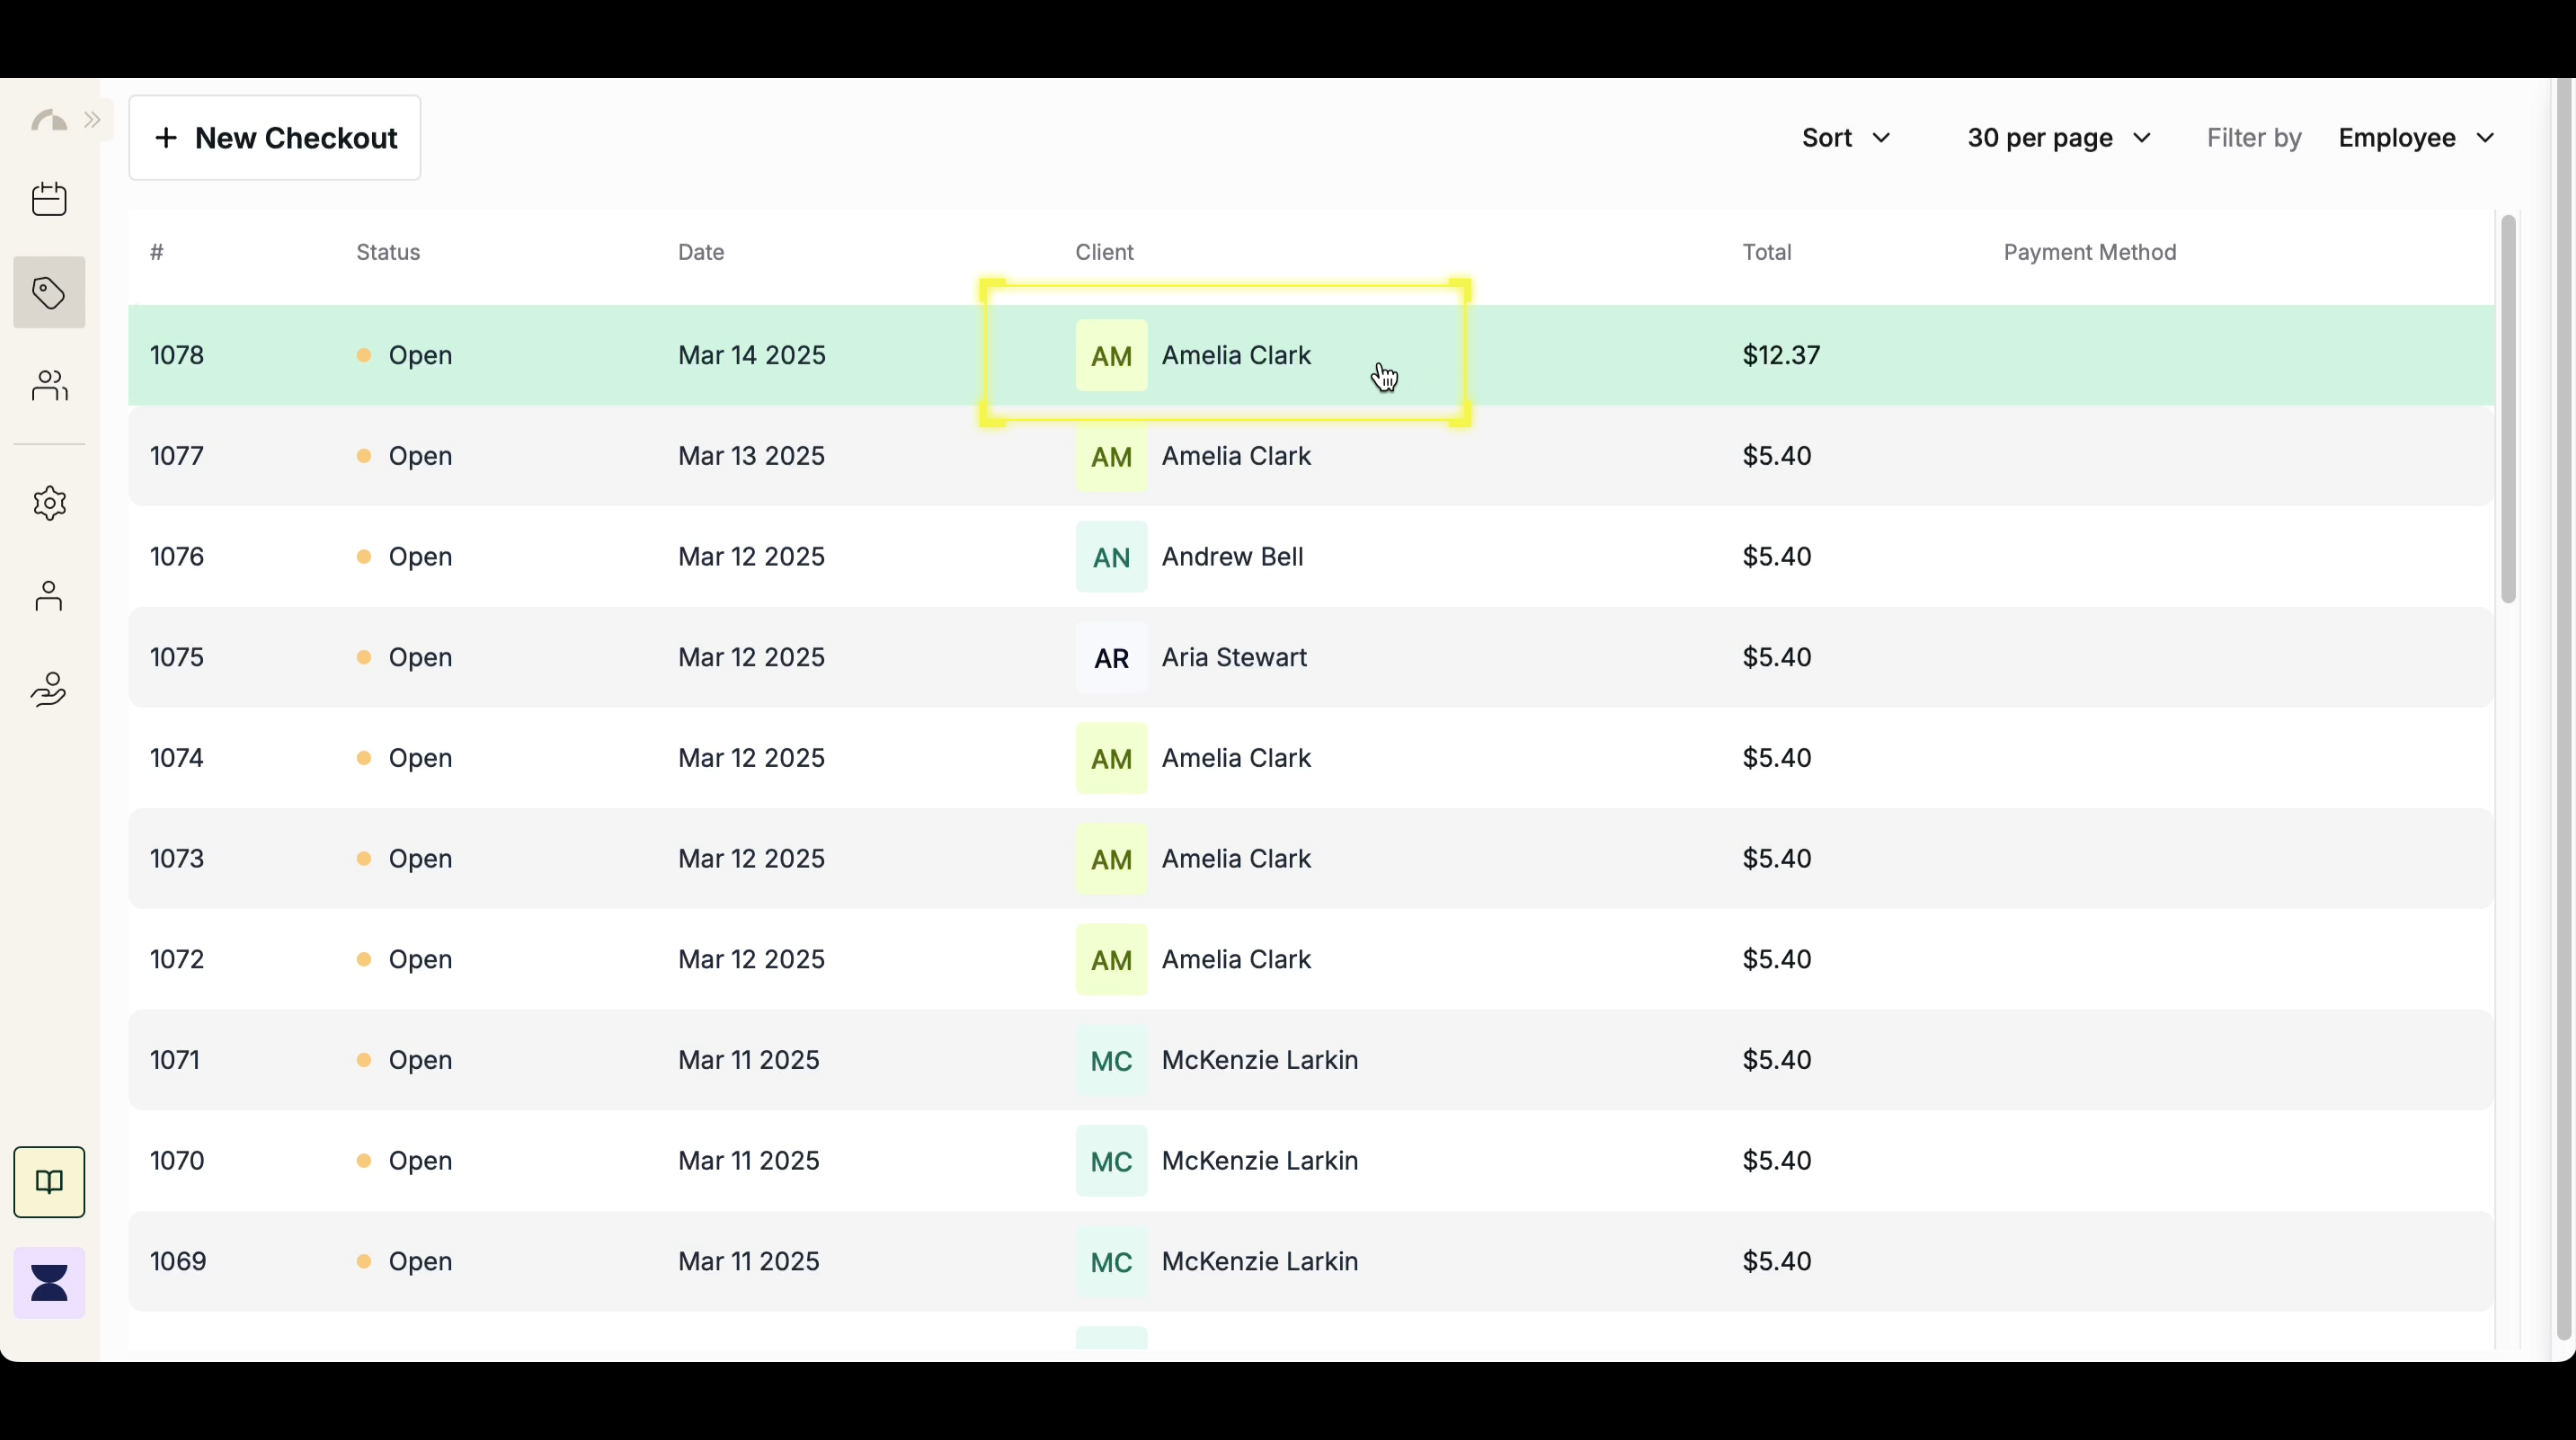
Step 3
Confirm and Save Checkout
Review the client’s service details and confirm the checkout. This ensures the correct service and pricing are applied before proceeding with payment. Once confirmed, you can proceed with the card payment.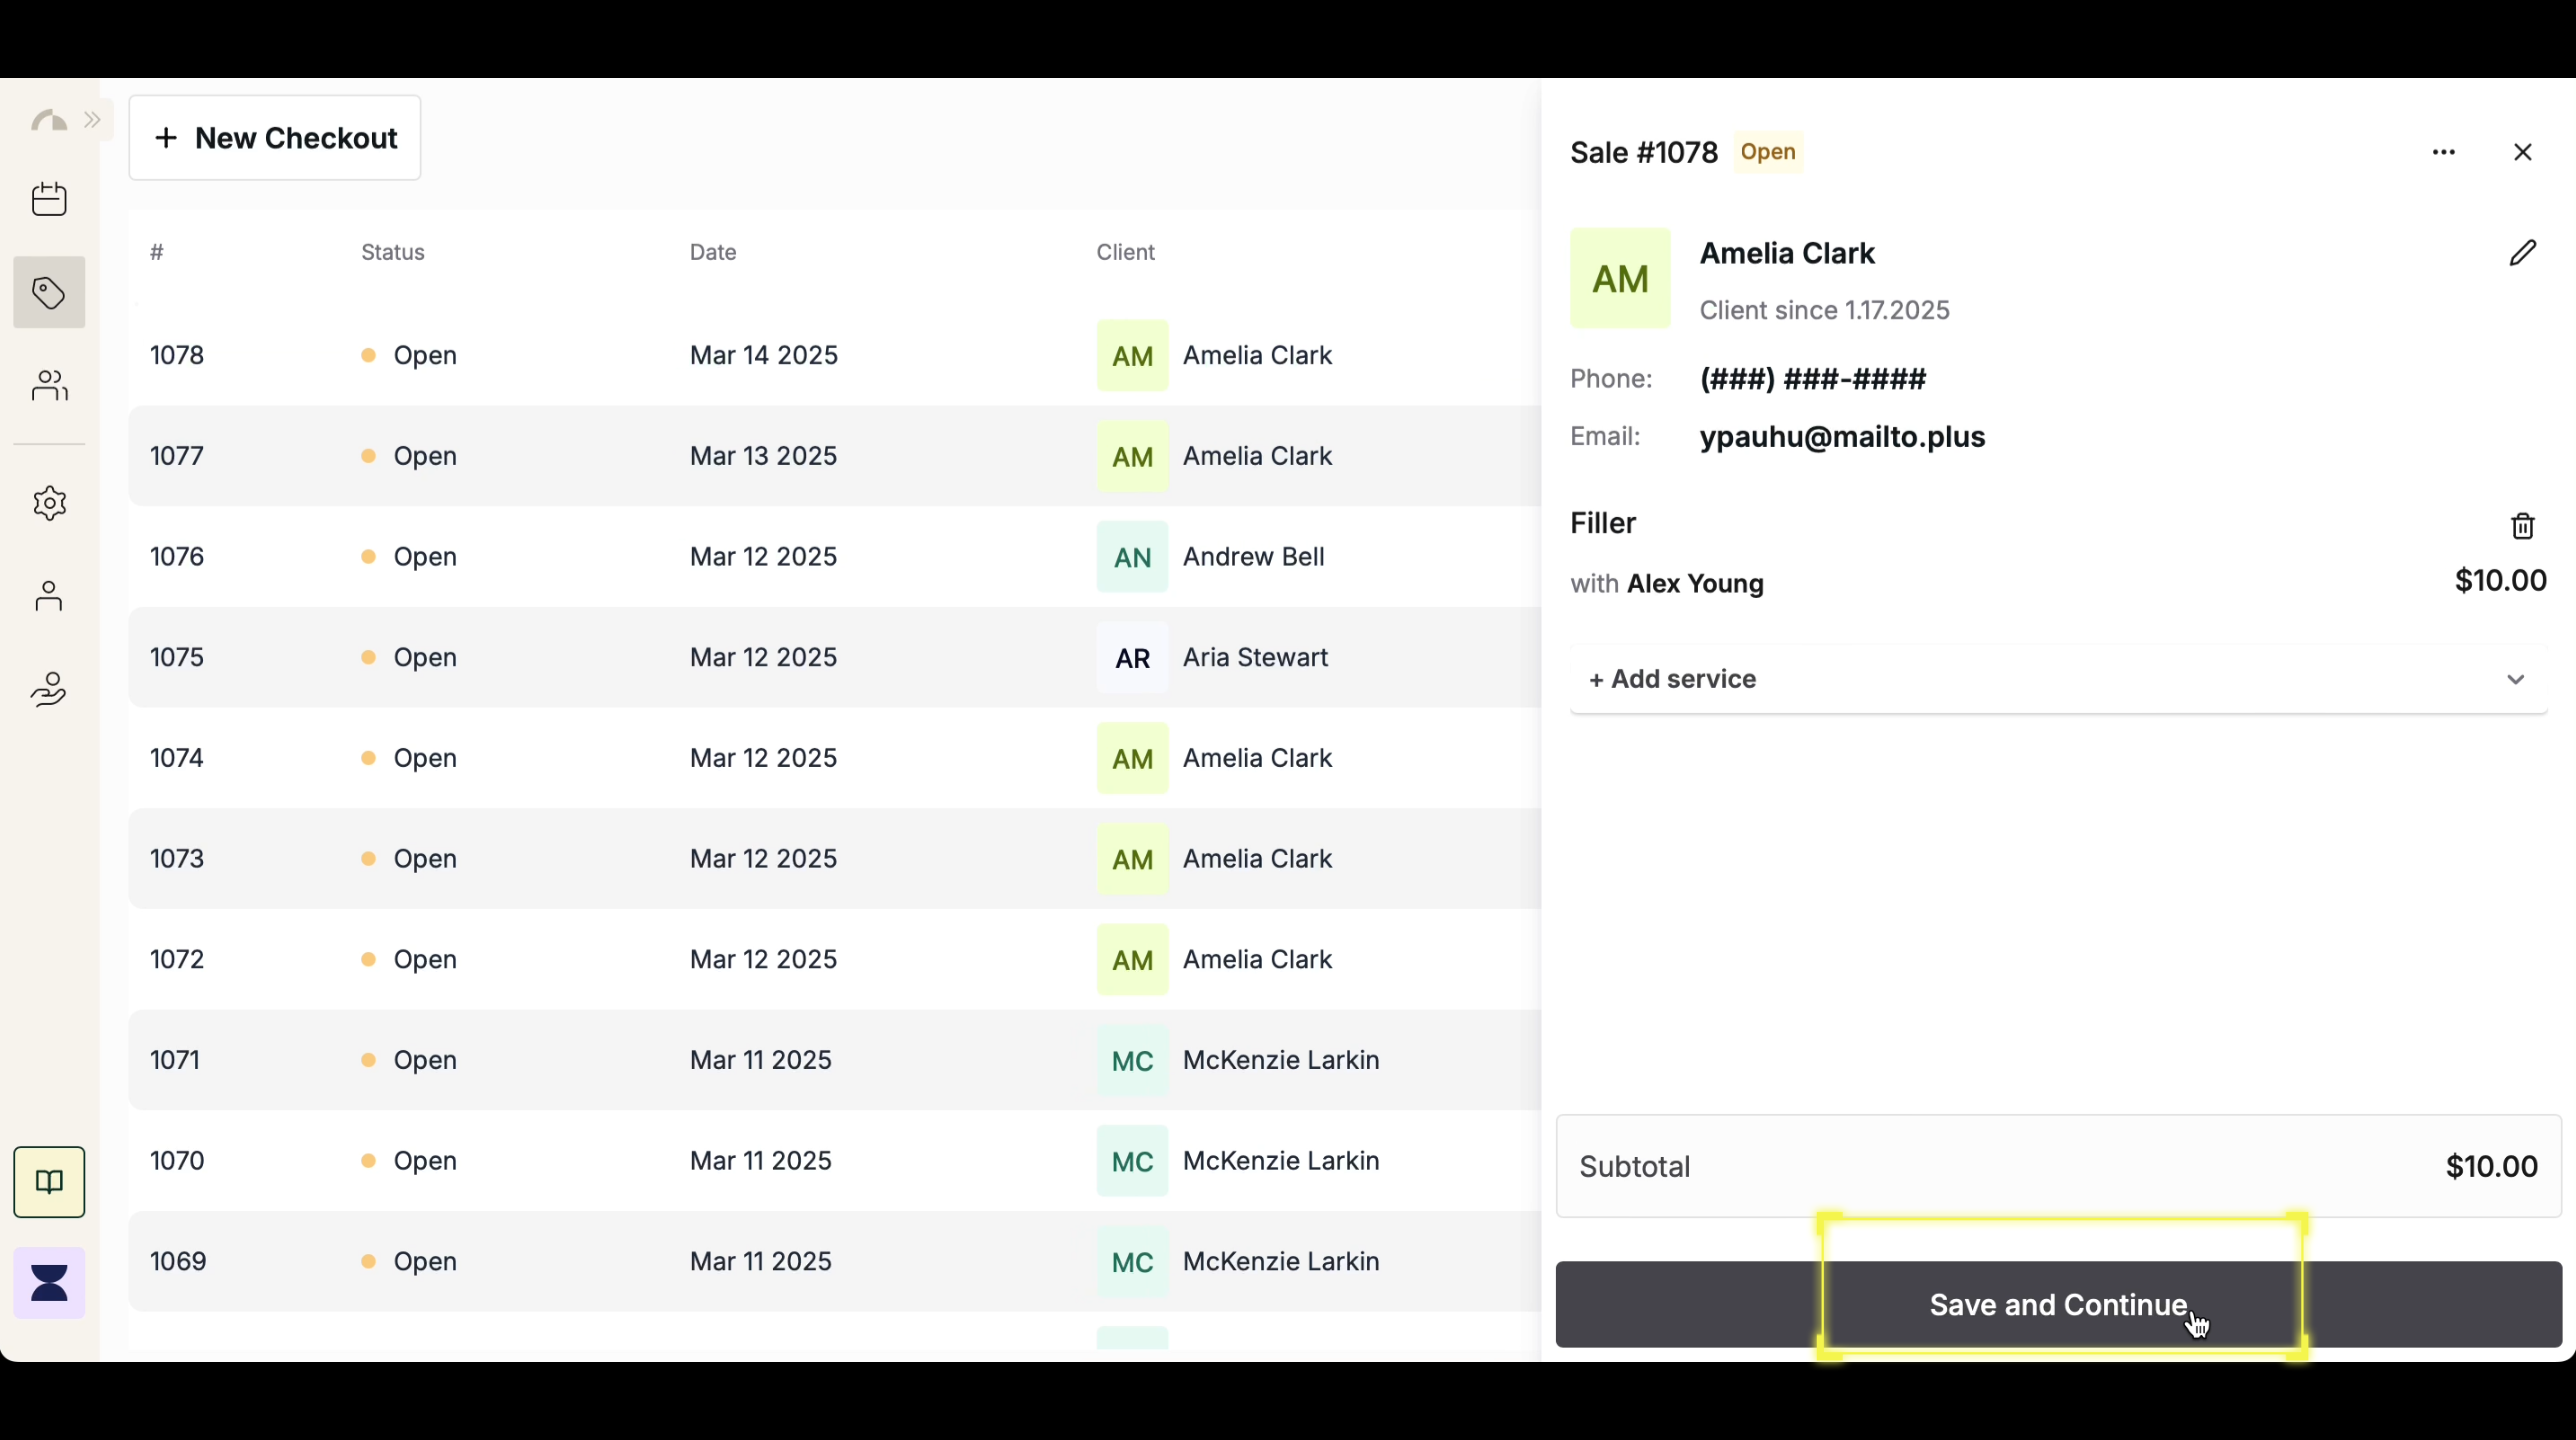
Step 4
Select “Pay by Card”
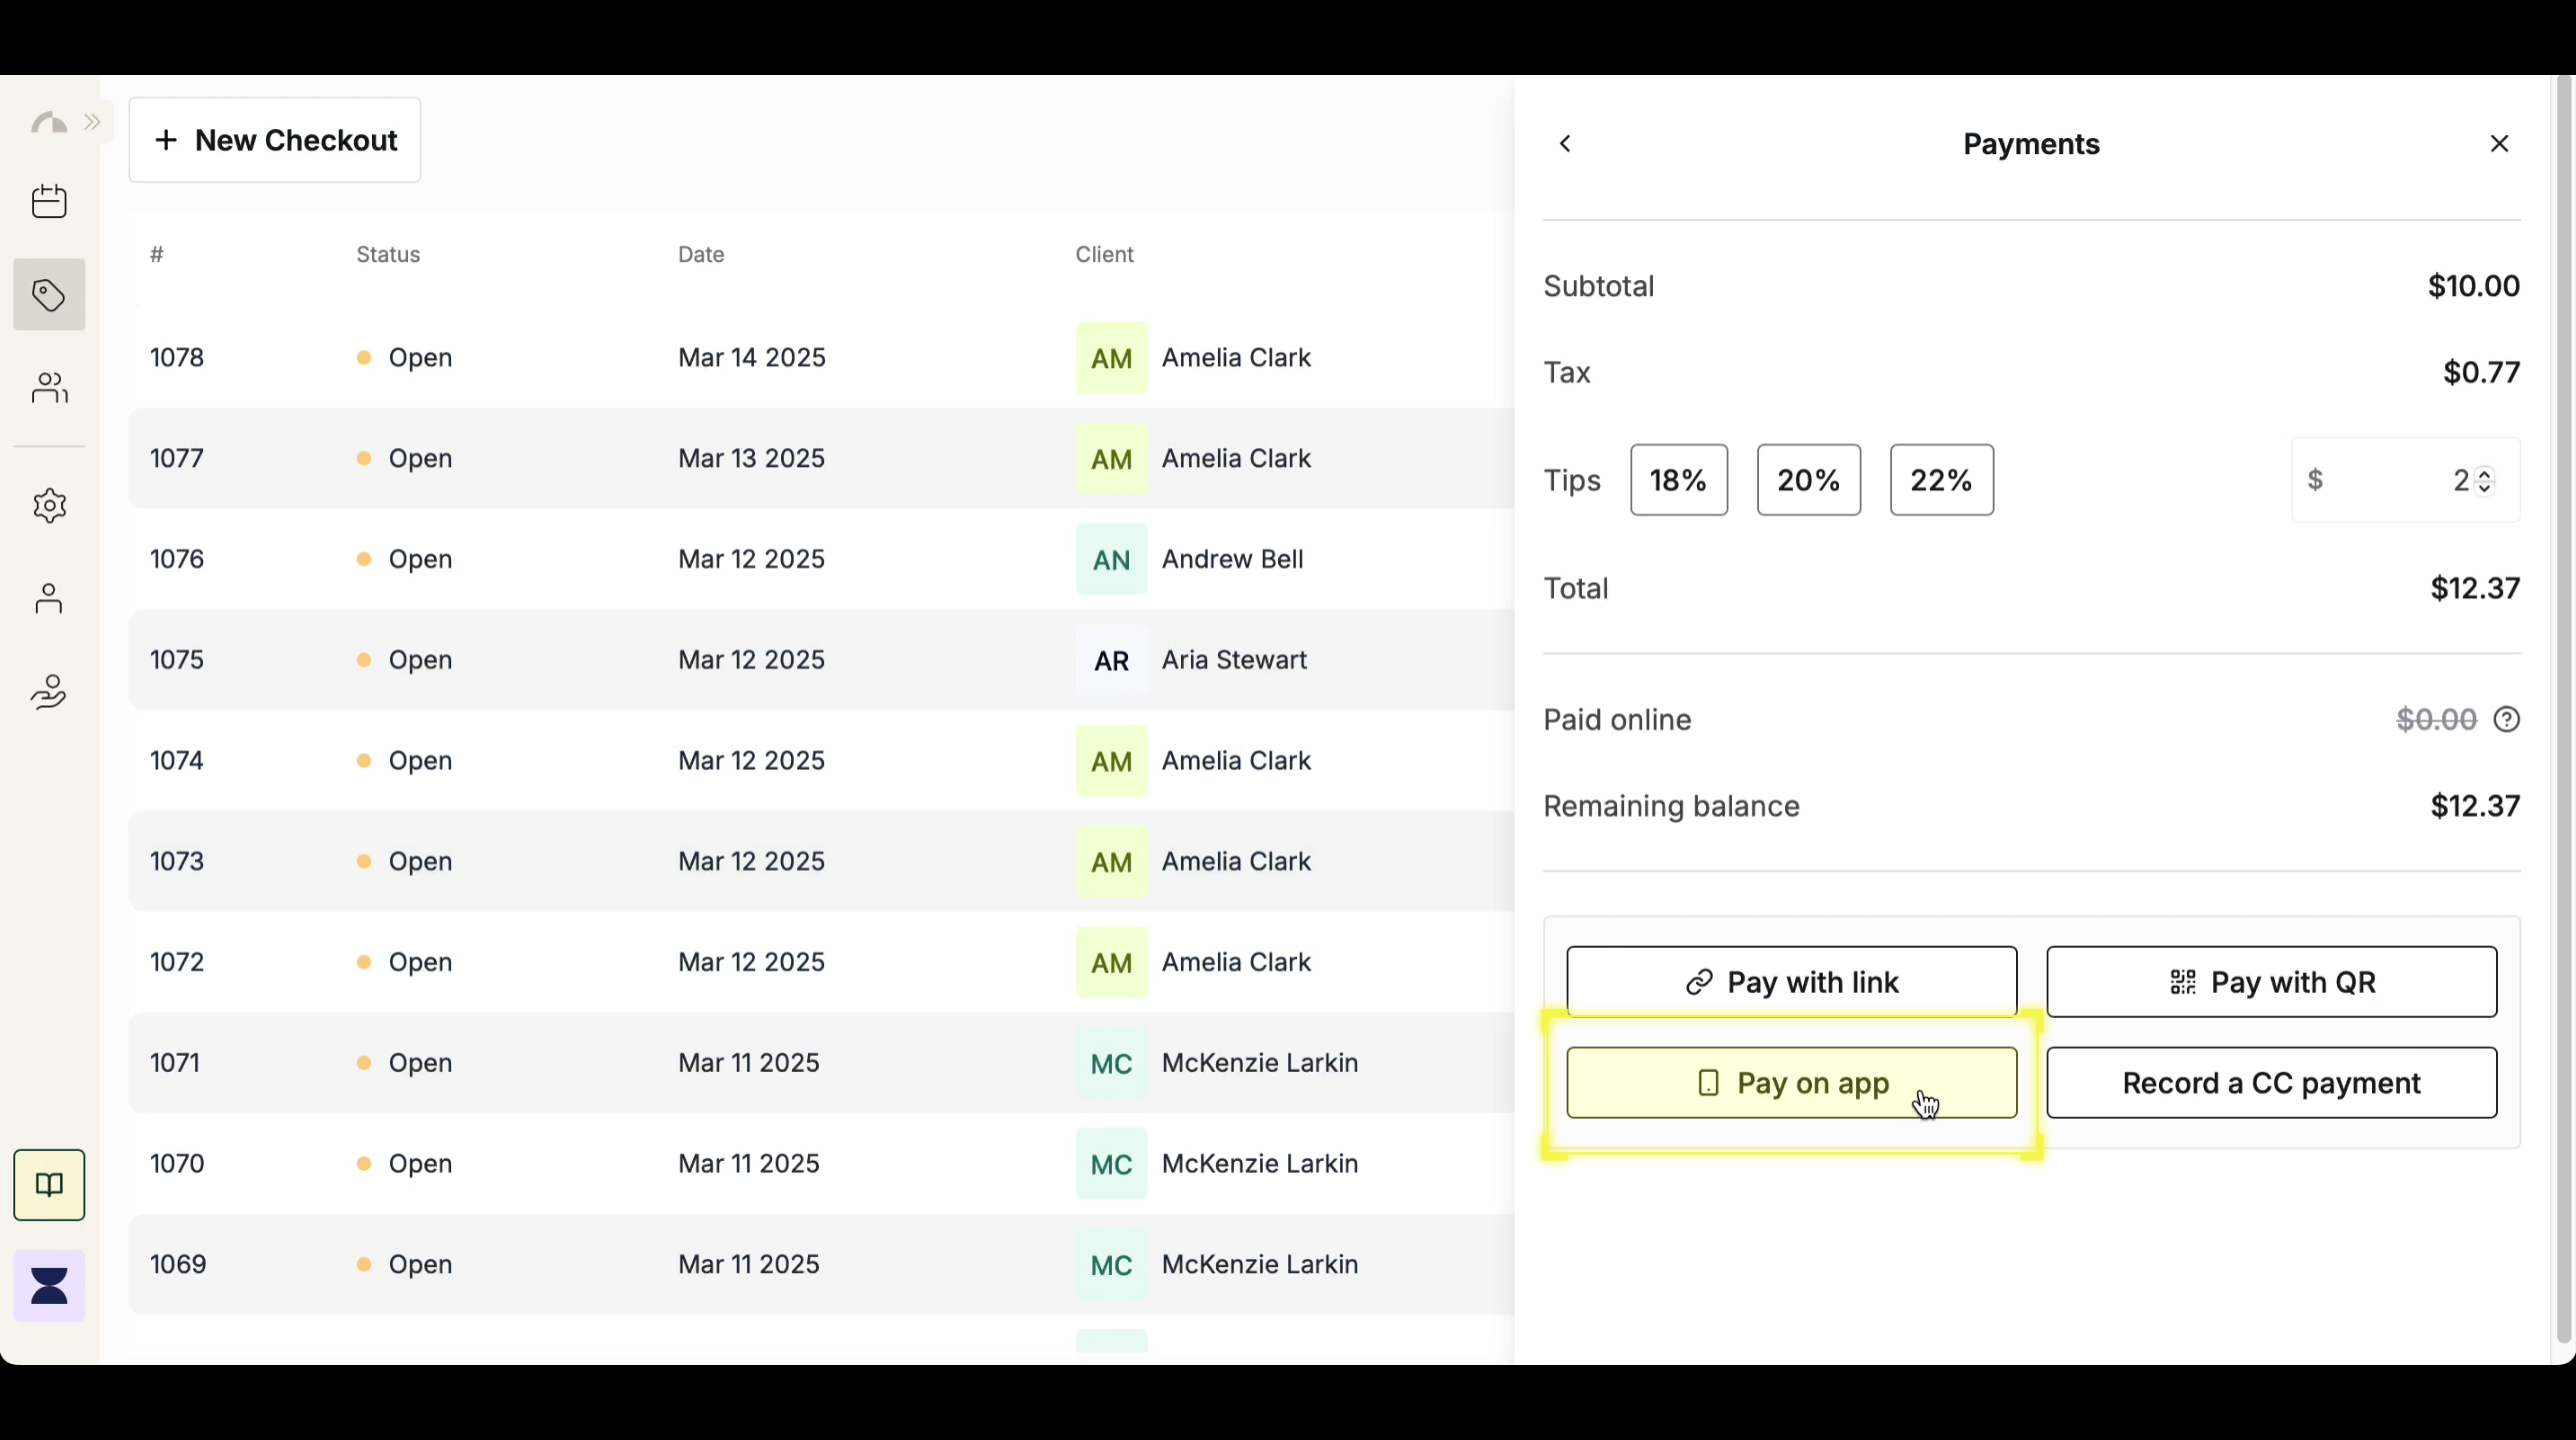
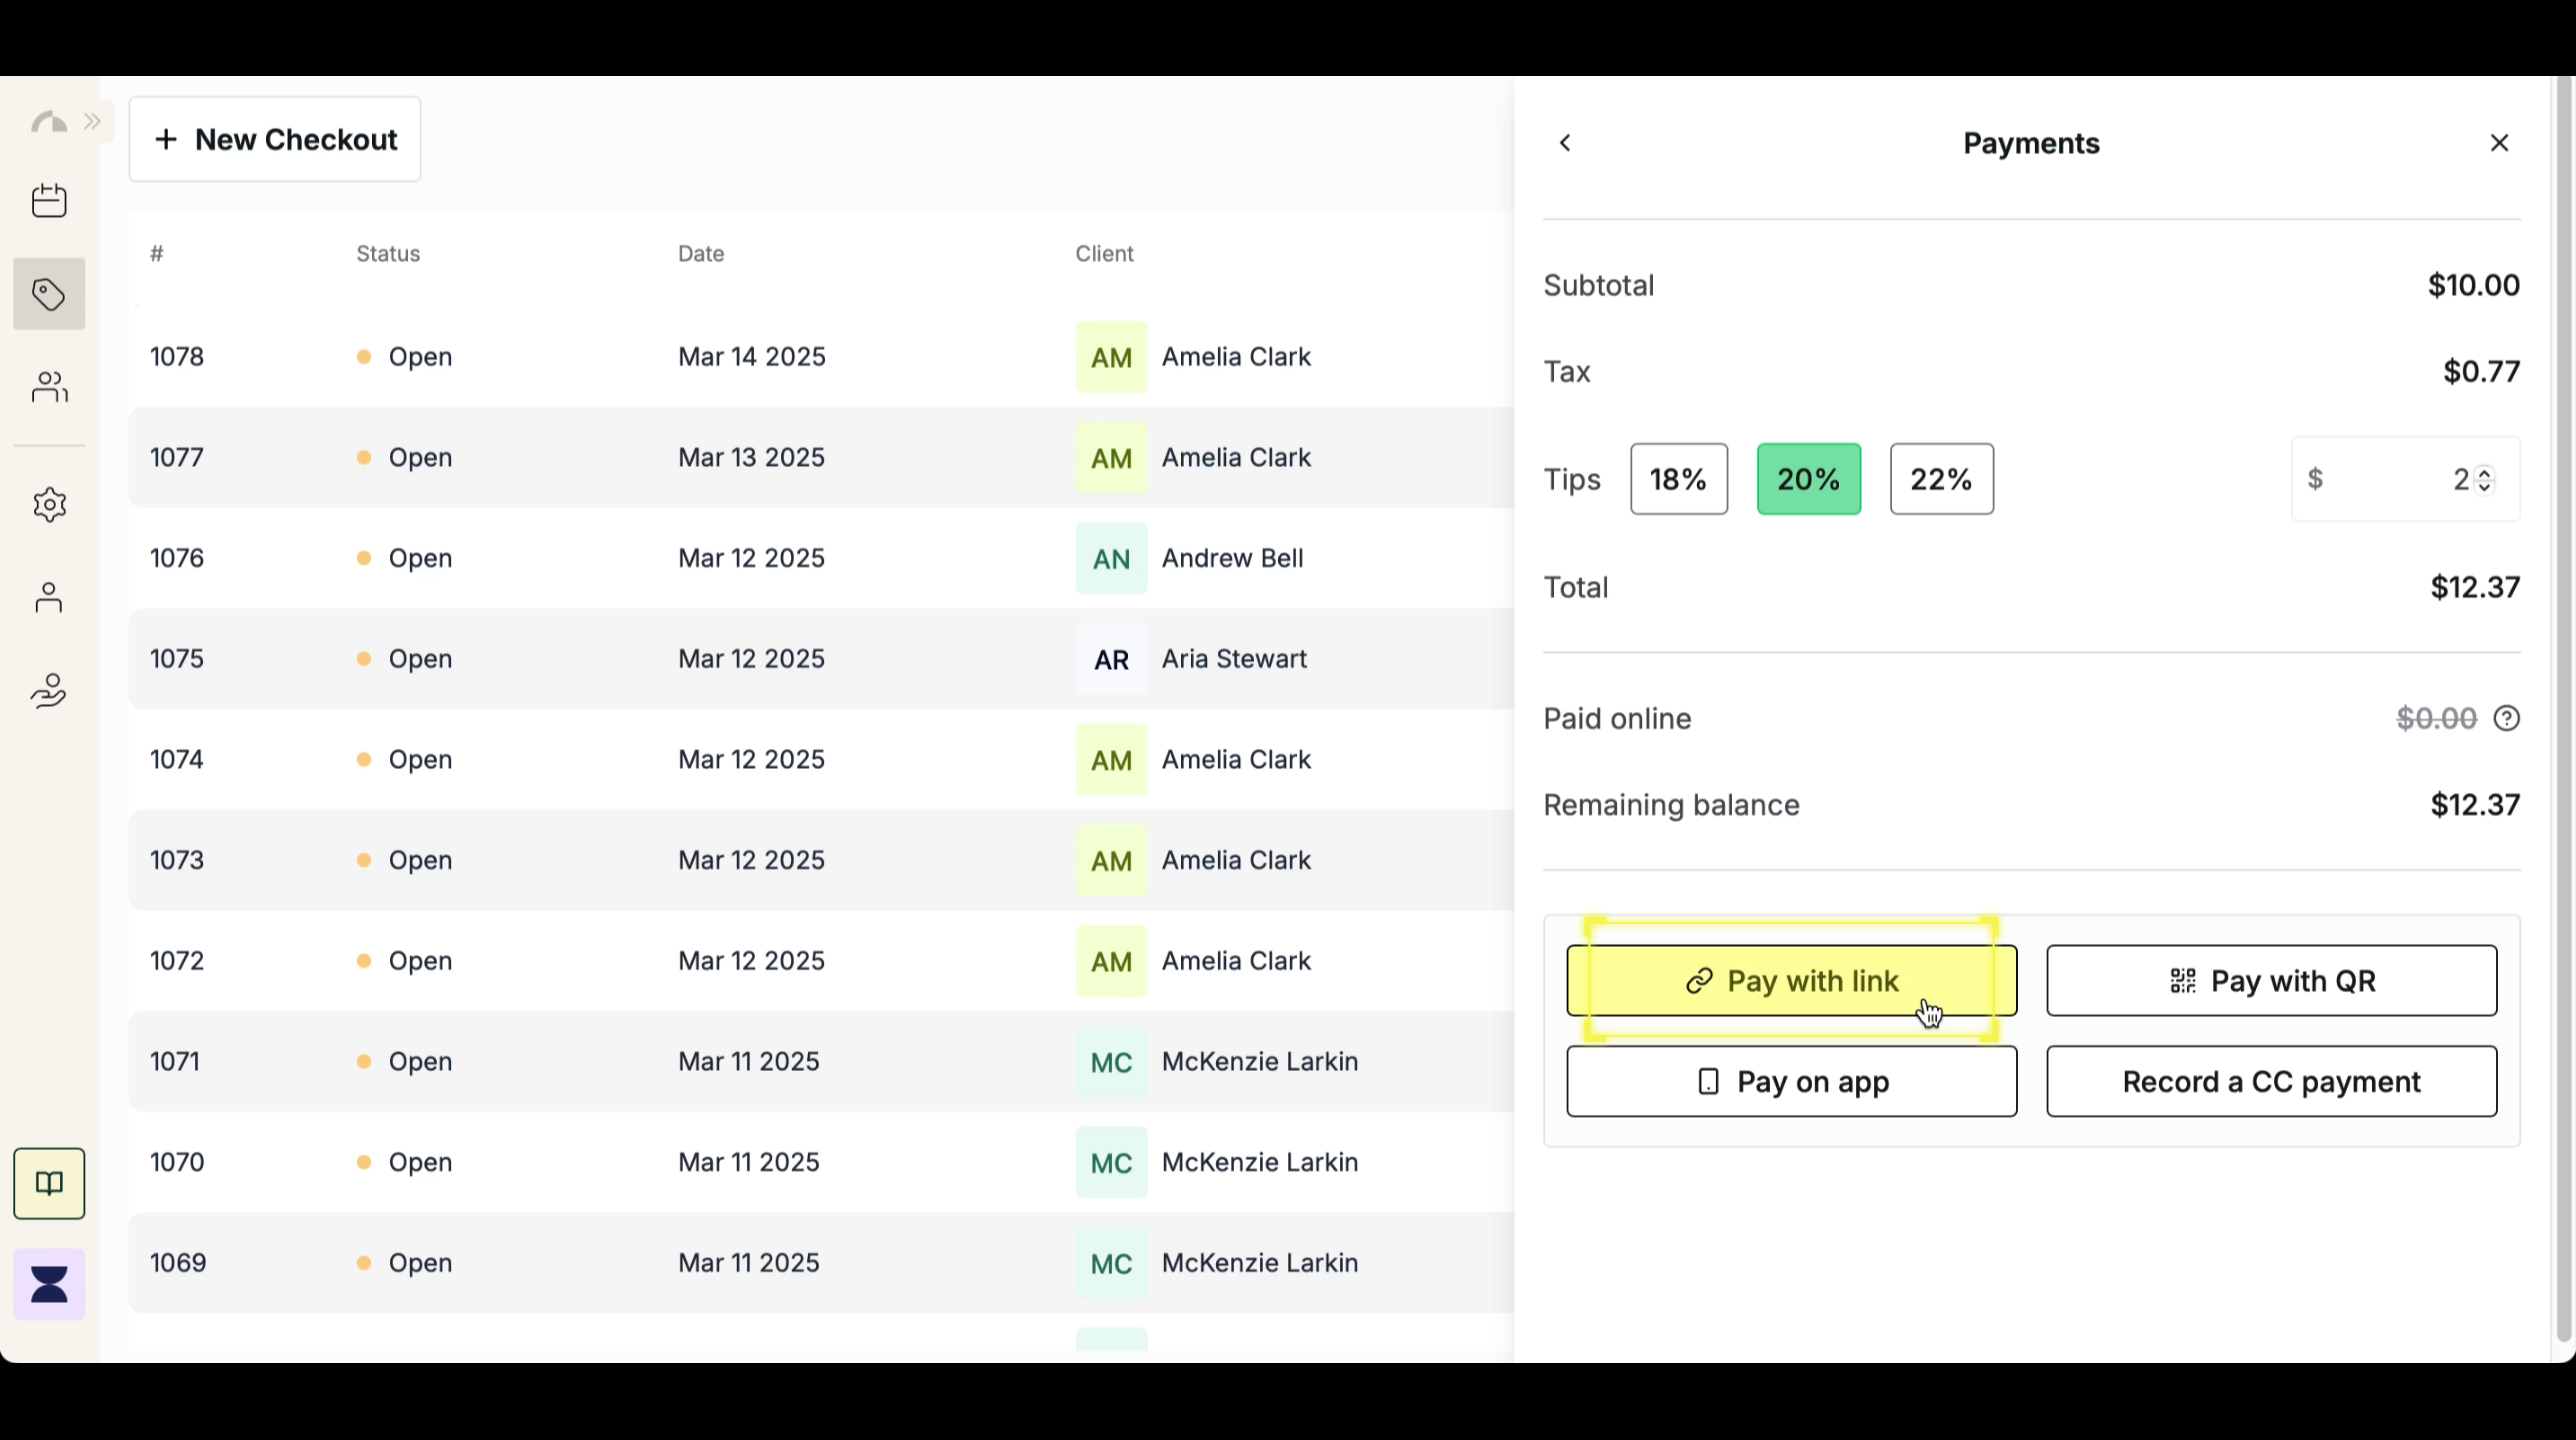
Click “Pay by Card” to proceed with the payment. This will allow you to choose from multiple card payment methods based on the client’s preference.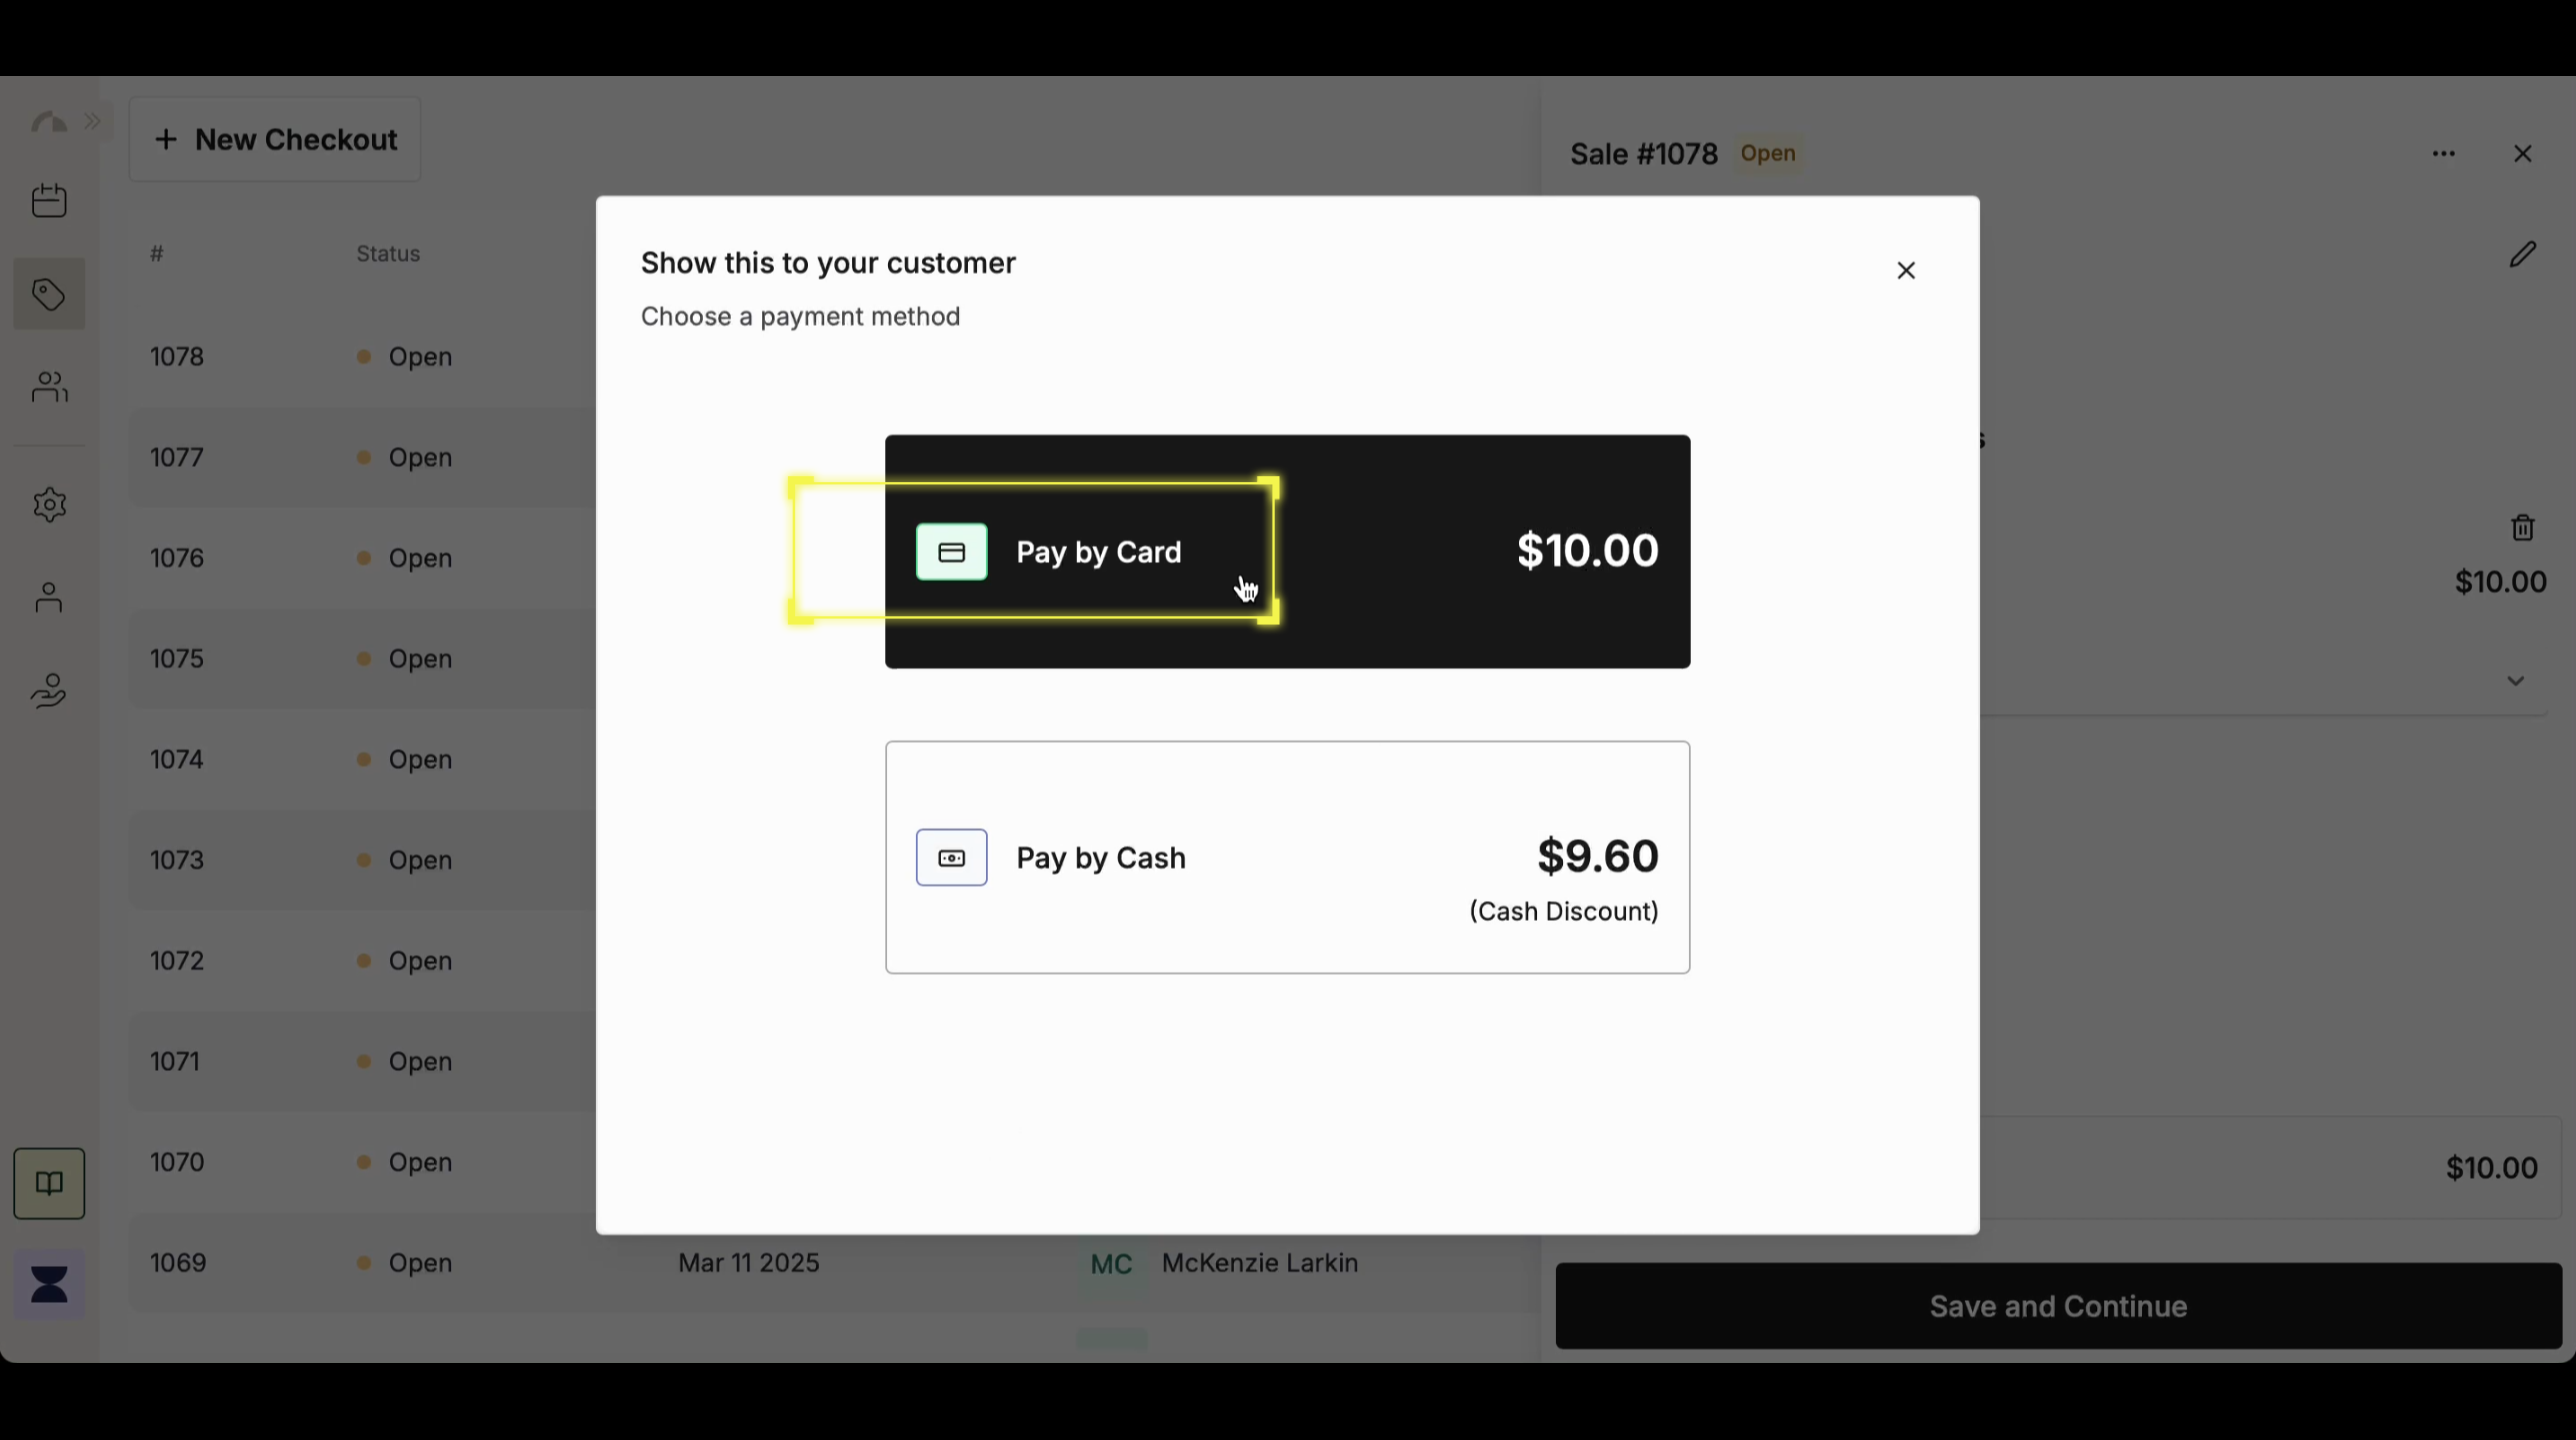
Step 5
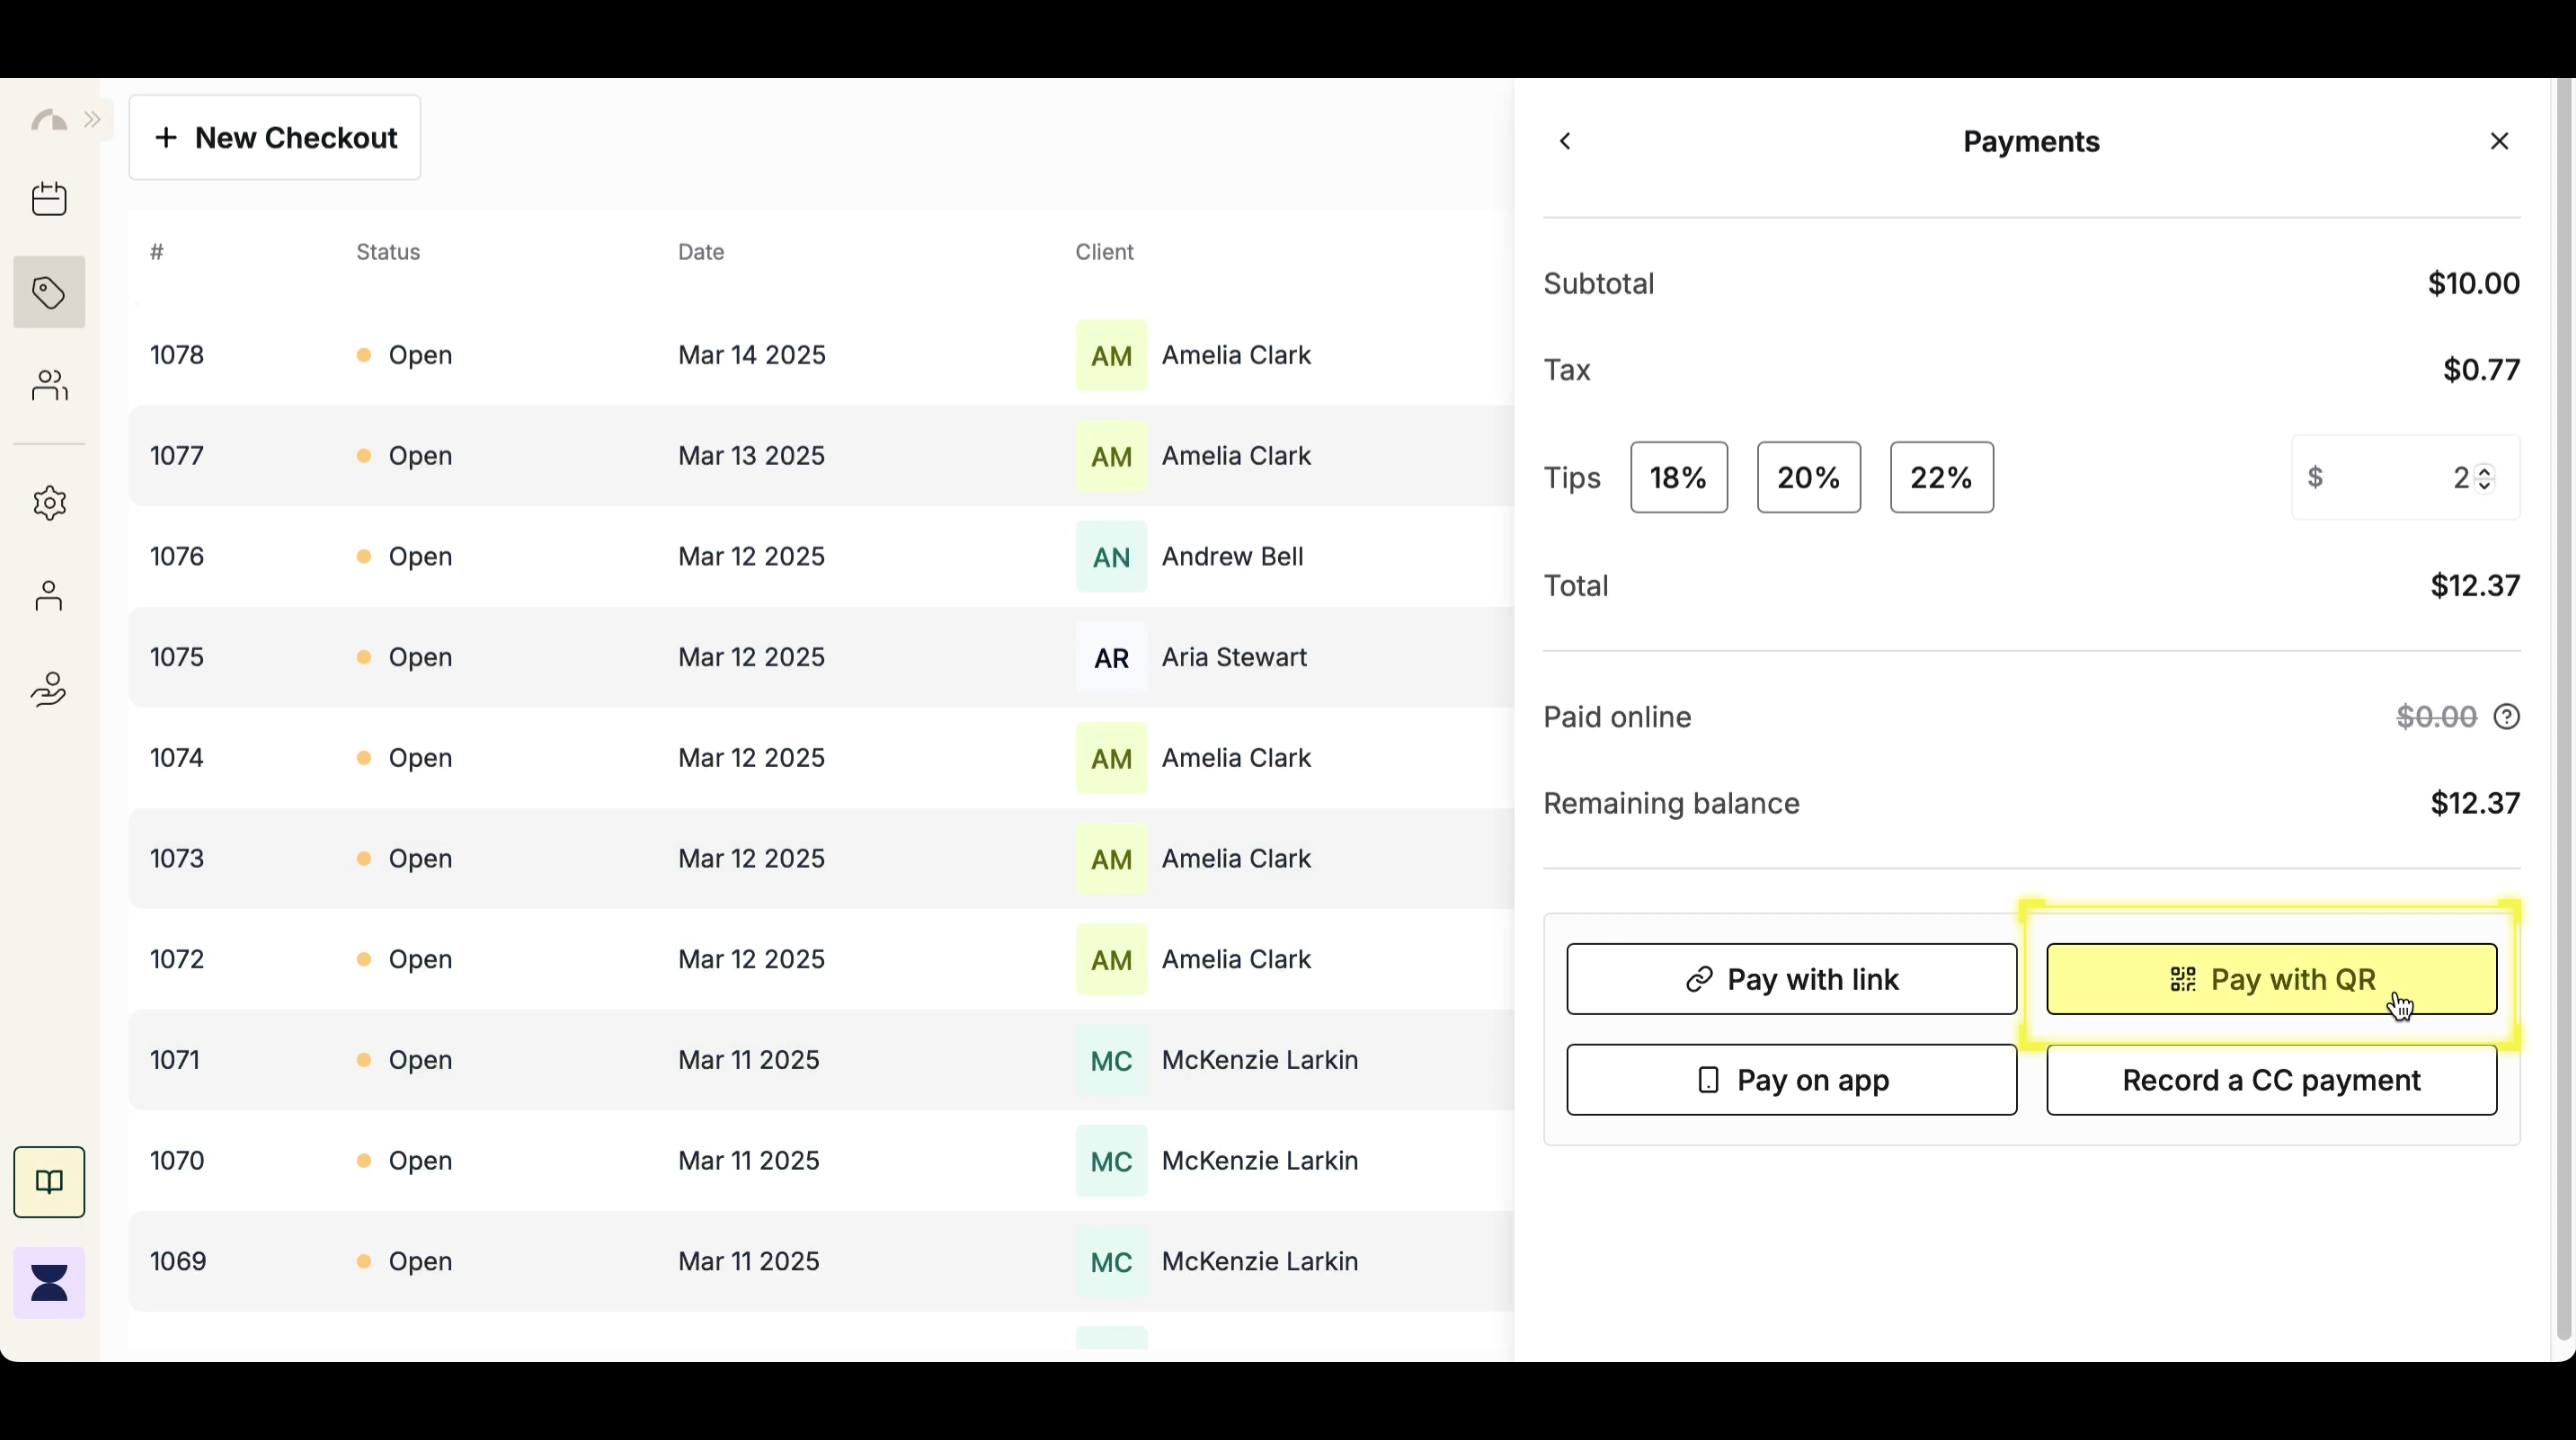
Select a Tip Amount (Optional)
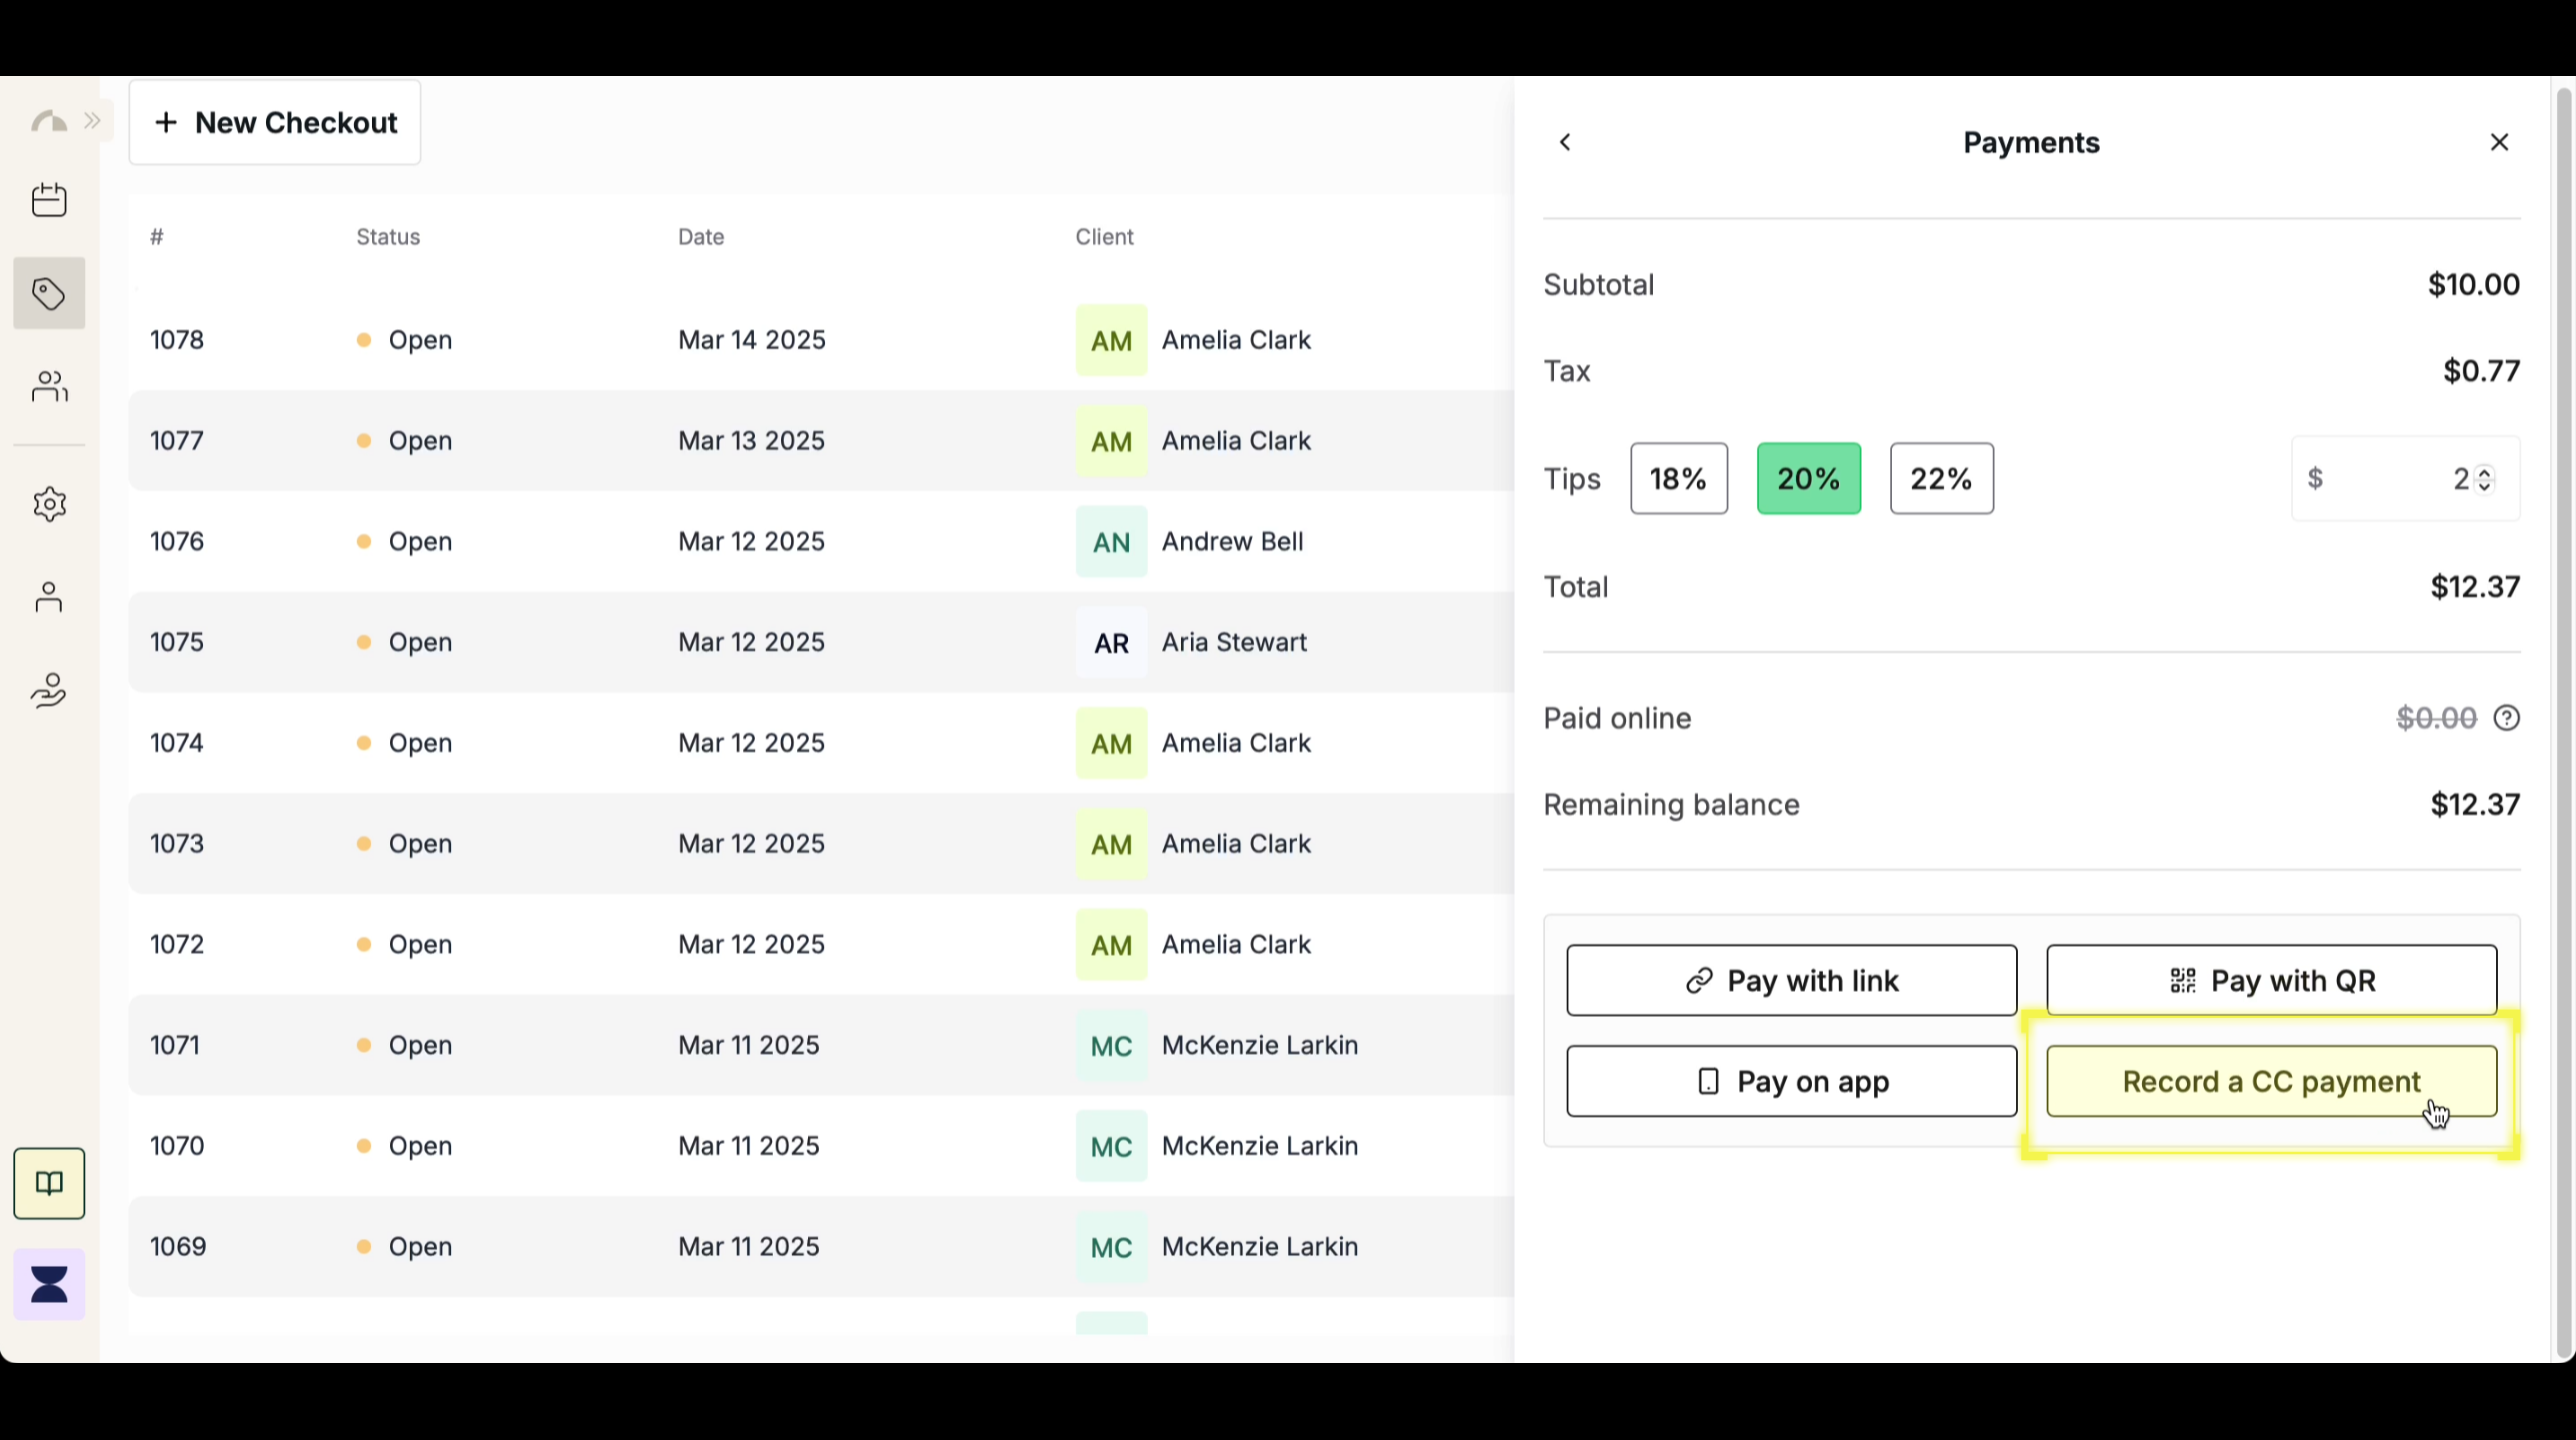
After selecting “Pay by Card”, choose a preset tip percentage or enter a custom tip amount. The system will automatically adjust the total, ensuring that the tip is included before proceeding with payment.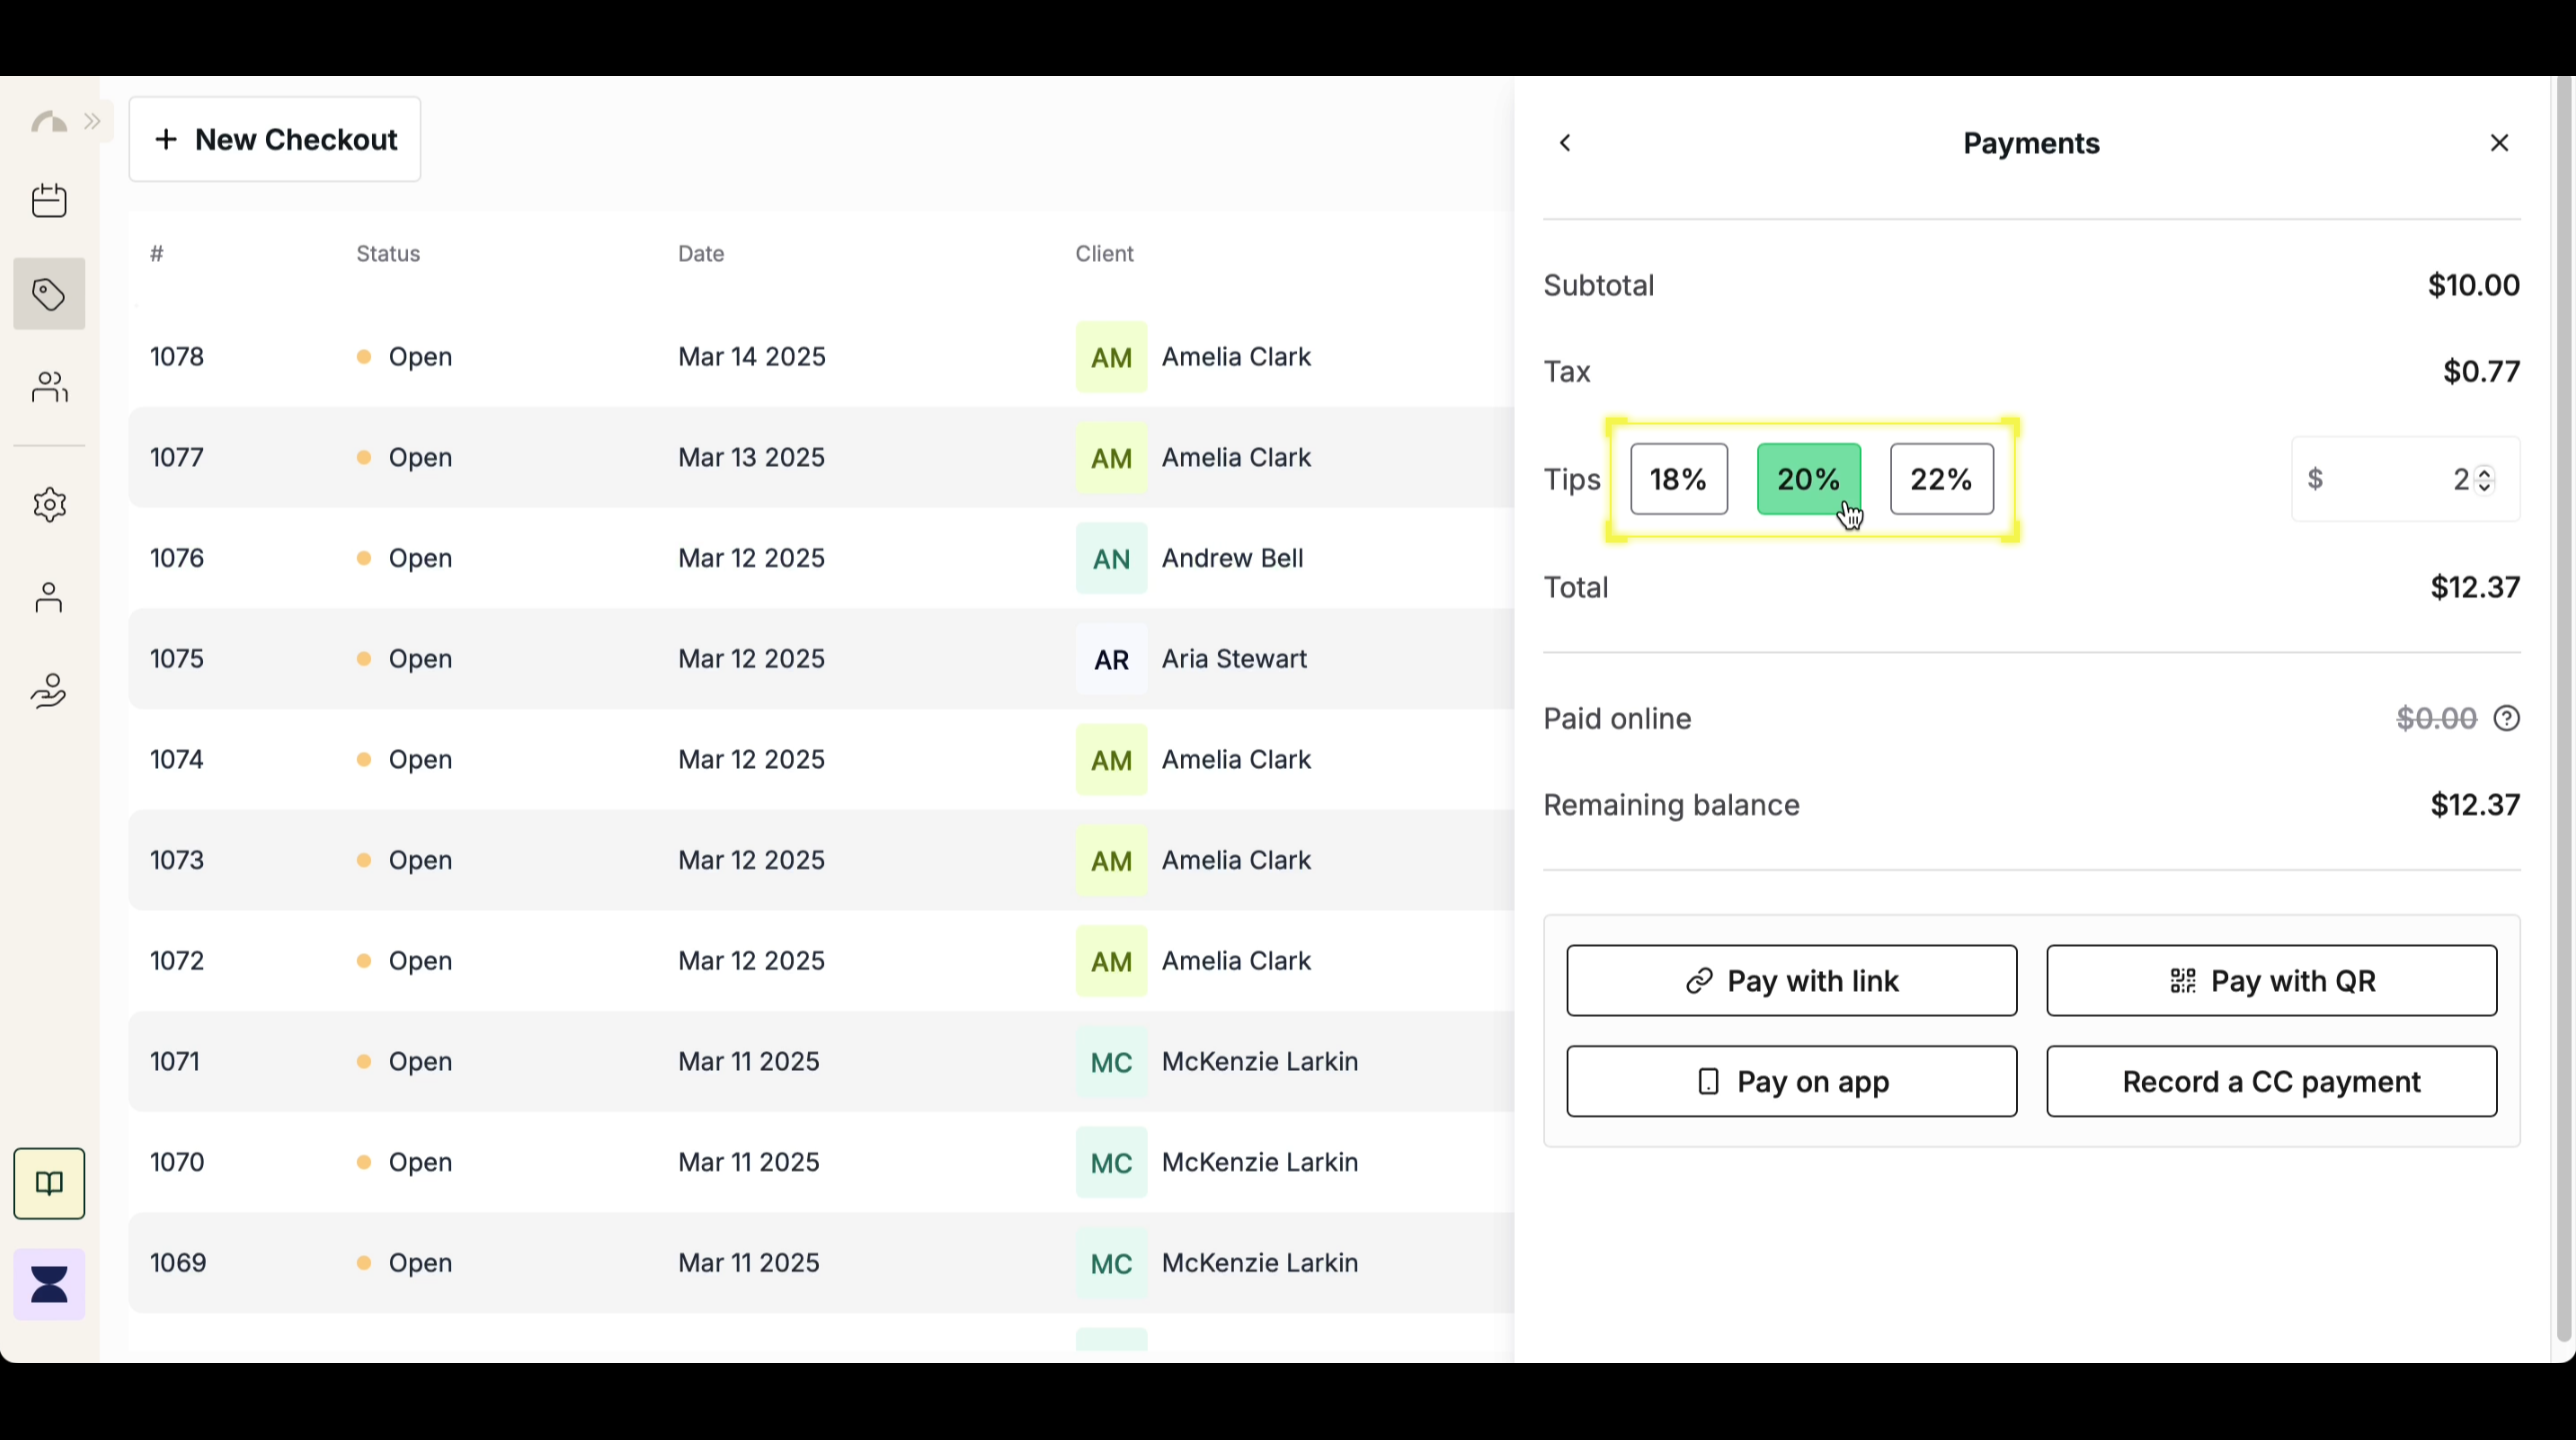
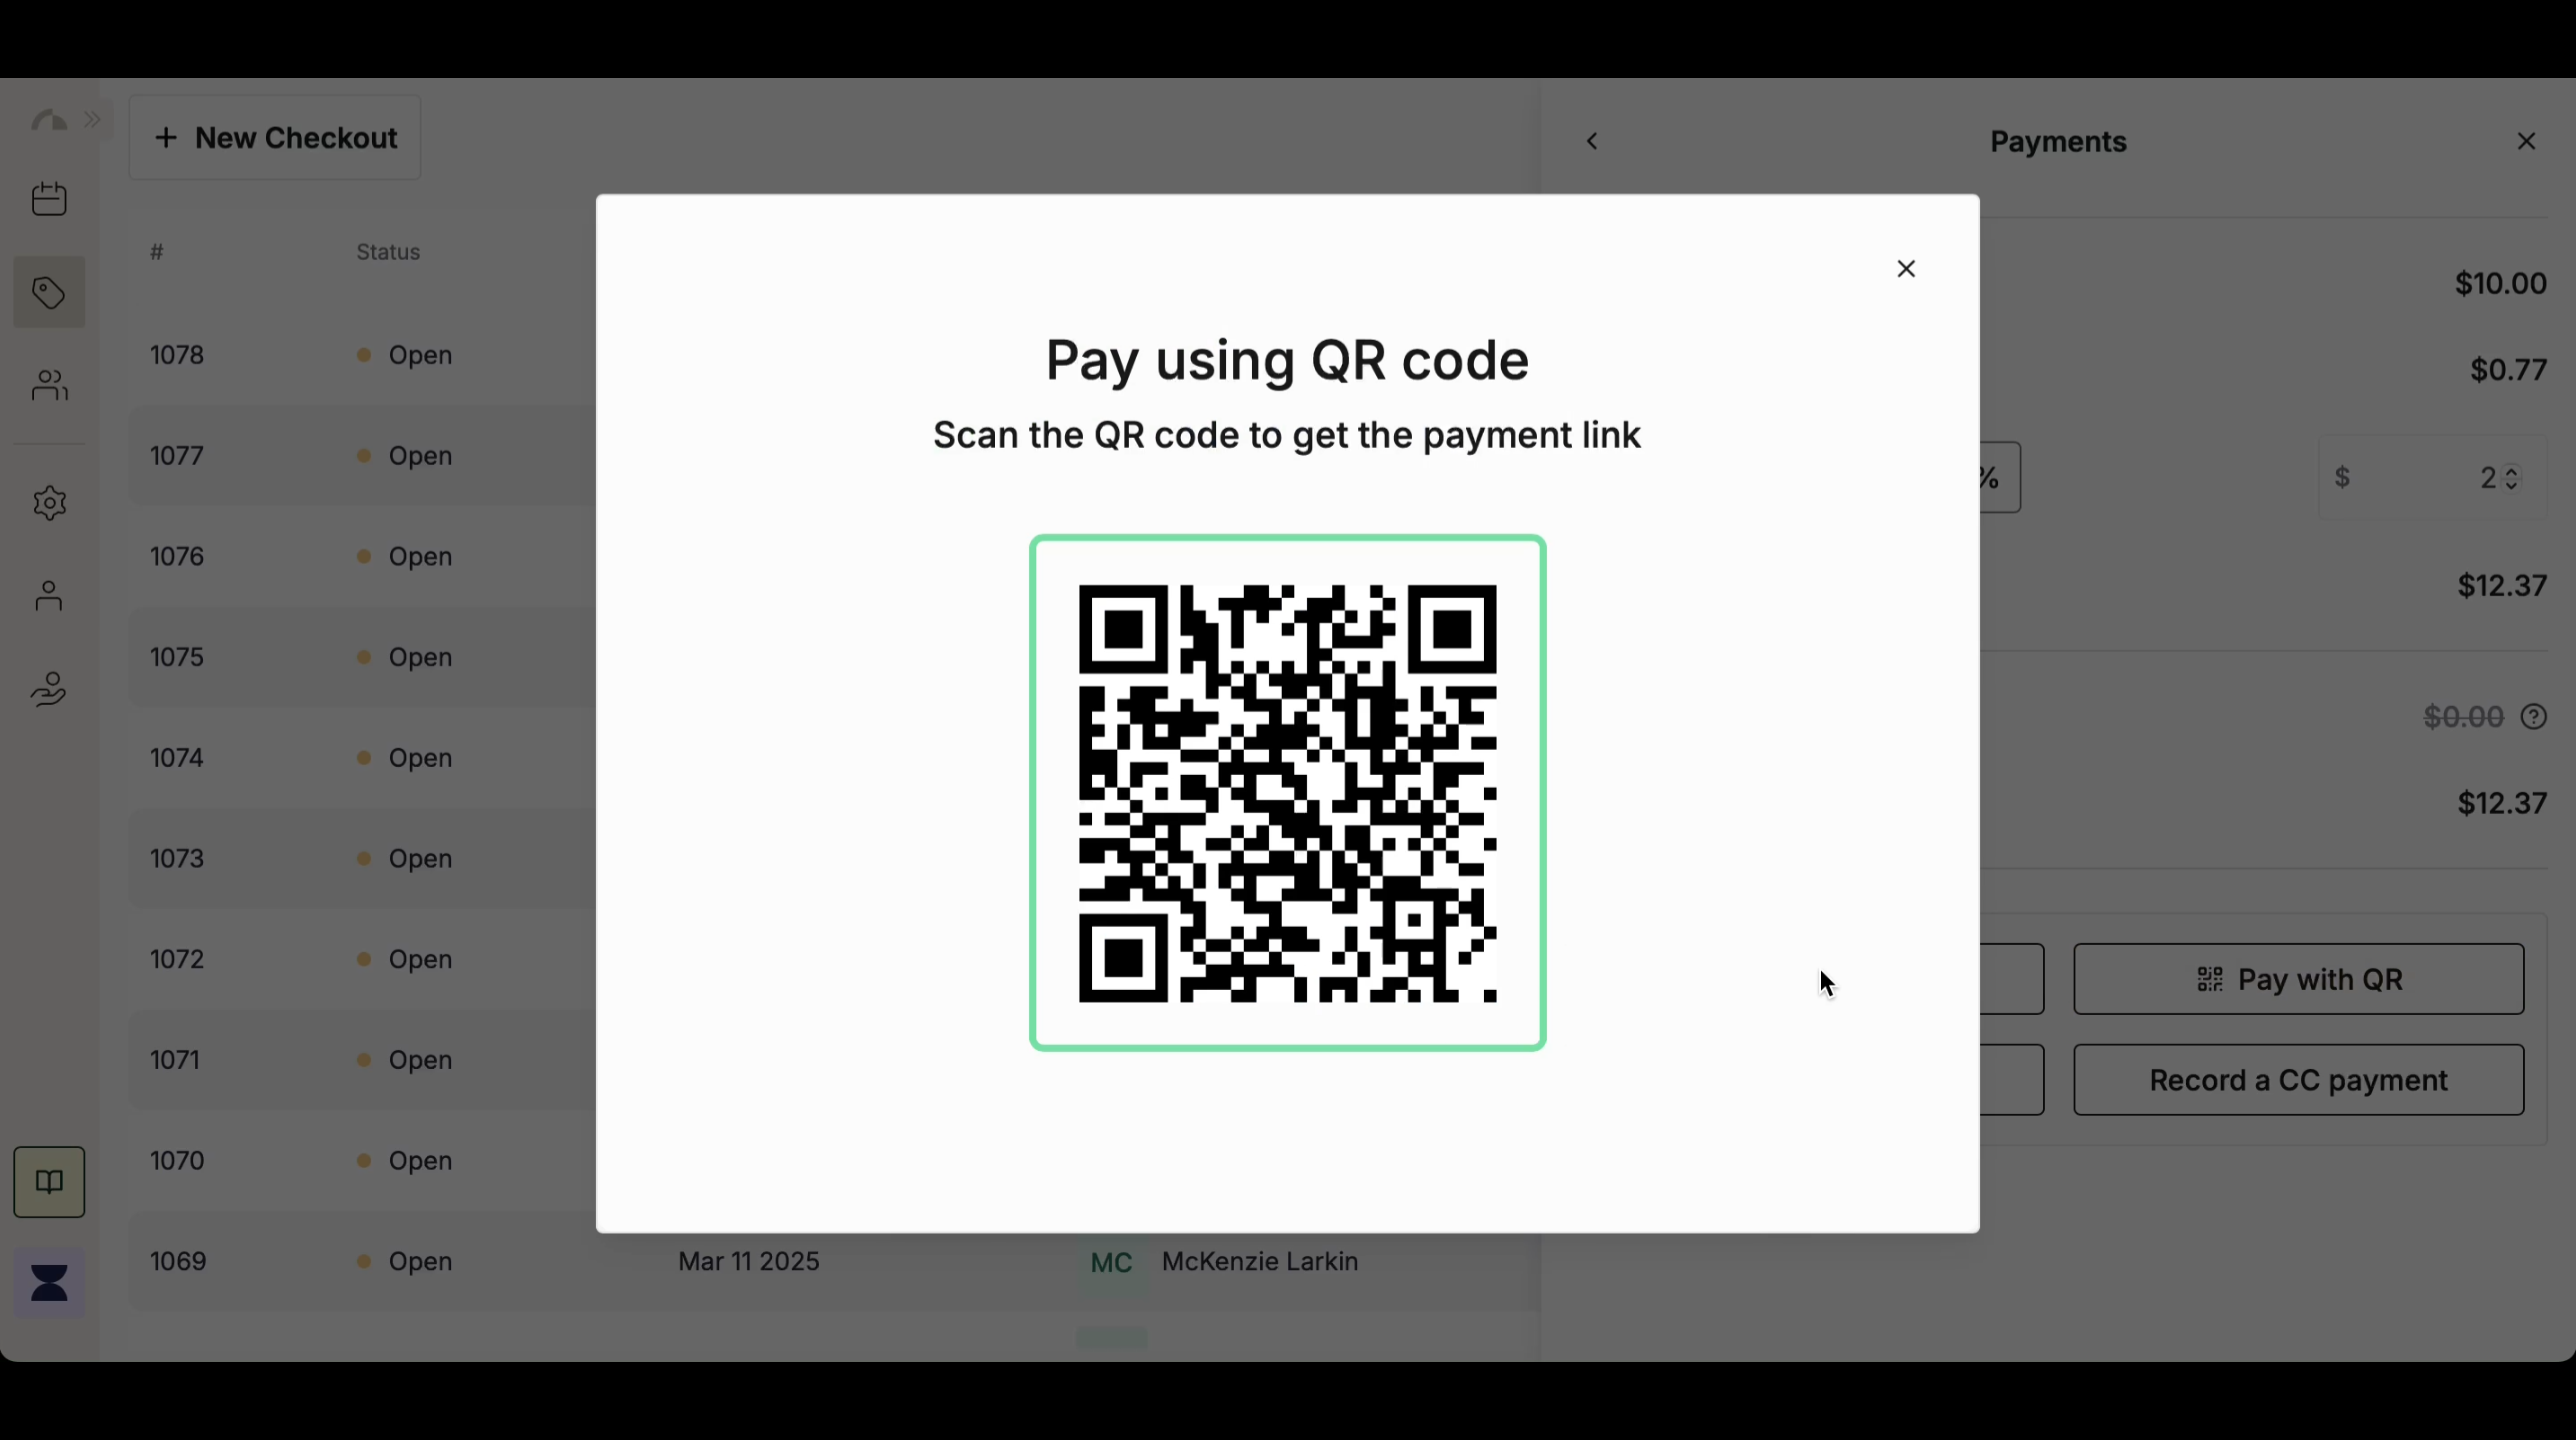
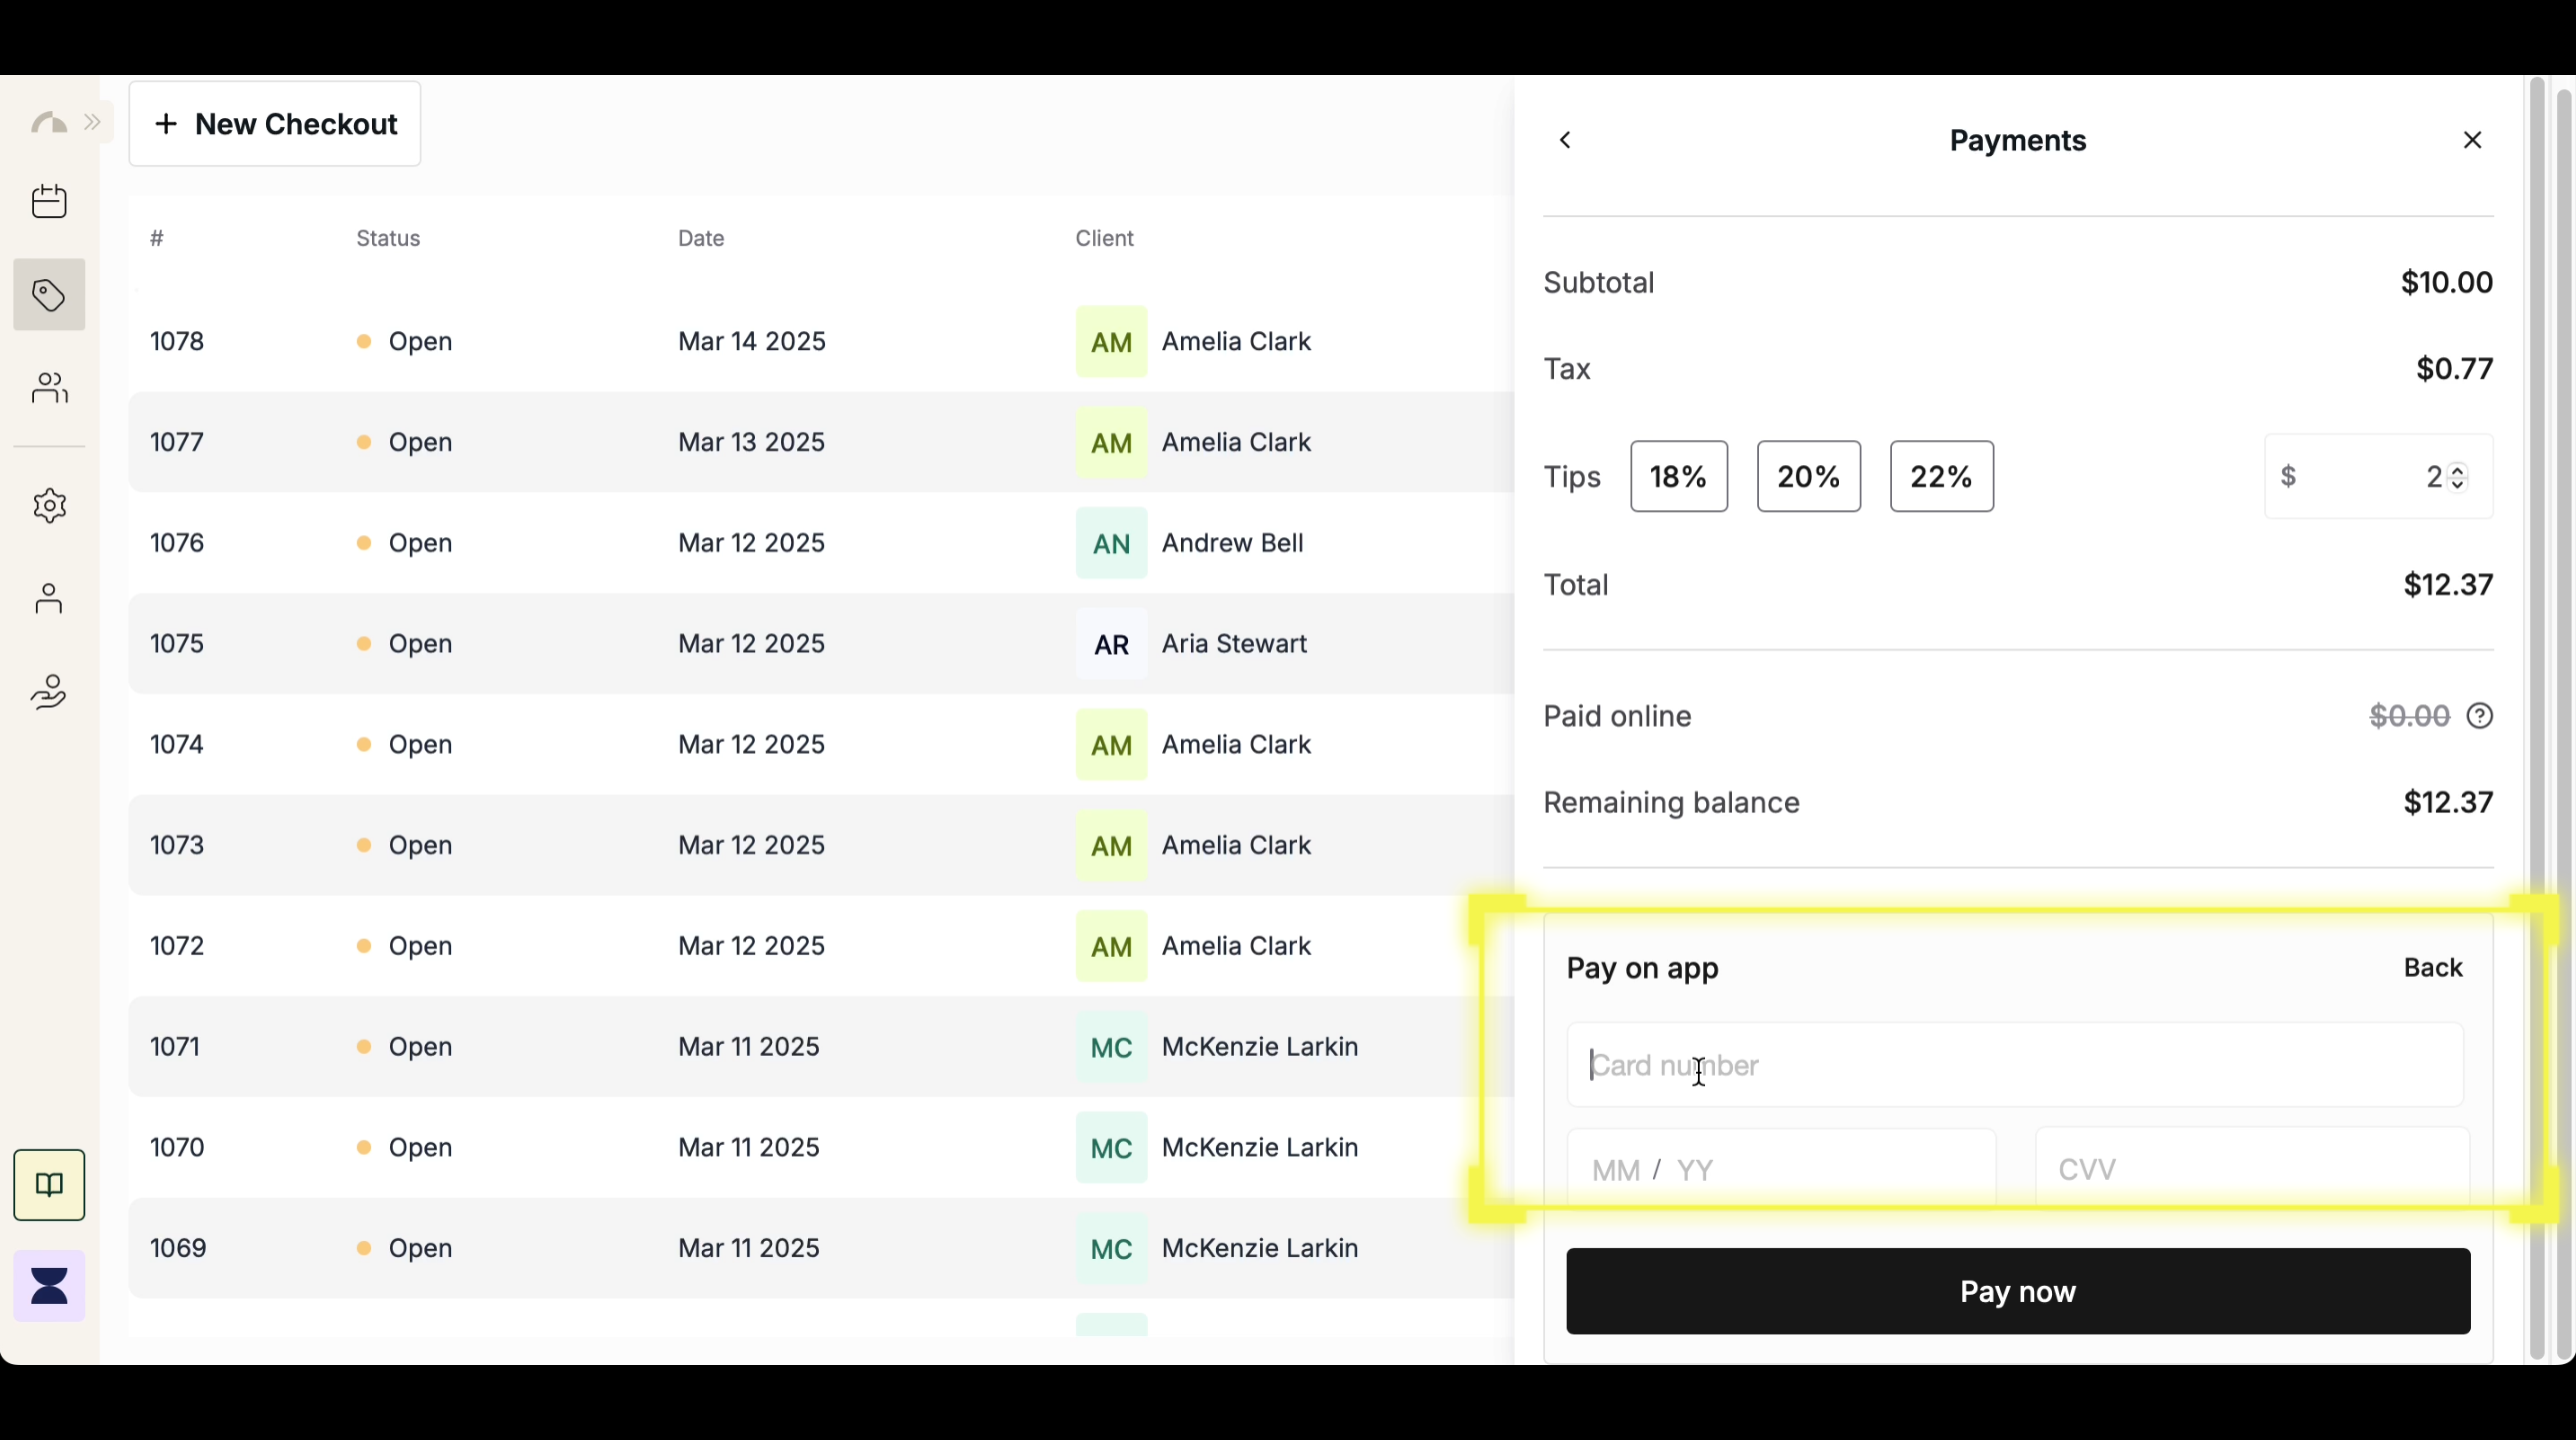
Choose Payment Method
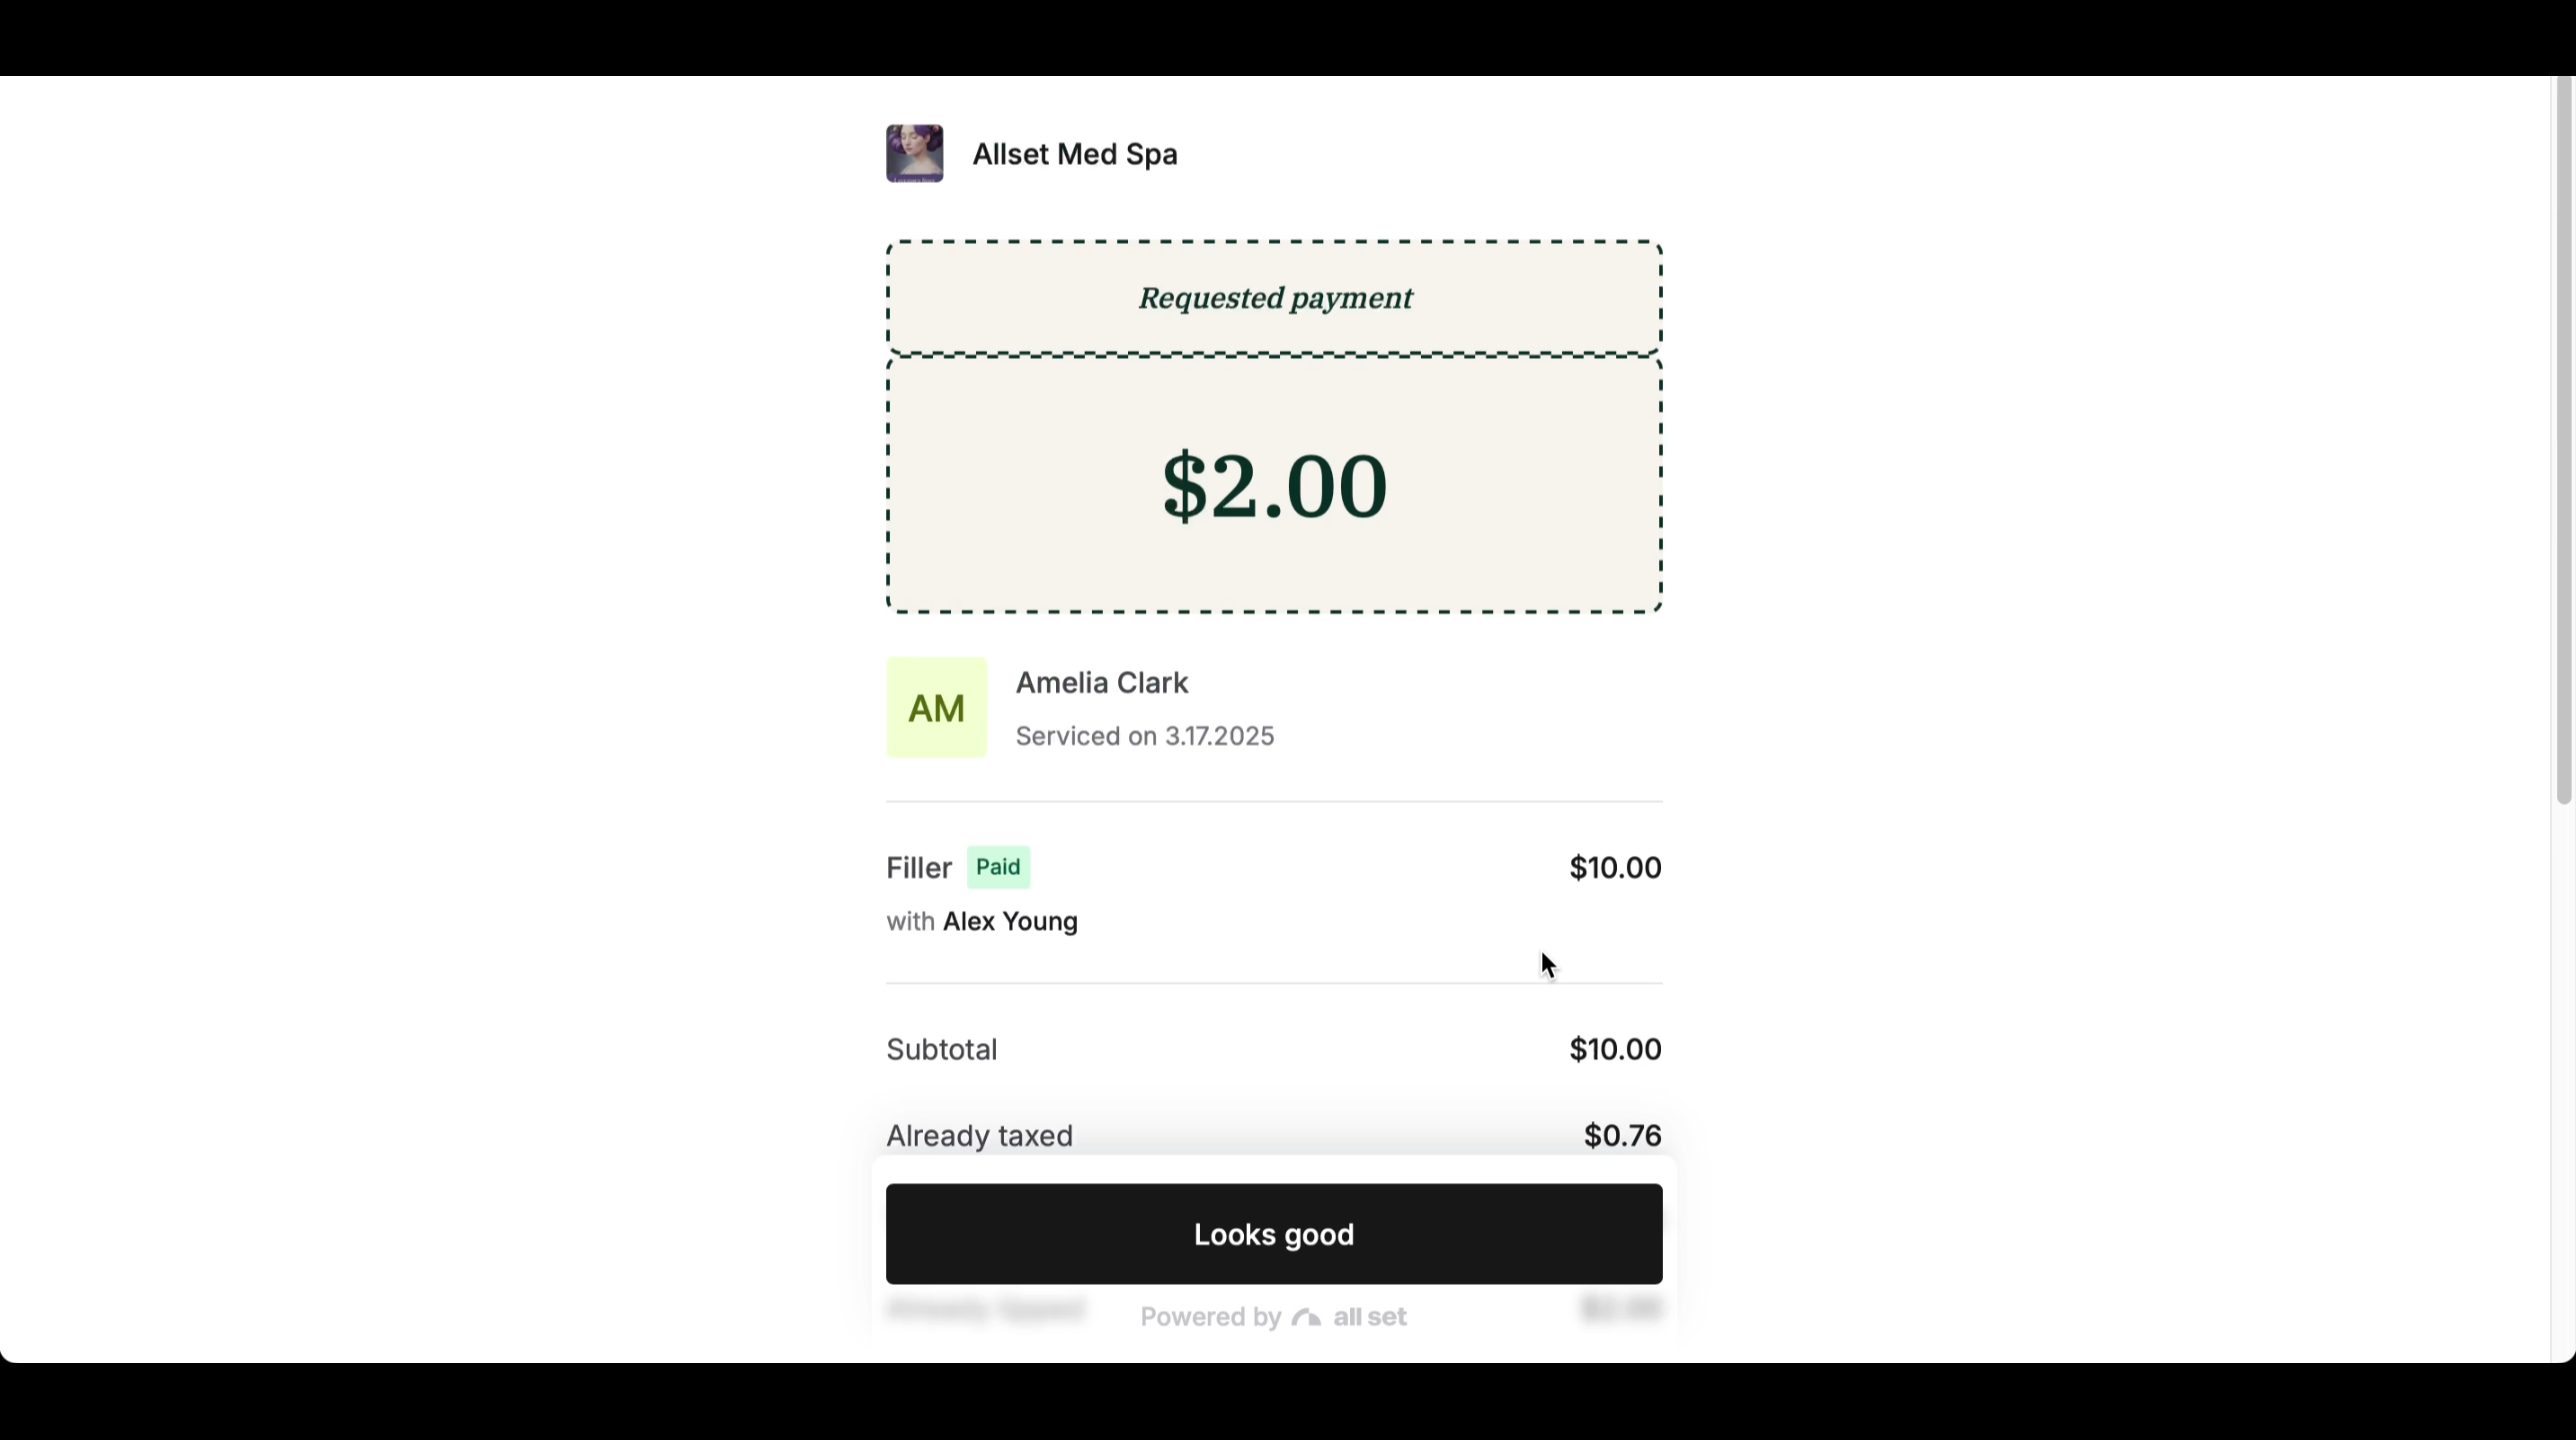
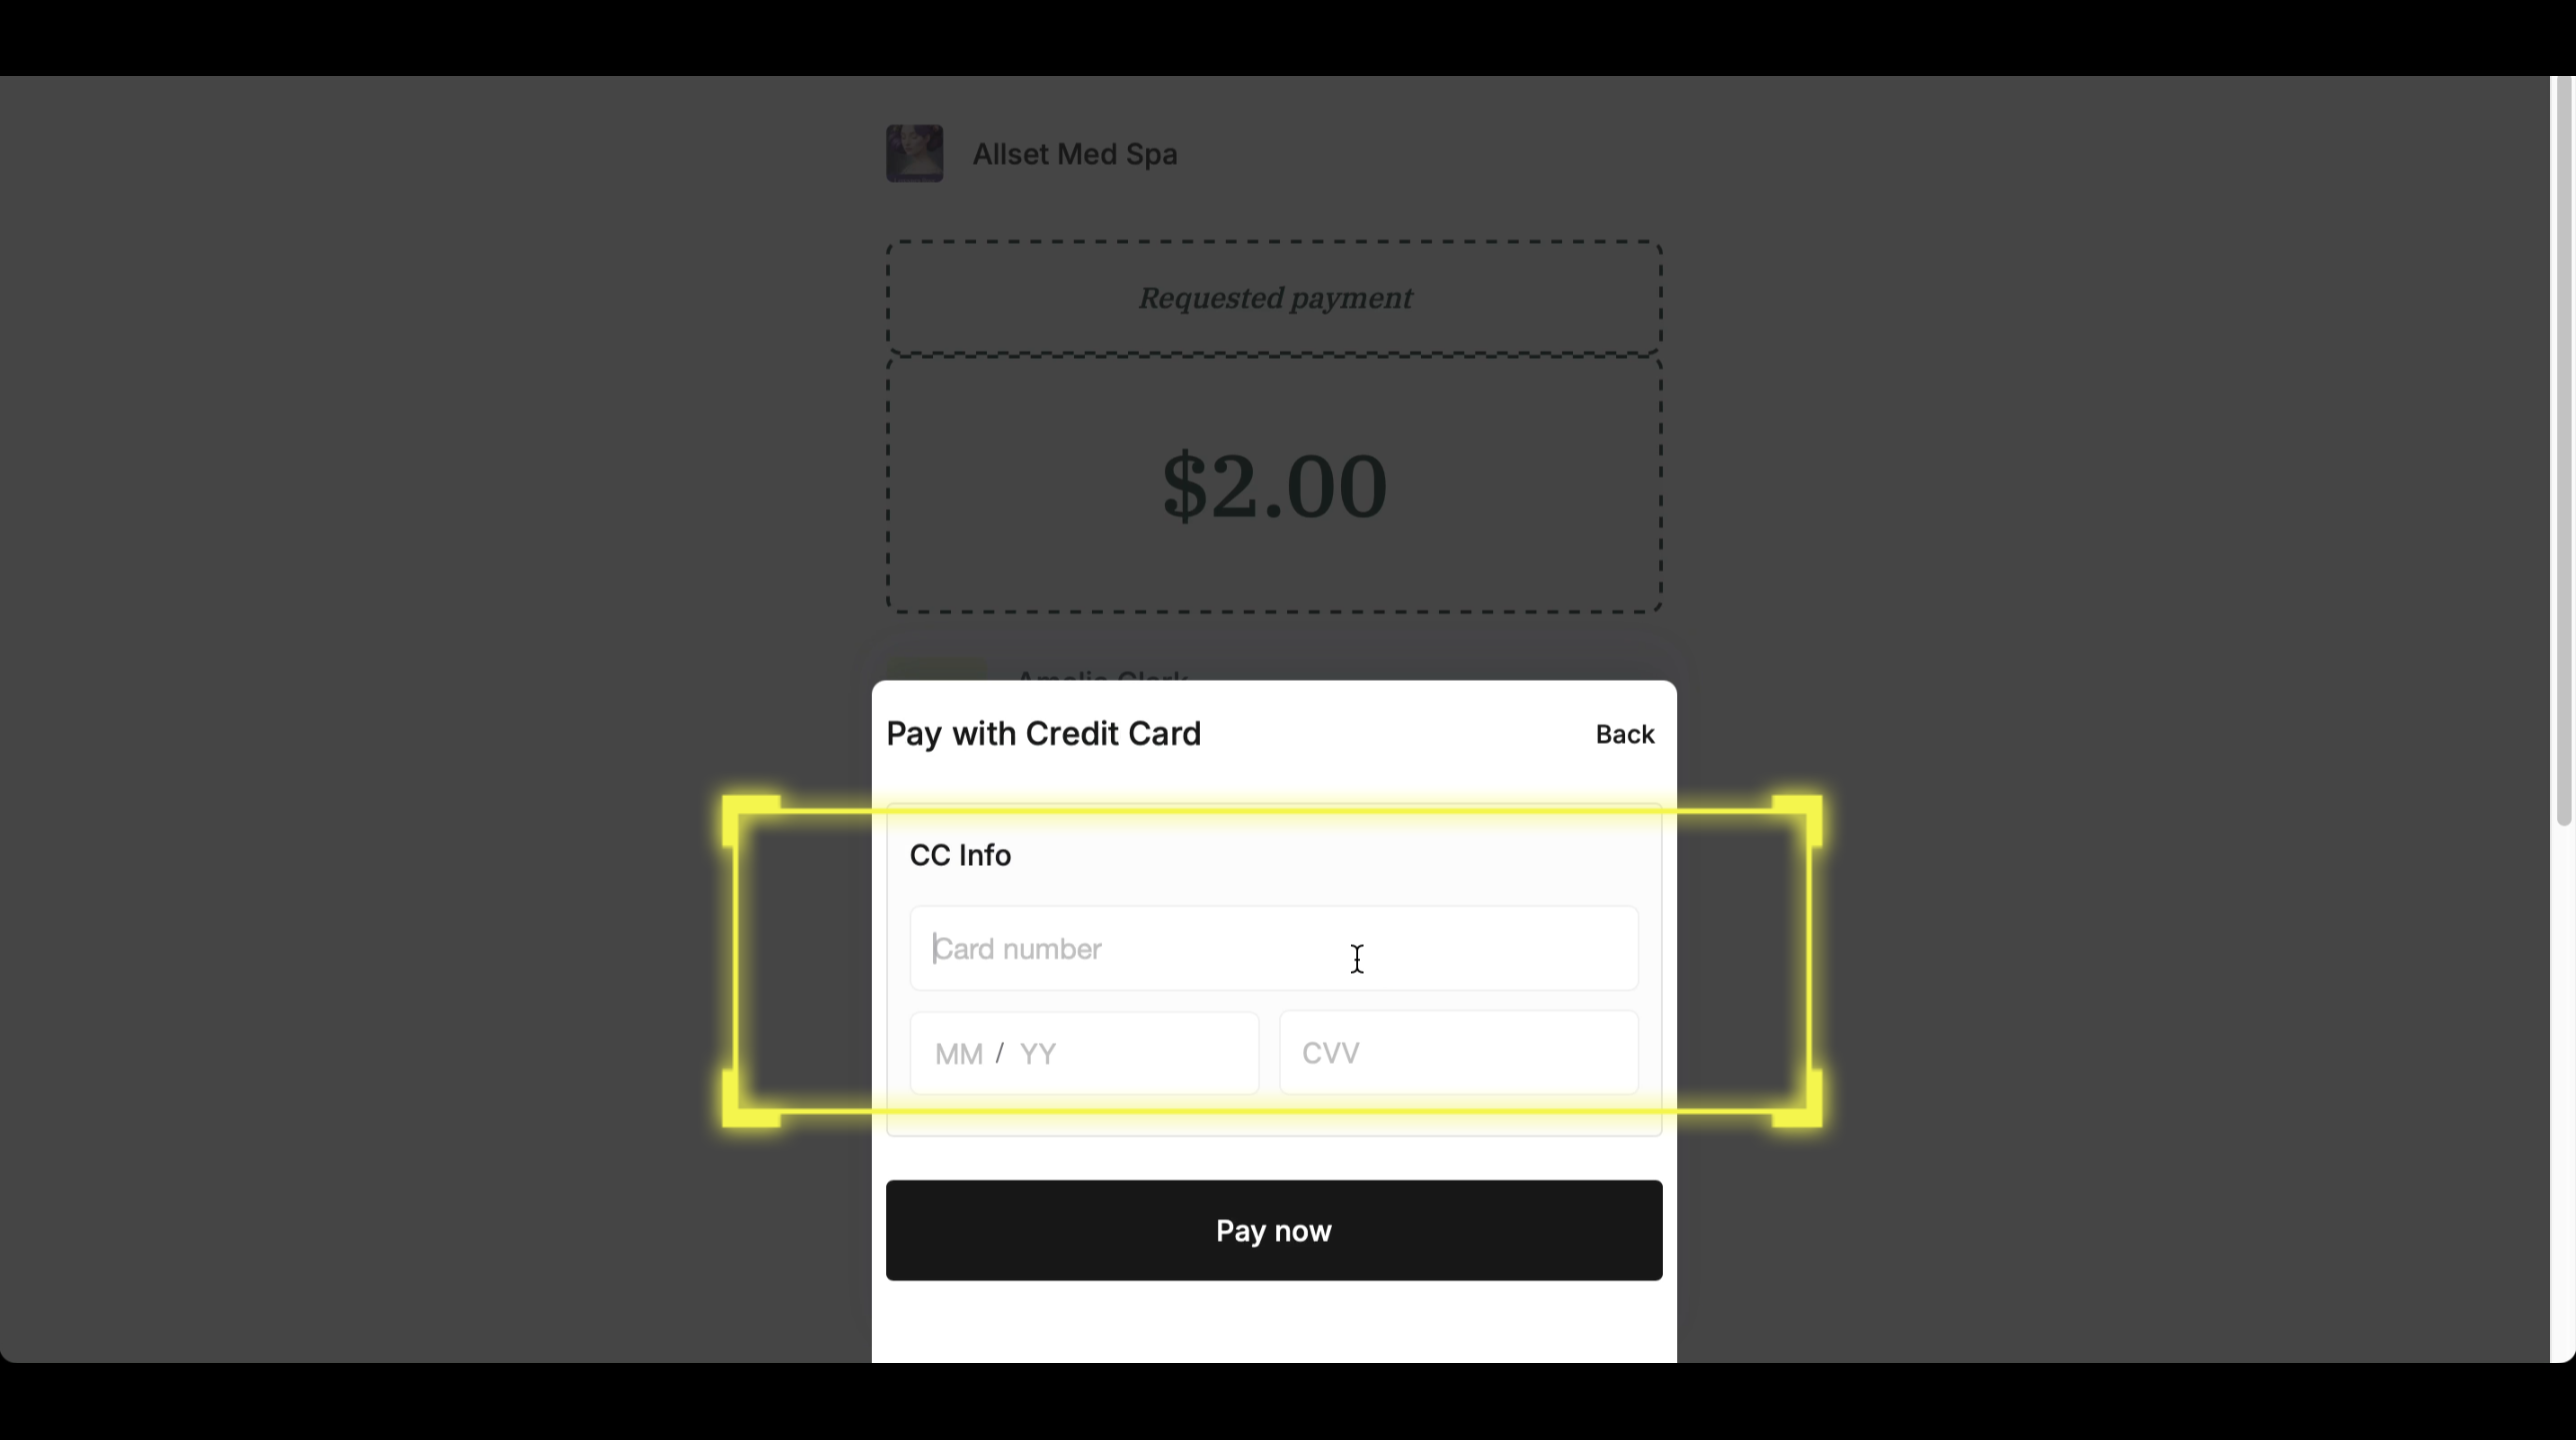
Pay with Link
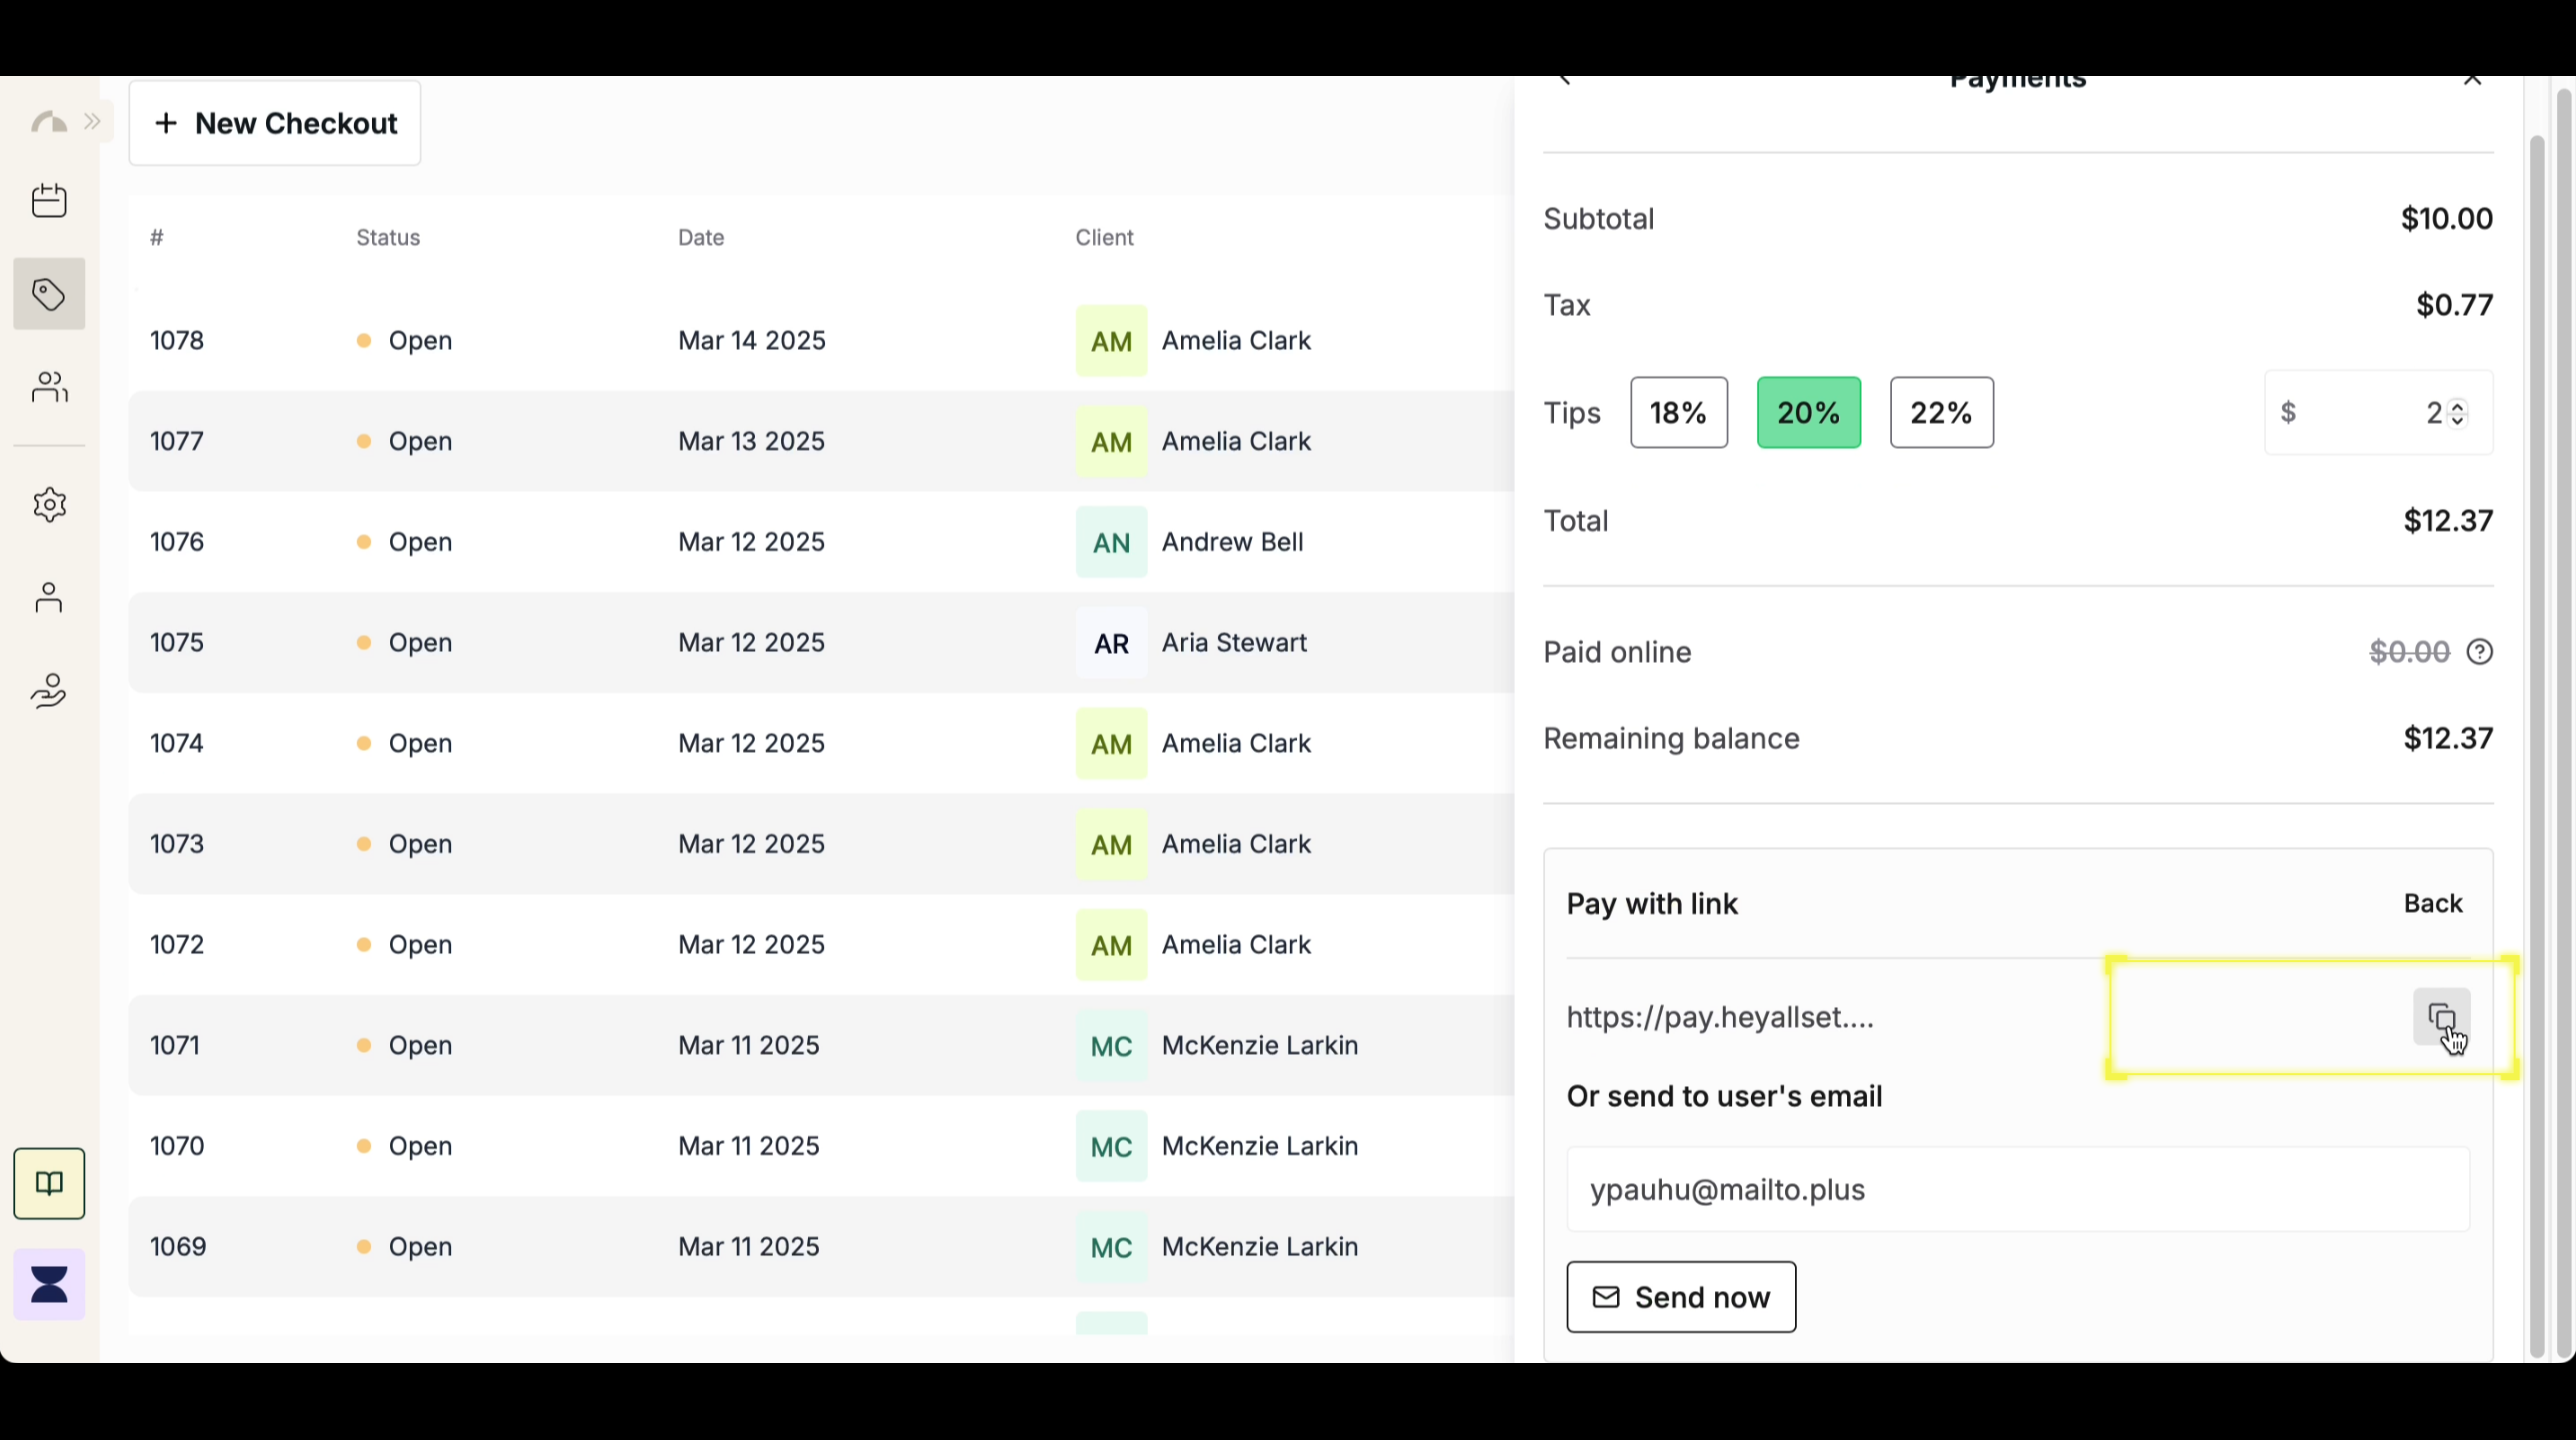
Step 3
Send the payment link to the client via email, text message, or chat. This is how the site for the payment link would look like: