Introduction
Adding new clients allows you to maintain accurate customer records, making it easier to manage bookings, track payments, and provide a personalized experience. Clients can be added manually for walk-ins, new customers, or those not yet in the system. Follow these steps to create a new client profile efficiently.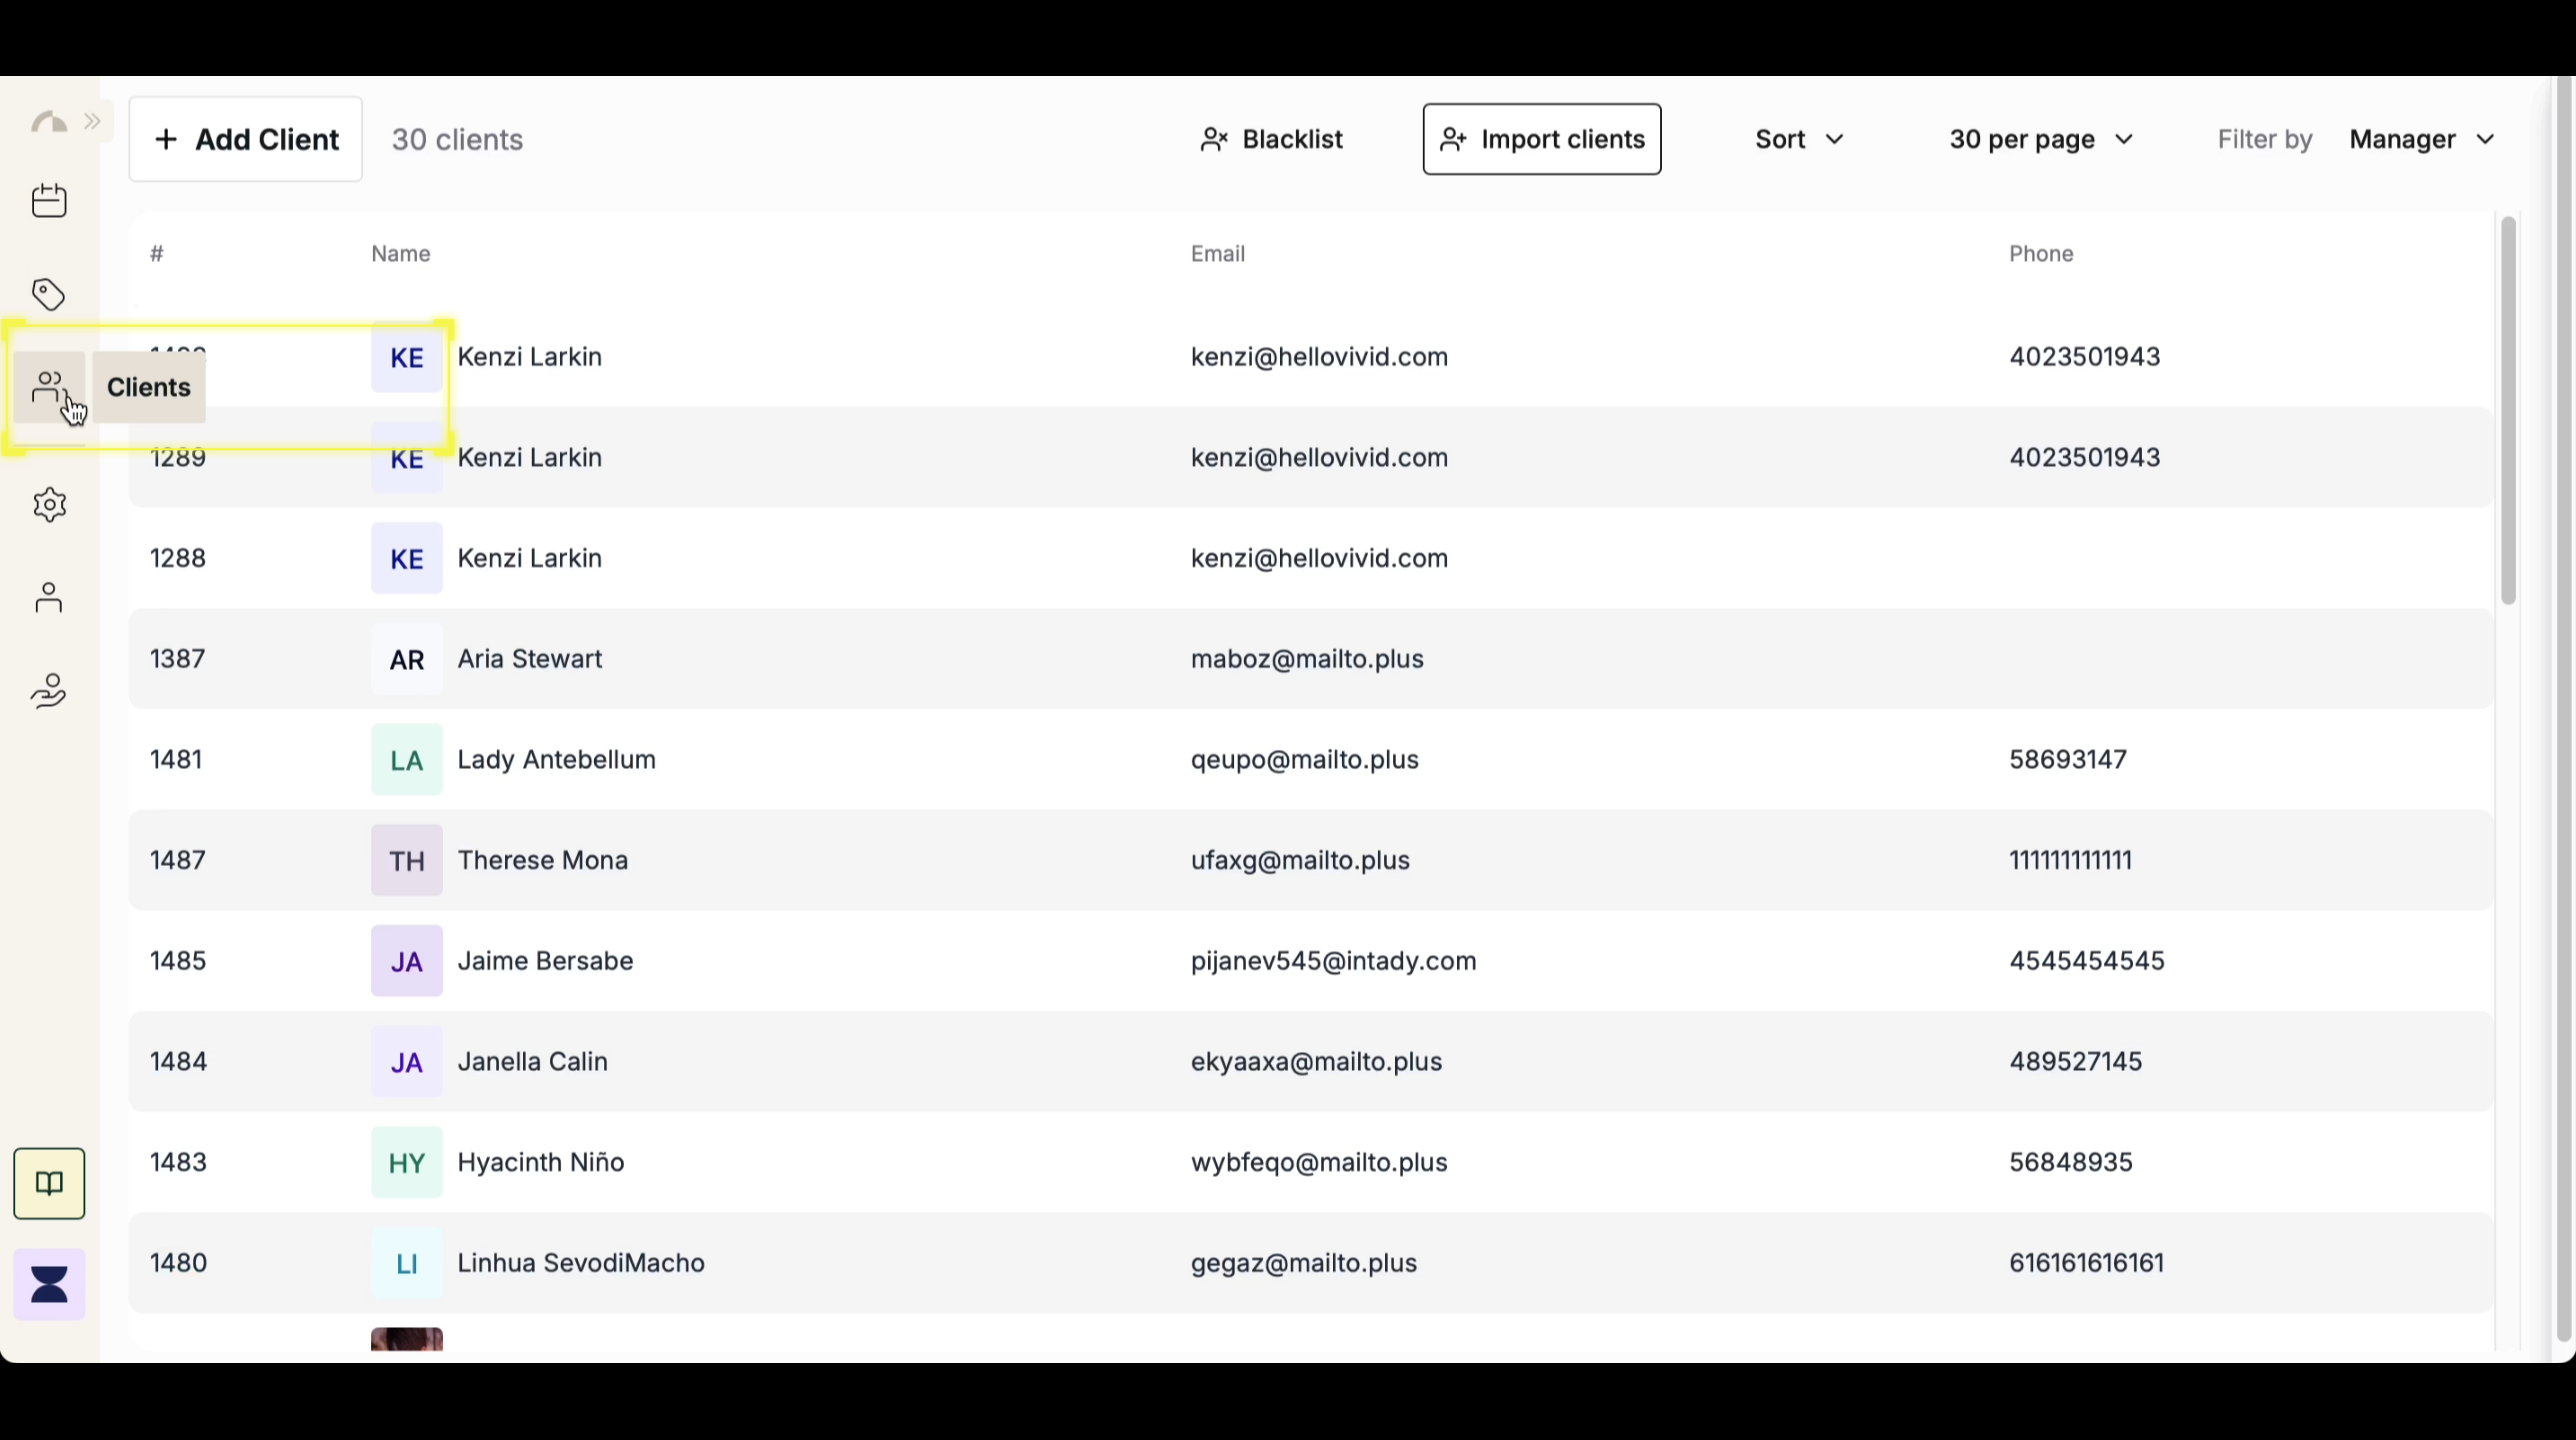
Step 2
Create a New Client
In the client dashboard, click the “+ Add Client” button to start the process. This will open a form where you can input the client’s information.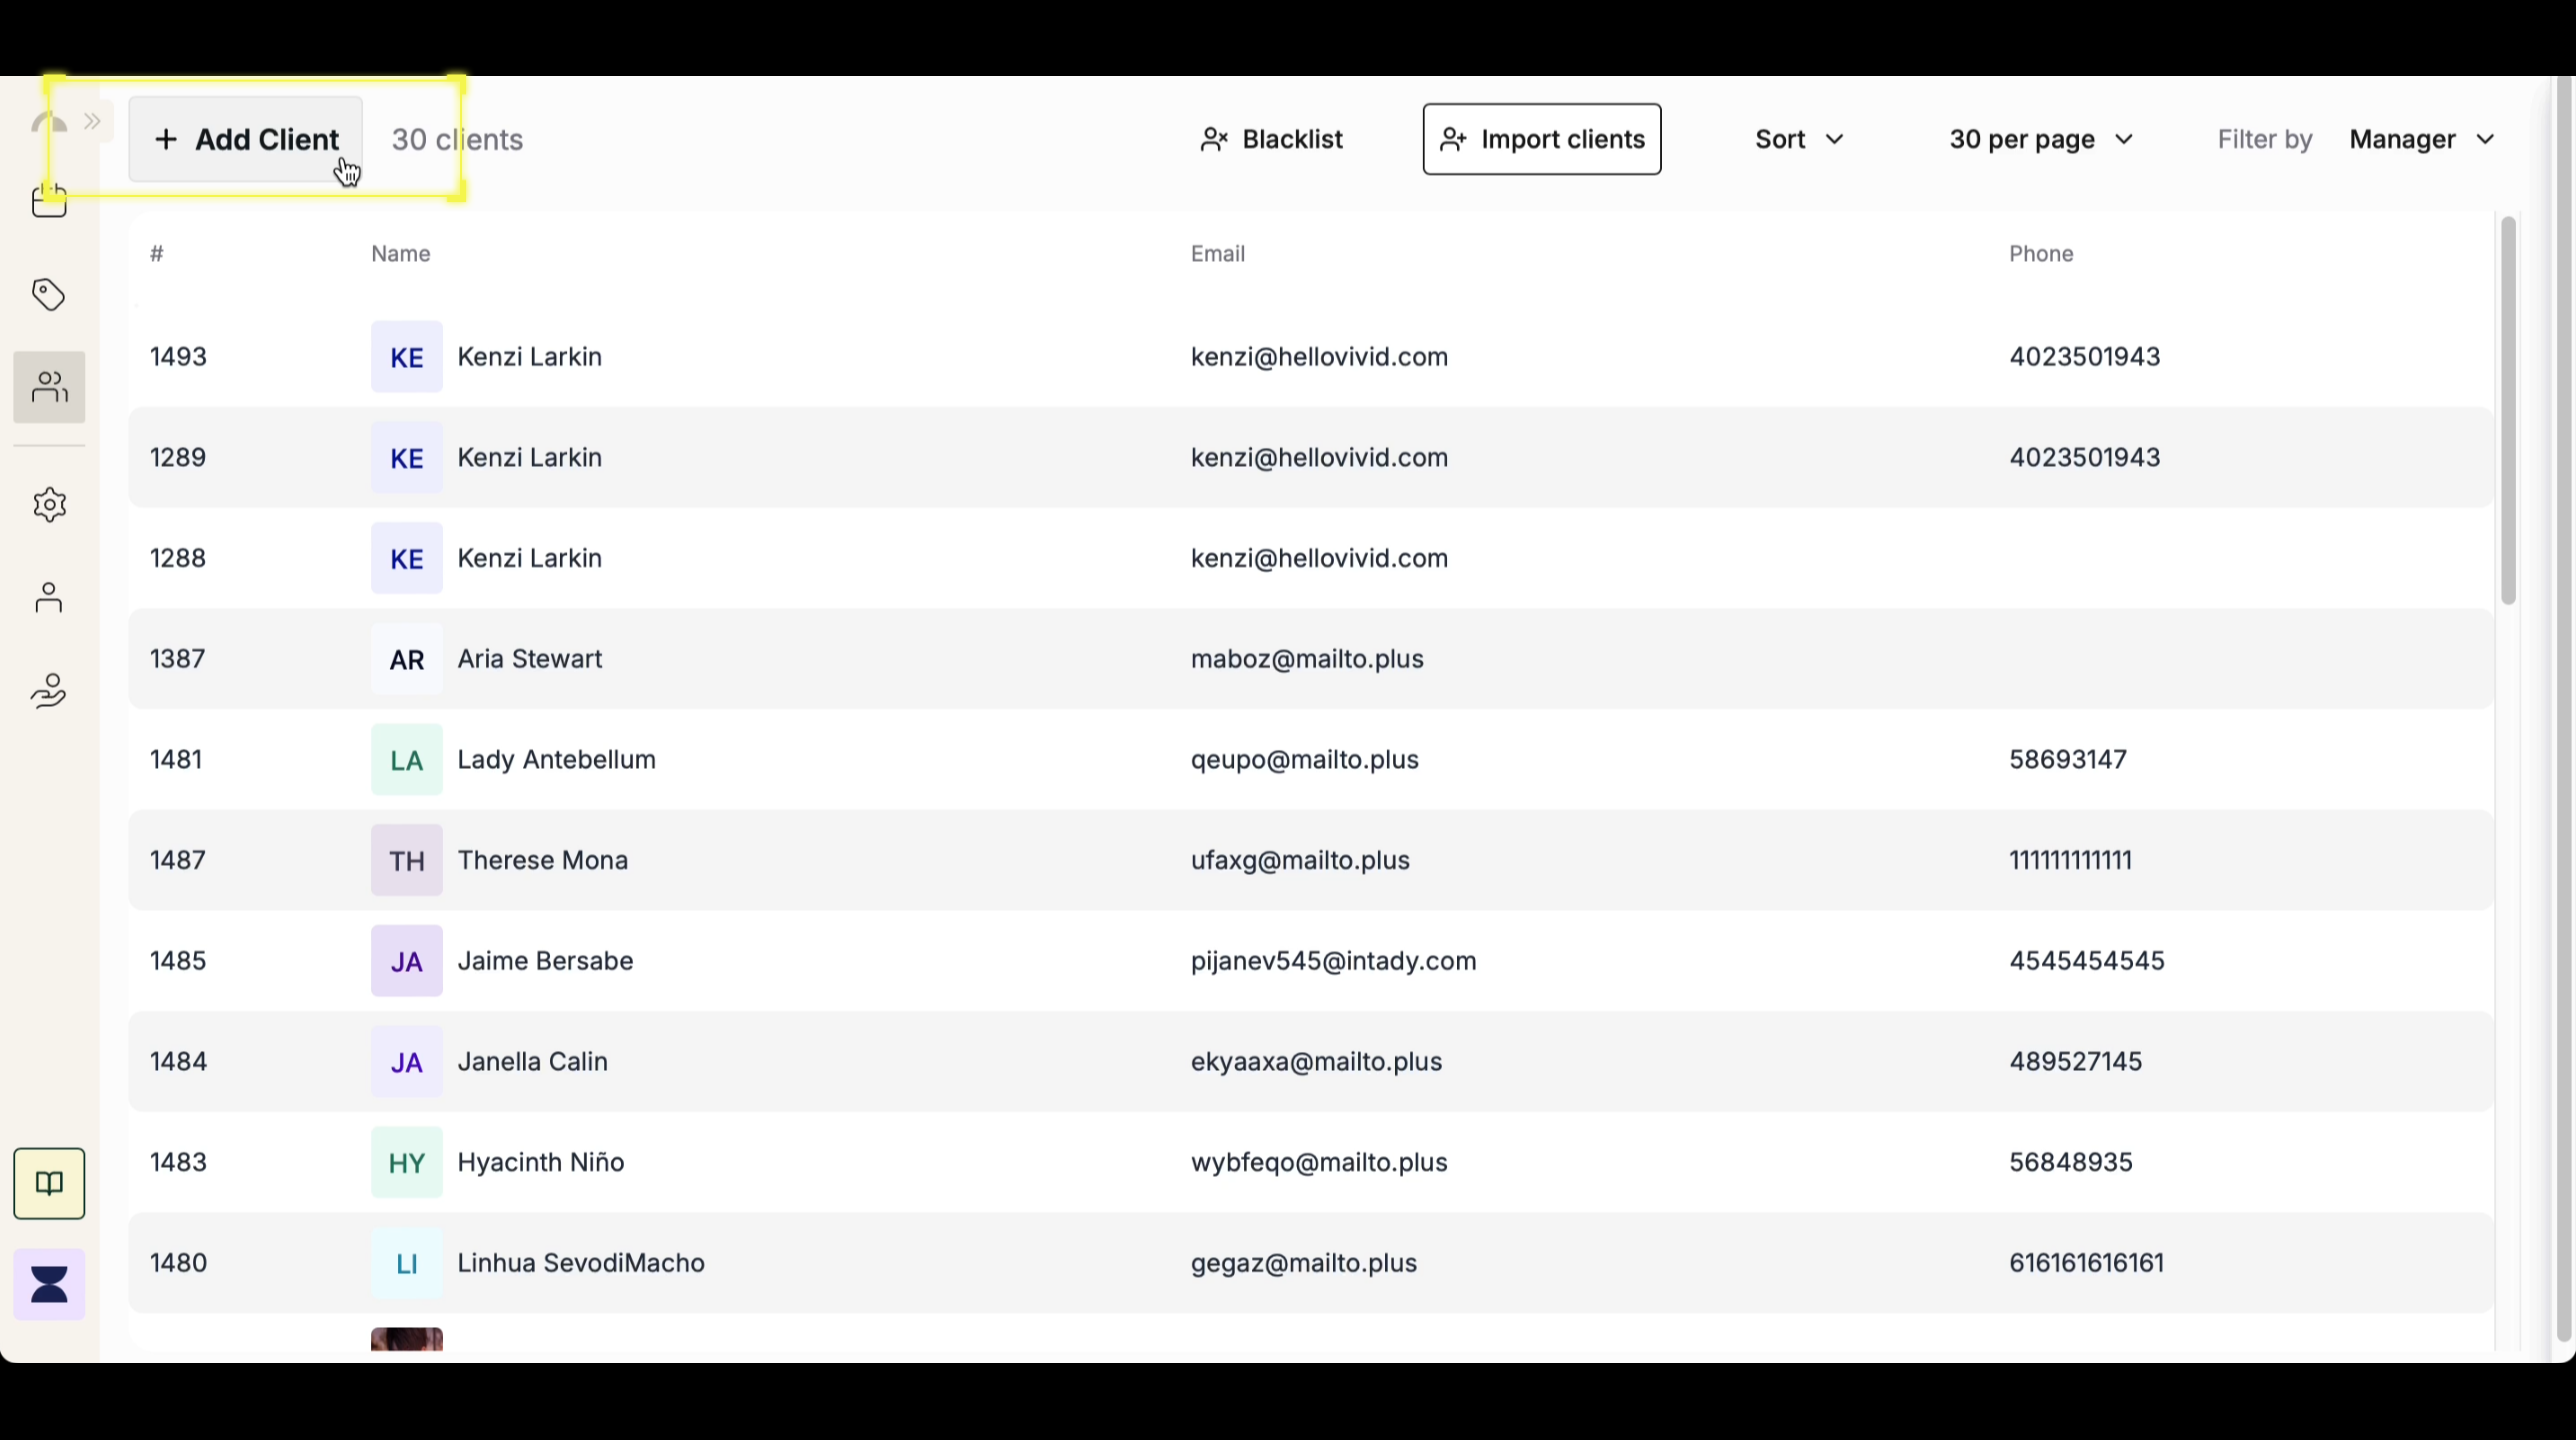
Step 3
Enter Client Details
Fill out the required fields, including the client’s first name, last name, and phone number. These details ensure that each client has a unique record in the system. You can also enter optional details, such as profile photo, email, gender, staff assigned, and notes. Adding more details helps with personalized service, appointment tracking, and communication.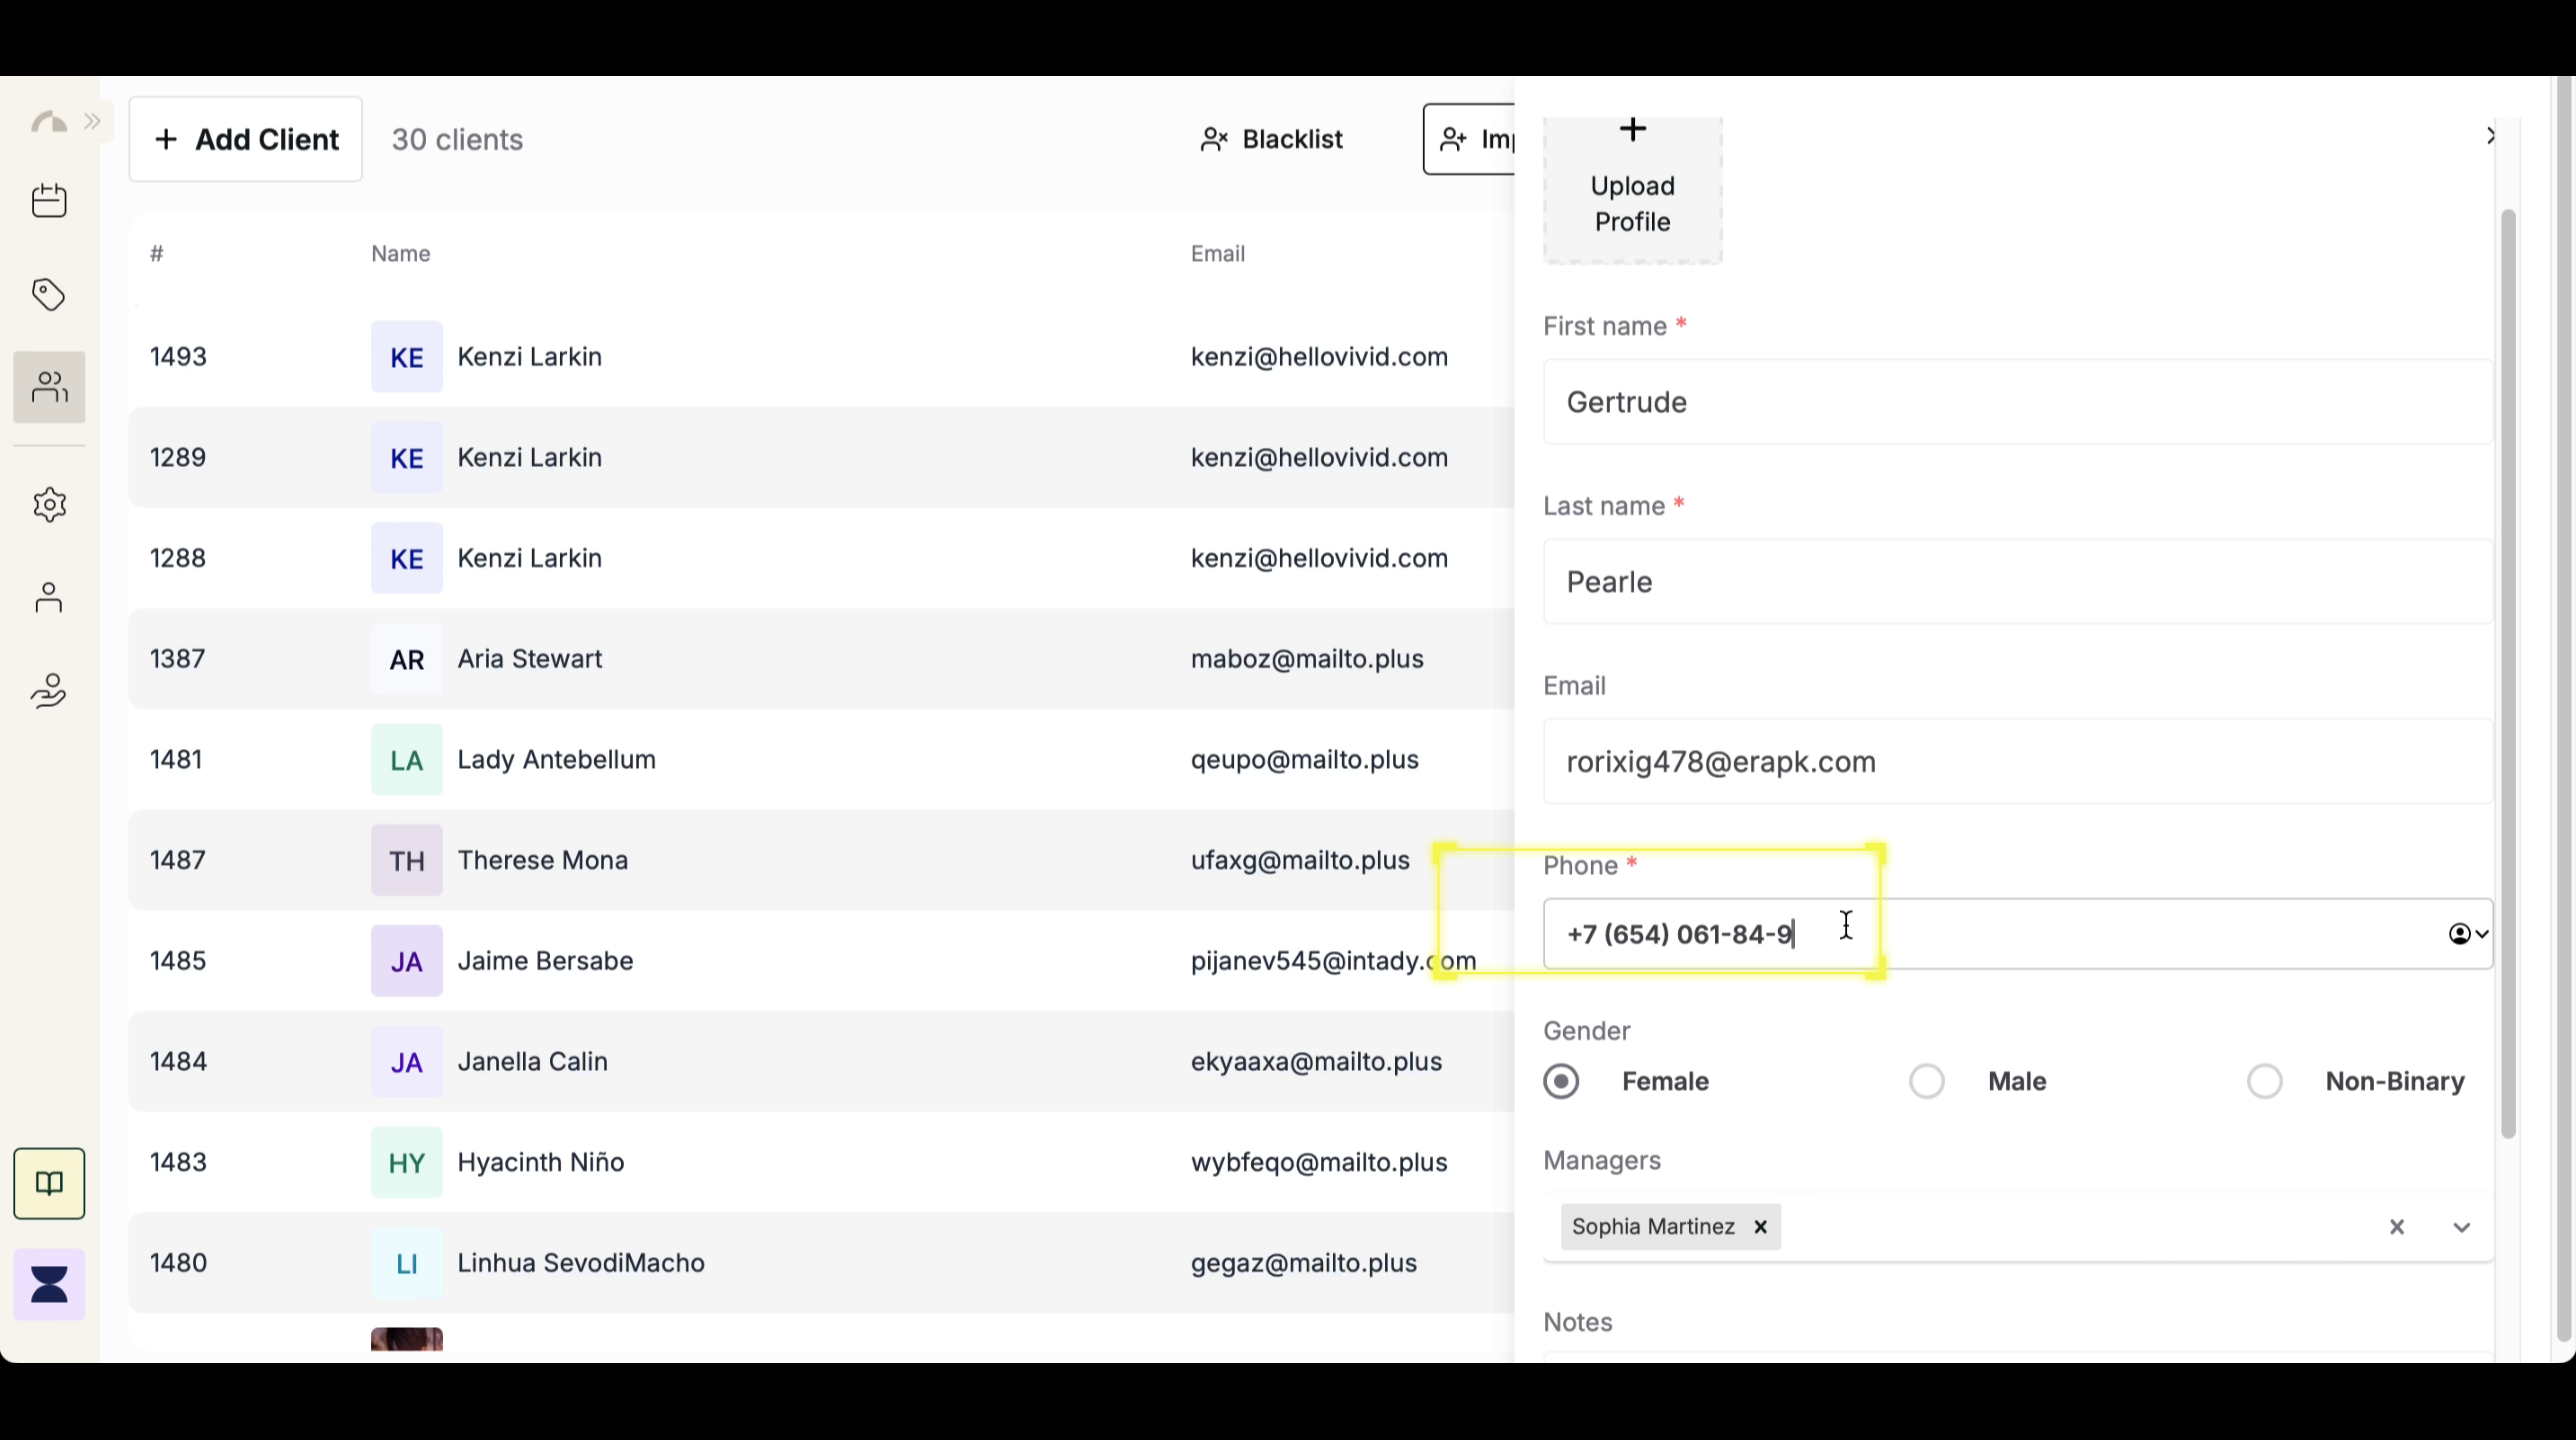
Step 4
Save Client Profile
Once all details are entered, click “Add” to finalize the profile. The new client will now appear in your client list, making it easier to retrieve their details for future appointments and transactions.